How do I create a Contract?
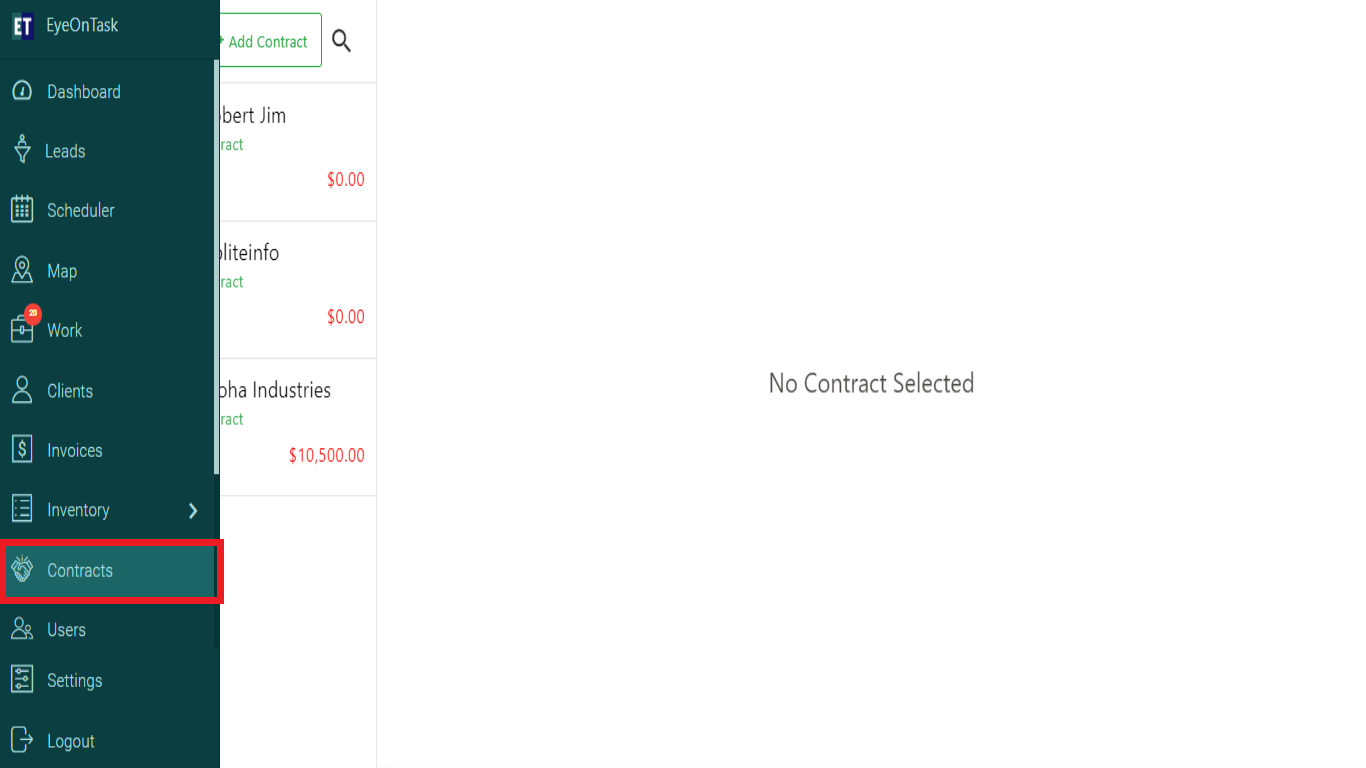
Select Contracts from the main menu.
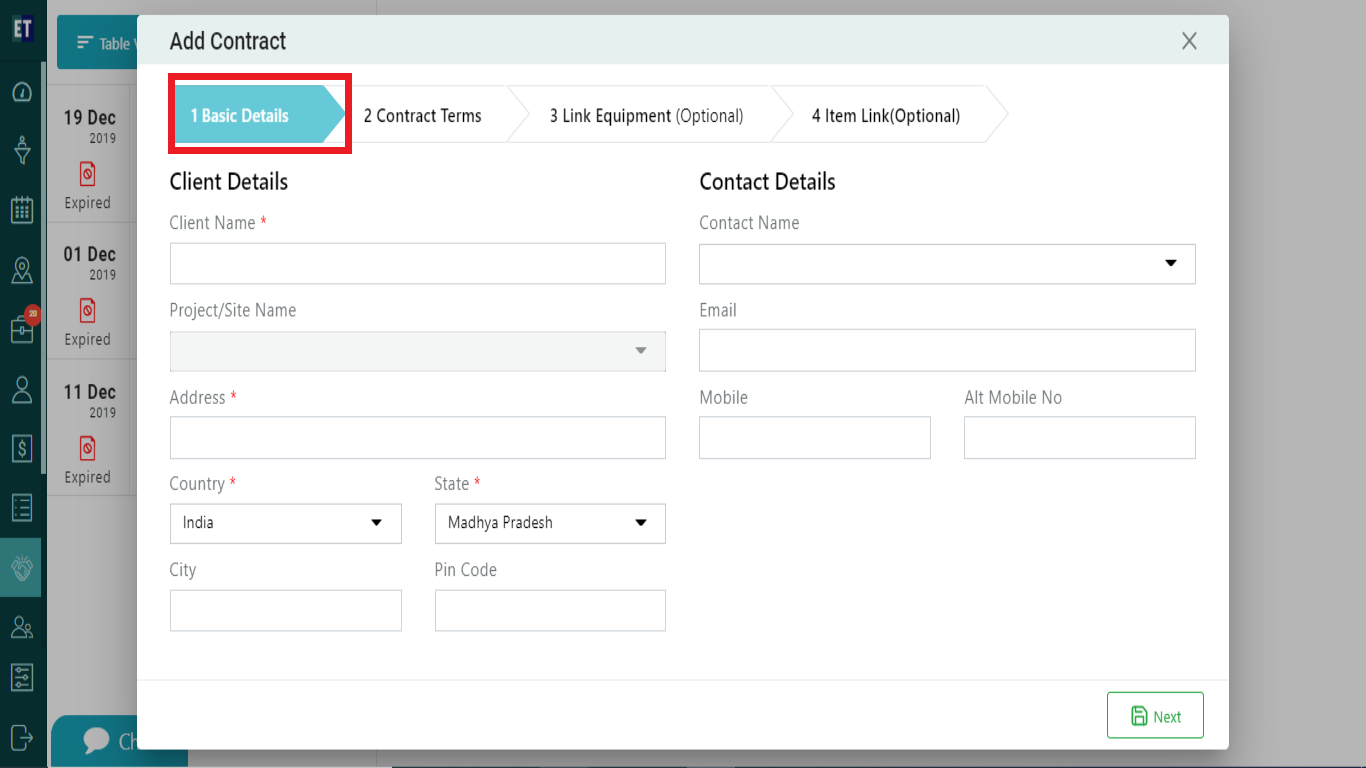
You will see two options on the top "Table View" and "Add Contract", select Add Contract here.

Clicking on Add Contract will display a pop up with input fields.
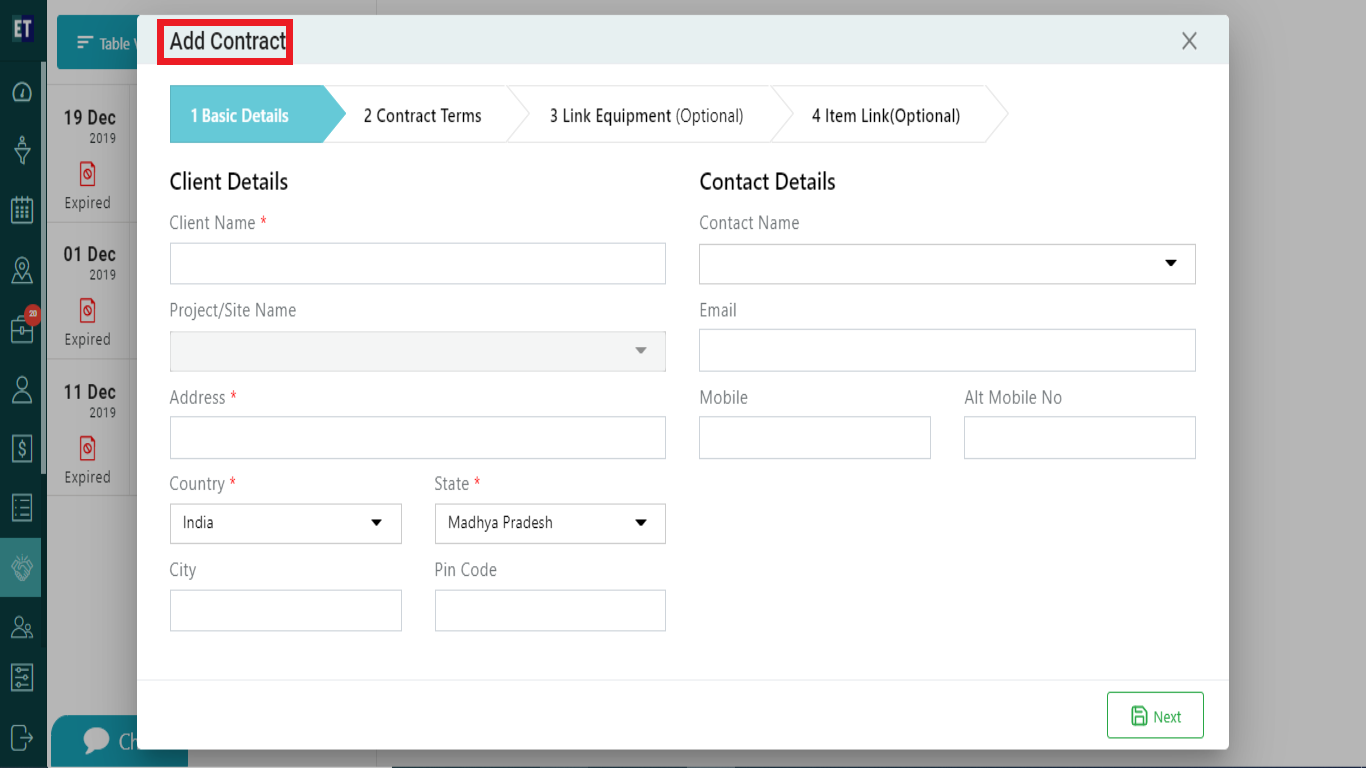
Details for contracts can be divide into four steps.
1. Basic Details: Starting with the basic details- Client name, Contract name, Project/Site name, Address, Phone no, Country and state have to be filled.
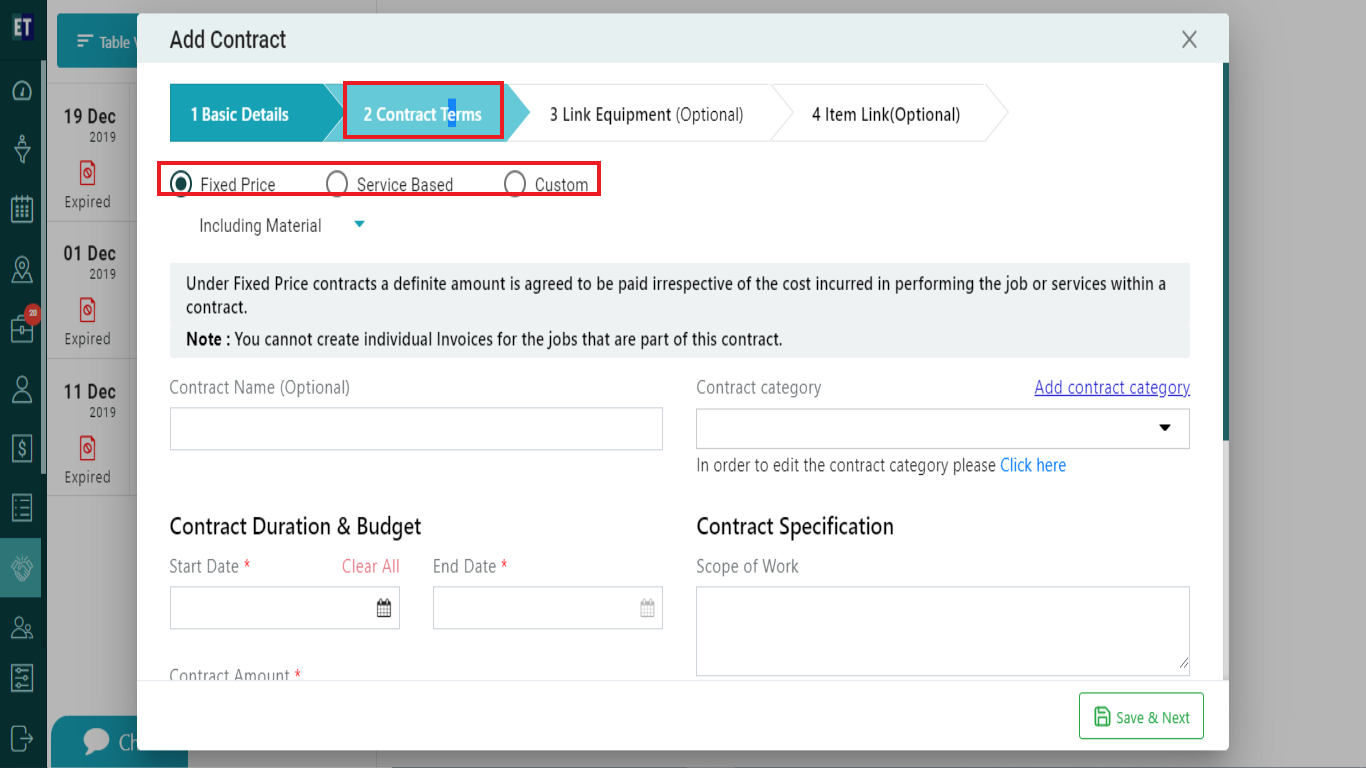
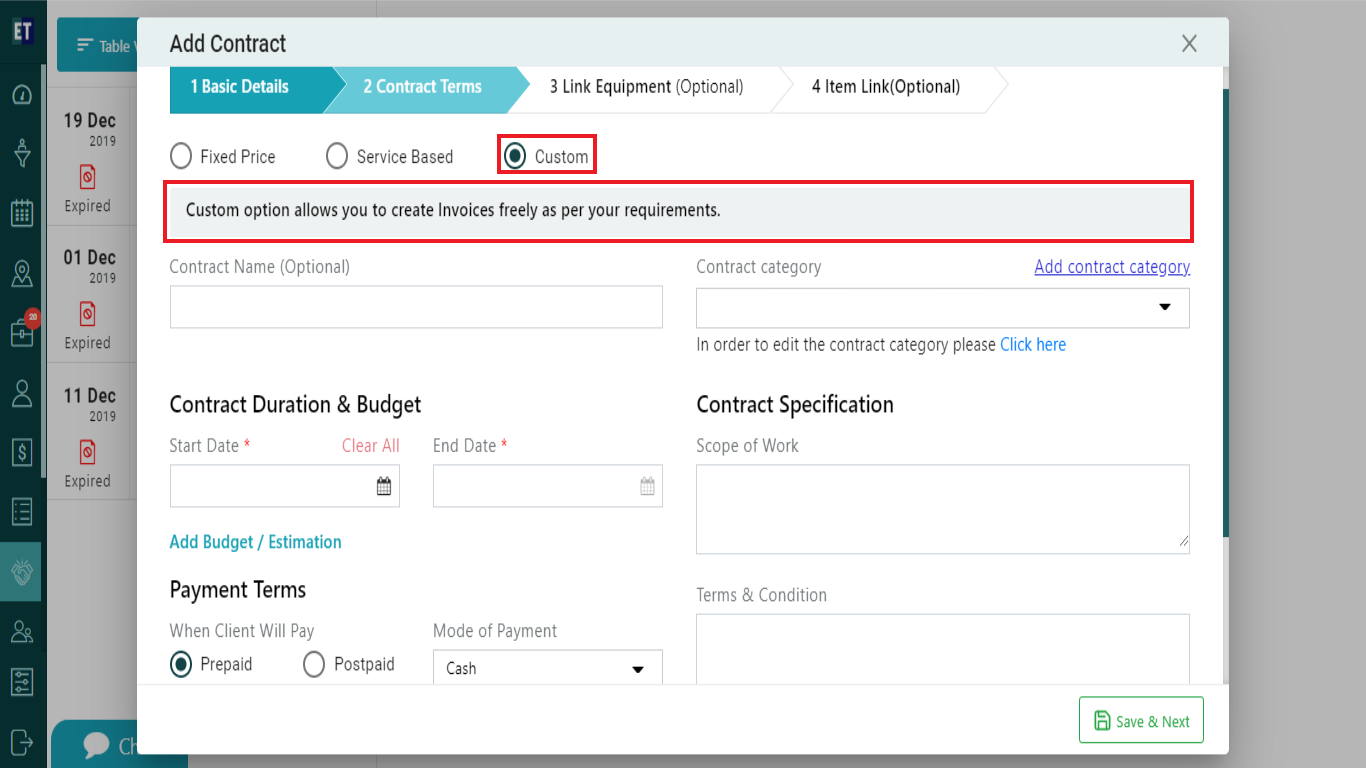
2. Contract Terms: Clicking on Contract Terms will open a new popup with input fields related with Contract Terms.
You can see three radio buttons to select the type of contract you need.
-
Fixed Price:
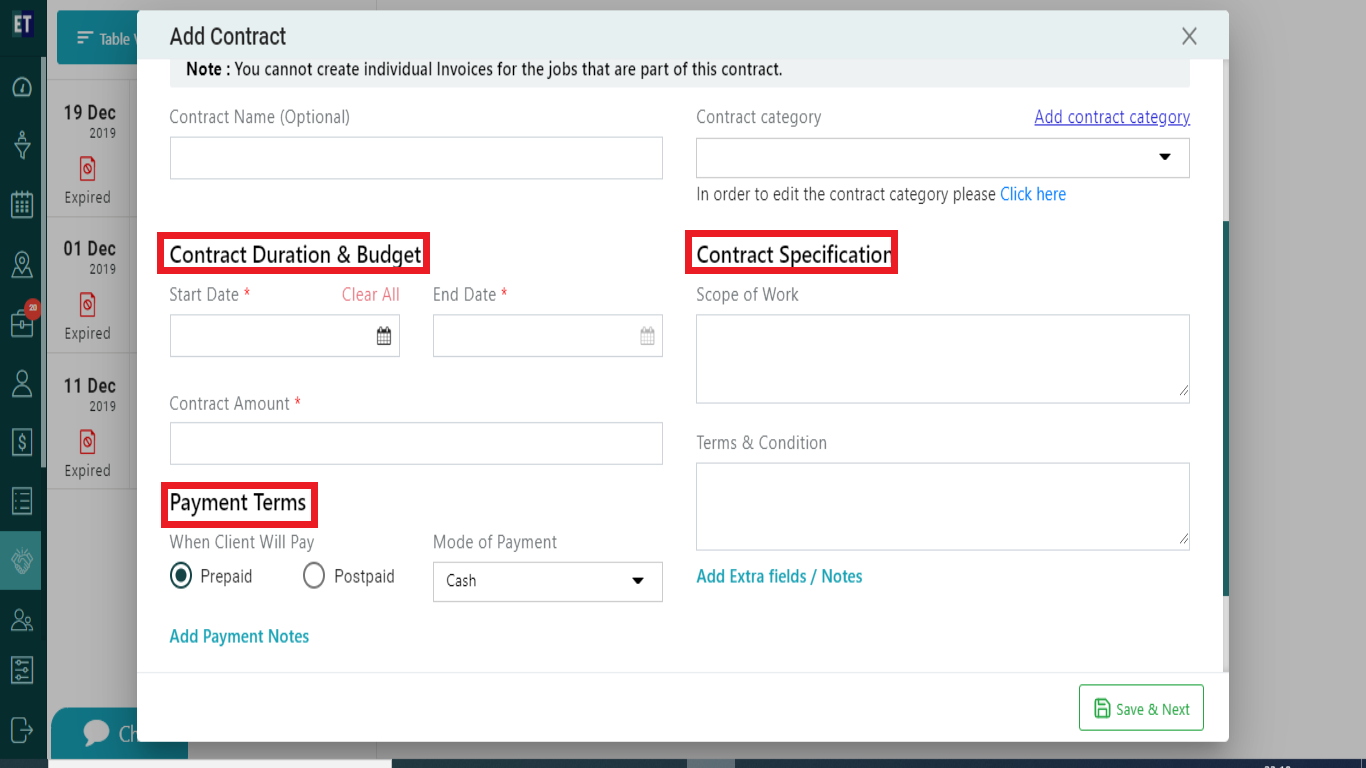
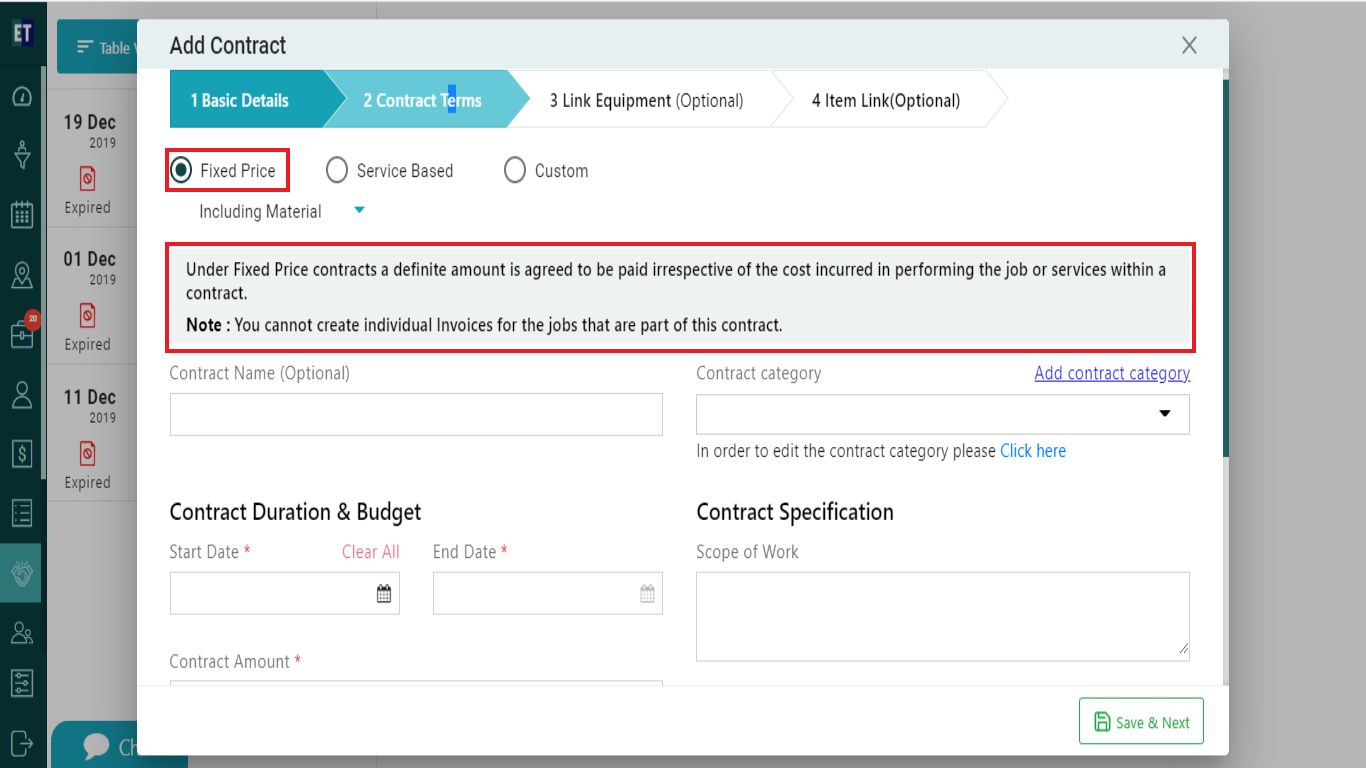 This pop-up will contains all the information an Admin would need for a contract such as Contract Duration(the start and end date) of the contract from the calendar, Contract Specifications, Invoice Terms and can select the Payment Mode.
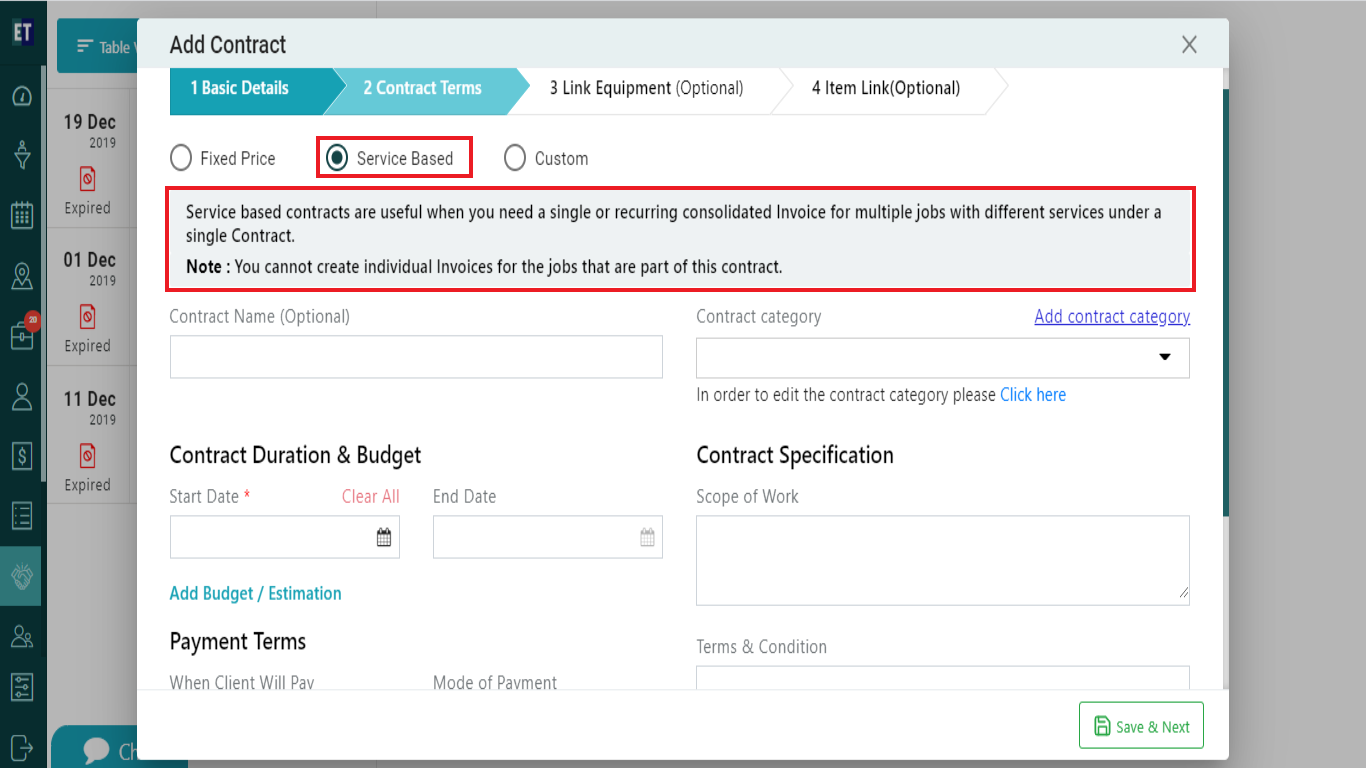
Service Based:
- Selecting Service Based Contracts will show you a Note Box with message, this term is appropriate for when you need a single or recurring consolidated Invoice for multiple jobs with different services under a single Contract.
Custom:
- Custom Contracts means you are free to create Invoices as per your requirement.
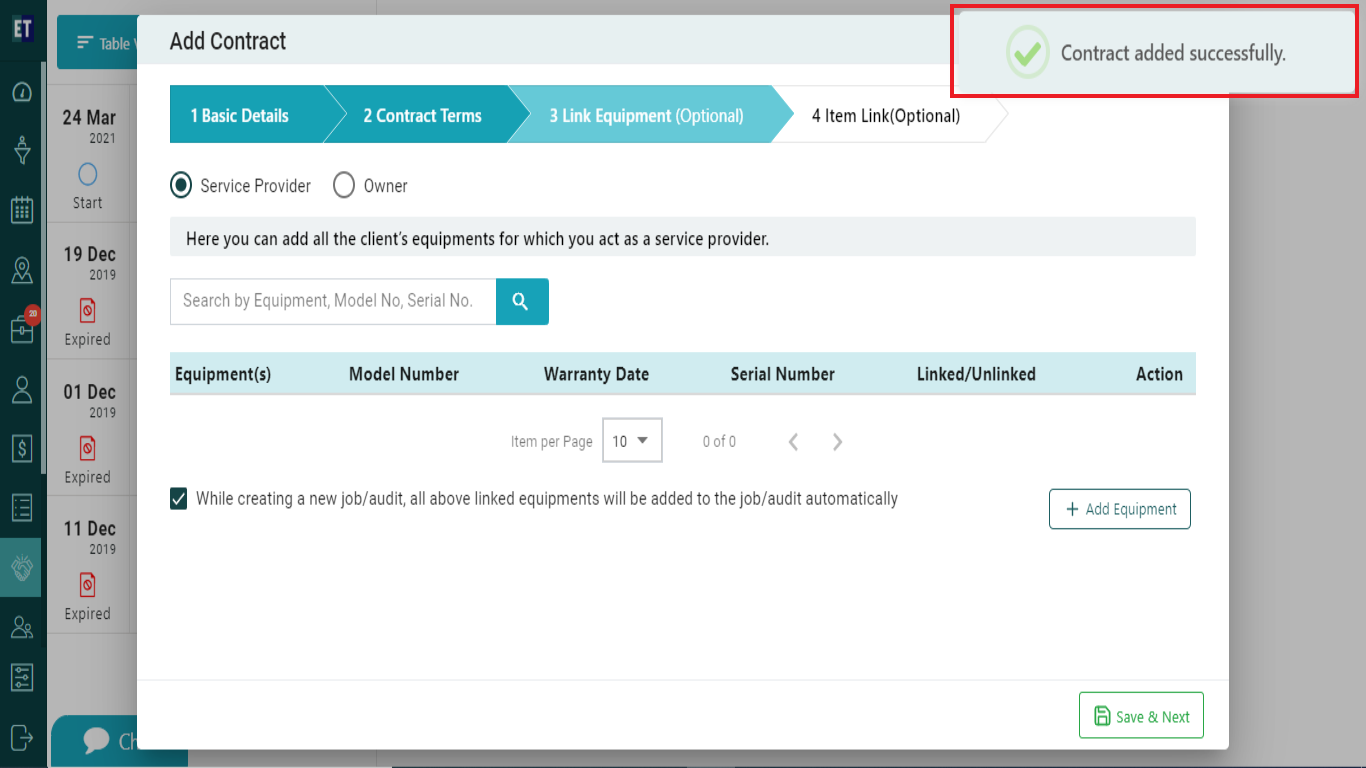
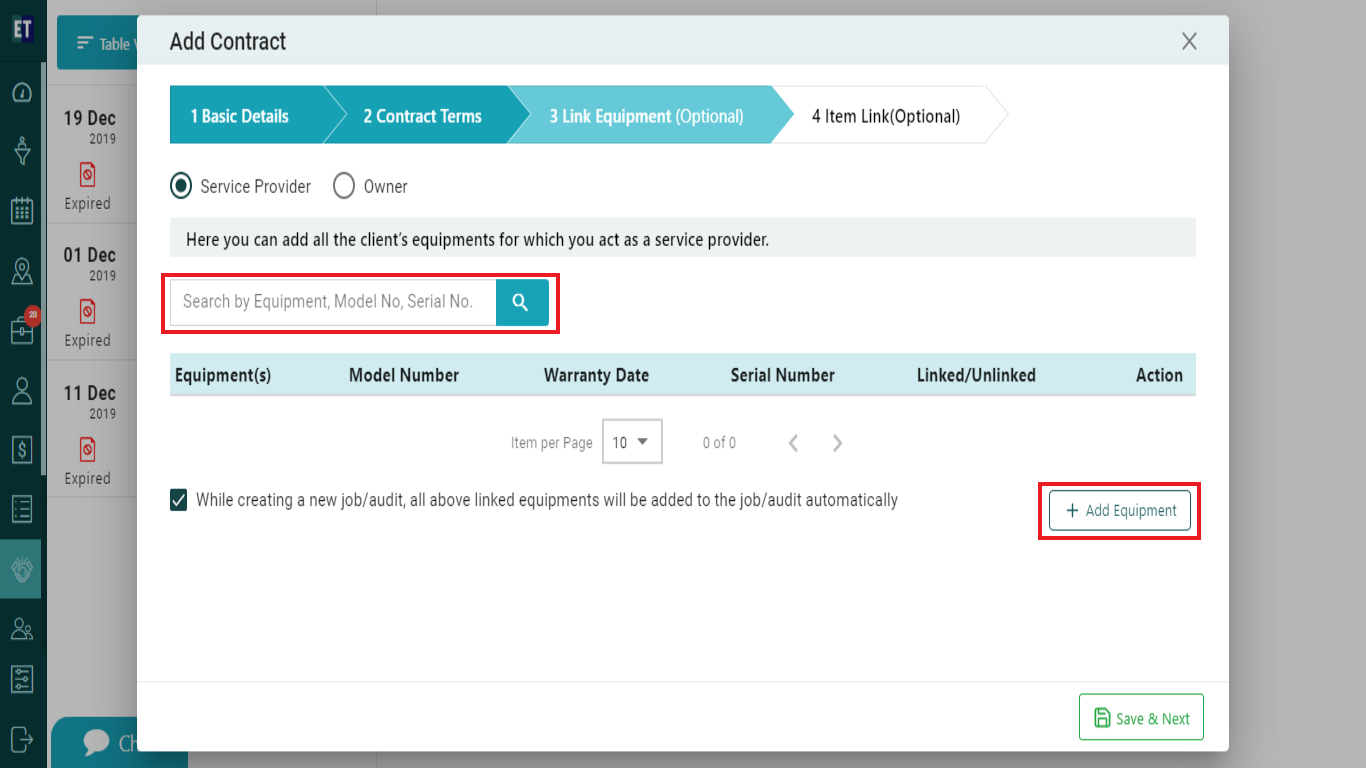
3. Link Equipment(optional): This pop up contains details for linking equipment's with the contract. Here you can search the equipment and can add them with the contract. It is optional.
You can see two radio buttons to select the type of Equipment Provider.
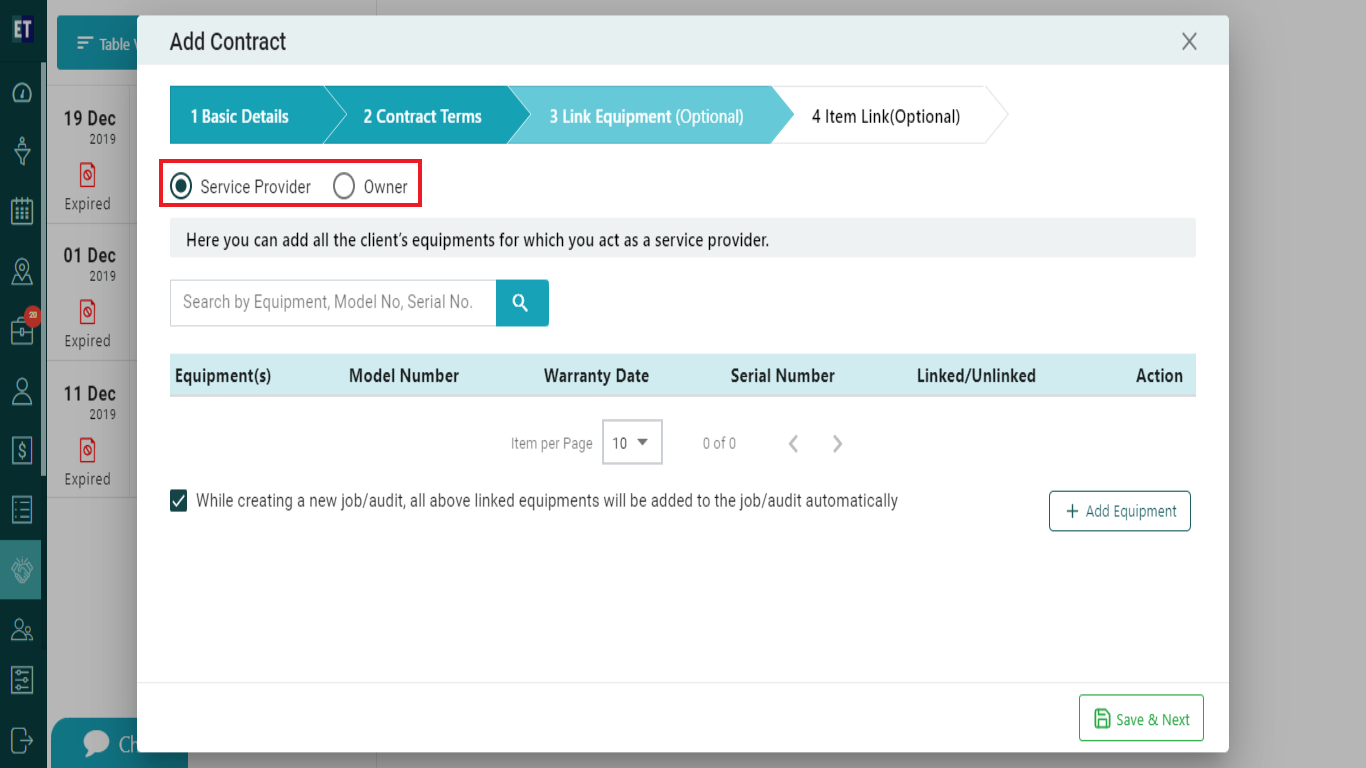
Service Provider:
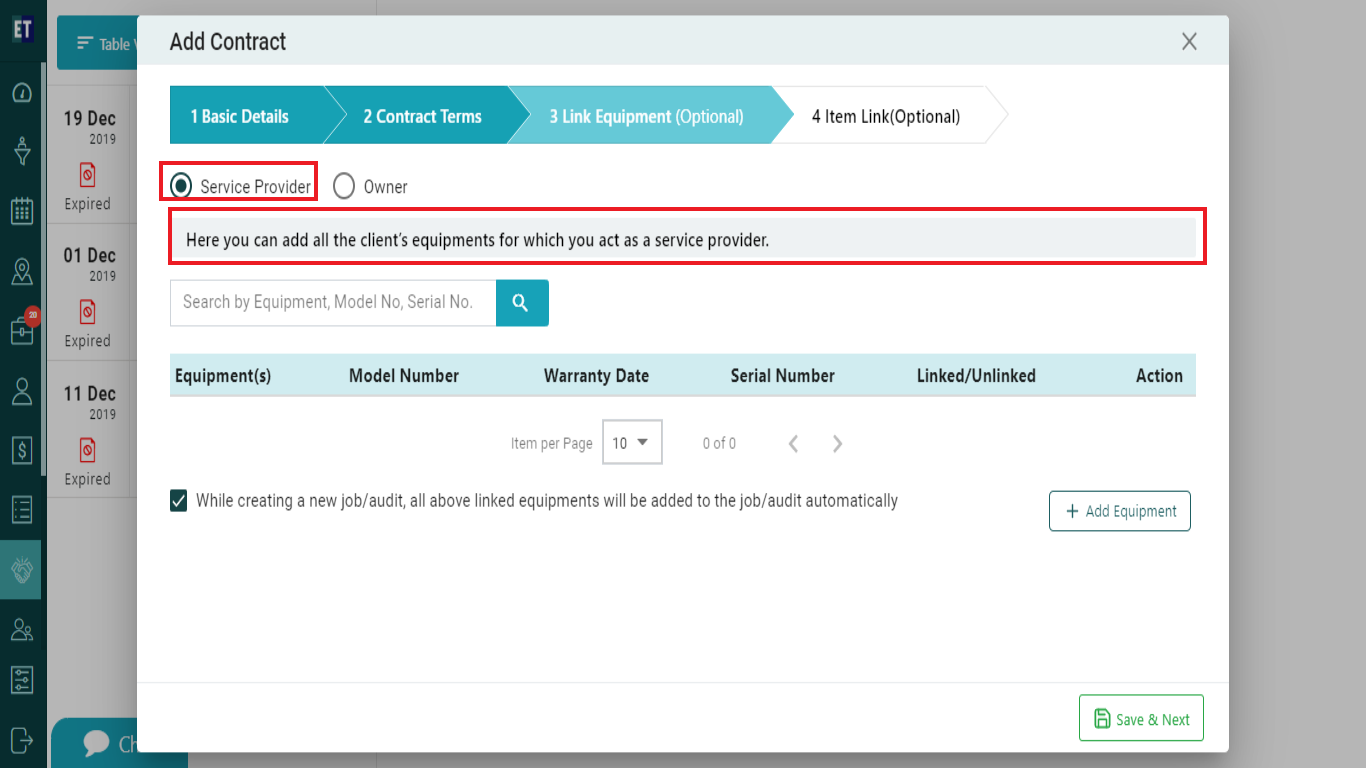
After selecting Service Provider, You will see a Search Box to search previously added equipment by its Name, Serial No, Model No. to link or you can also select Add Equipment button to add new equipment within the contract.
Owner:
- Selecting "Owner" will show you Note Box with message related with it.

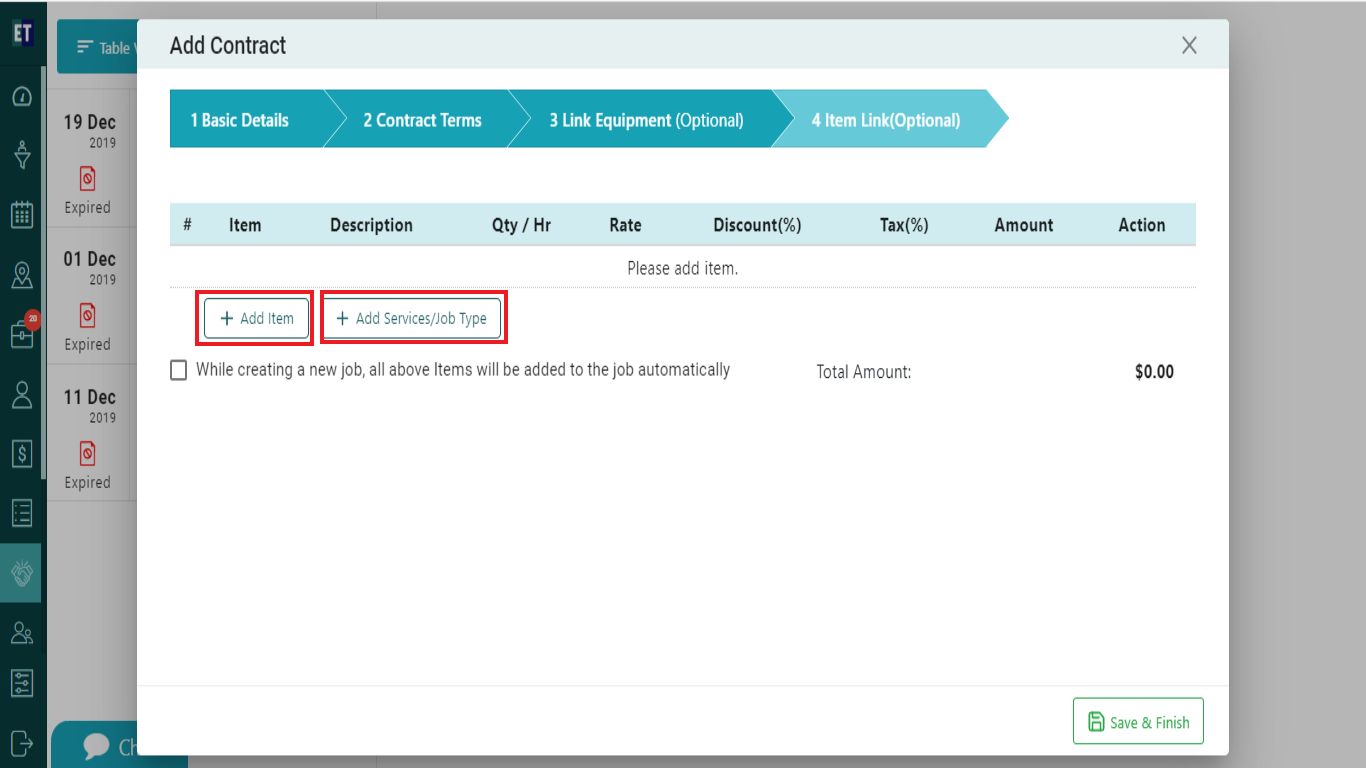
4. Item Link(Optional): You will see Add Item button and Add Services/Job Type button to add them.
*Note: You must fill out all the fields marked with an asterisk before saving.
After filling up all the details, select the Save& Finish button, it will display a success alert.
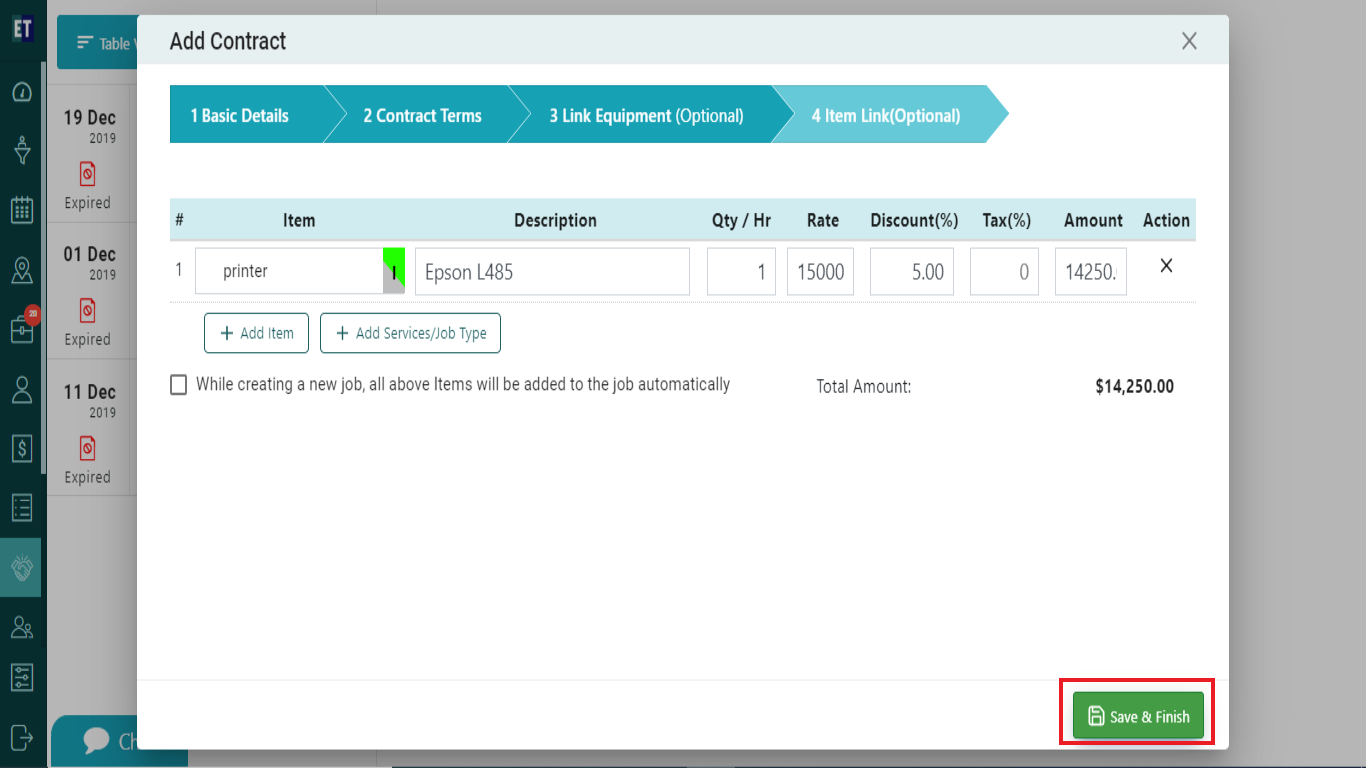
Success Alert means Contract has been added, and getting displayed on the Contracts menu.