How do I add a new job from Scheduler?
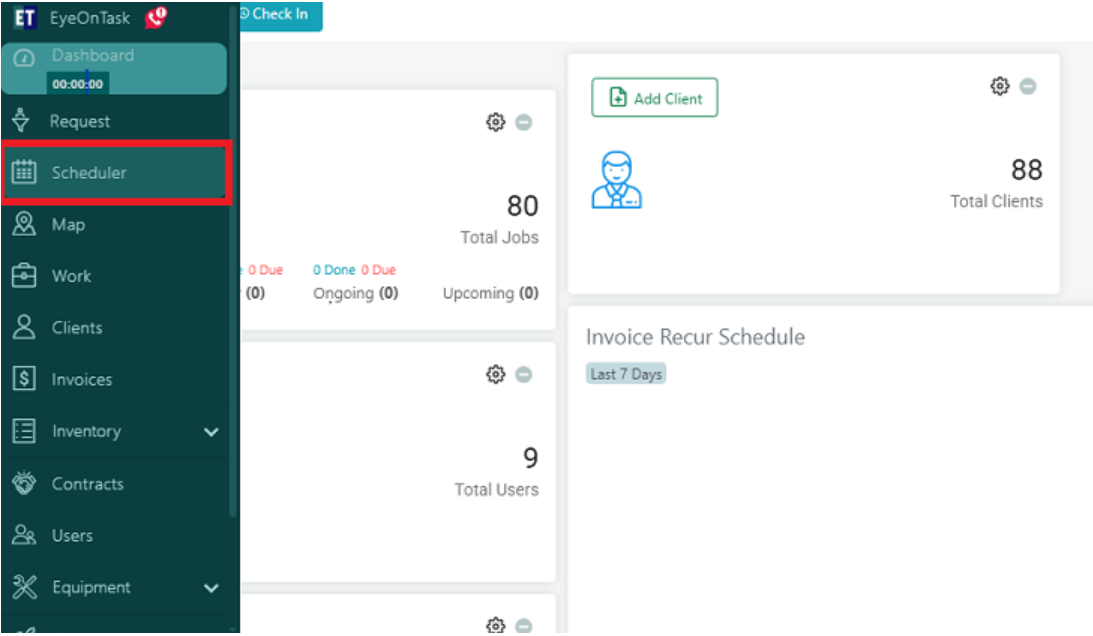
Select the Scheduler from the hamburger menu.
 There are 2 ways to add a new job.
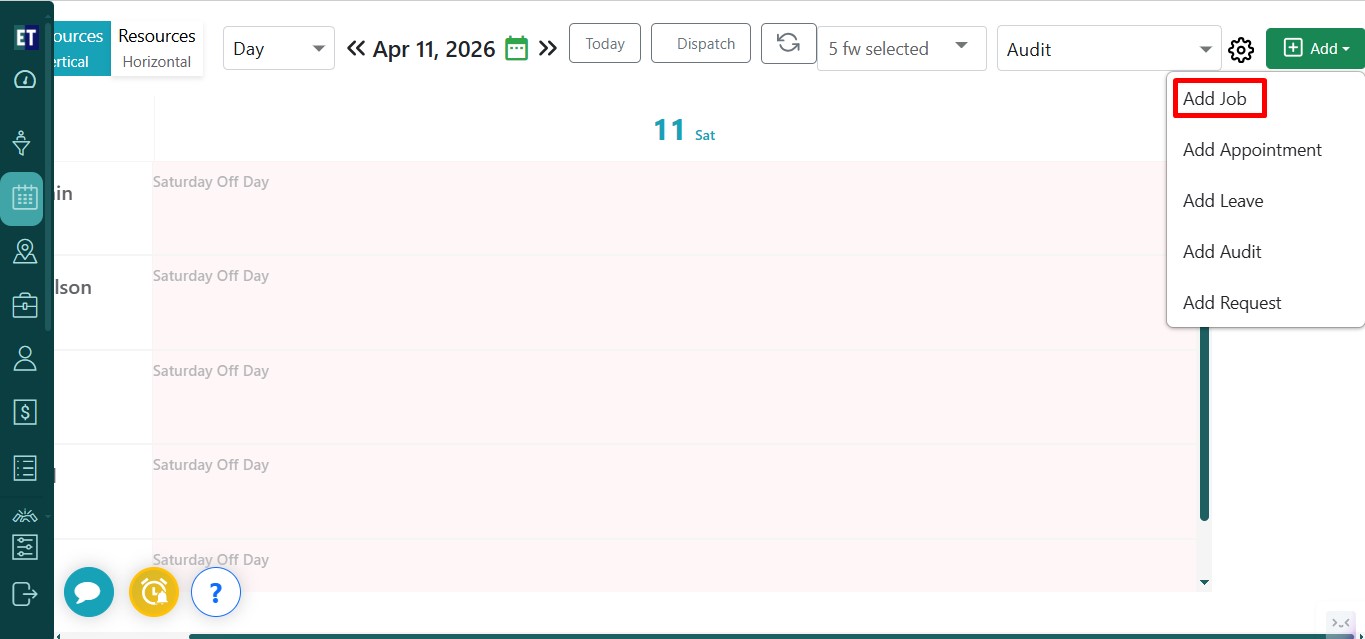
 Select the Add Job from the drop down menu.
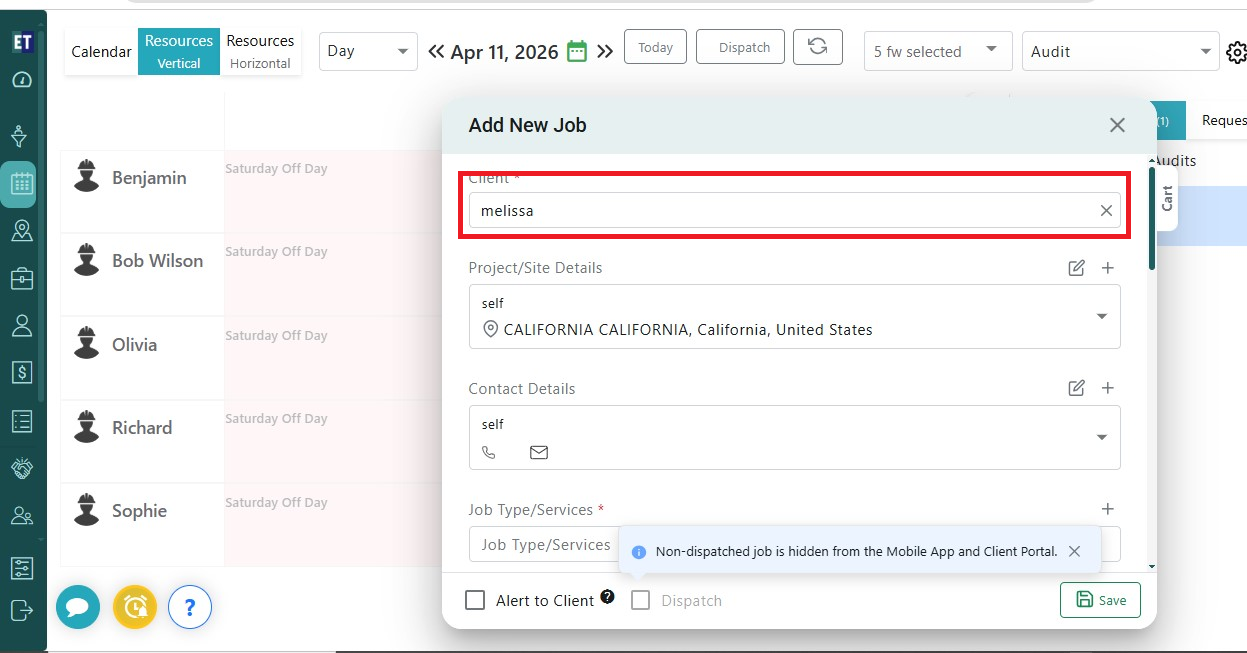
 You will see an Add New Job pop up on the screen with input fields.
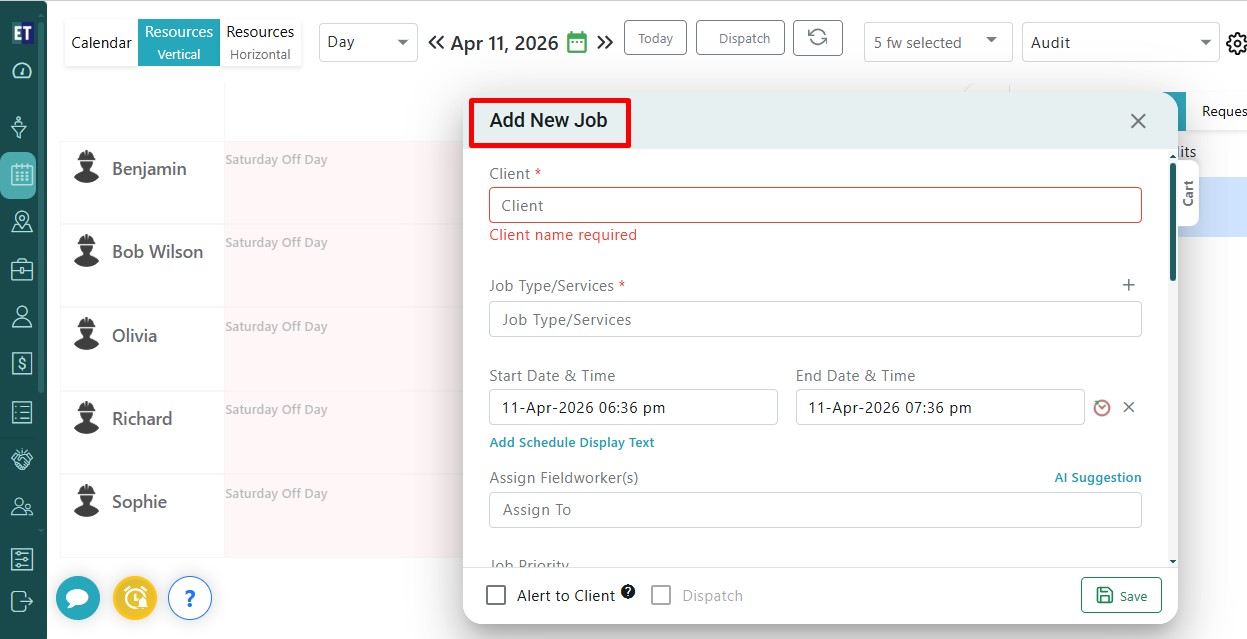 Fill out all the details required in the form start with the Client Name, after filling the name you will see a drop down for additional client details such as Email ID, Mobile No, Address, City.
 Select the JobType/Services from the dropdown field. You can select more than one JobType/Services from here.
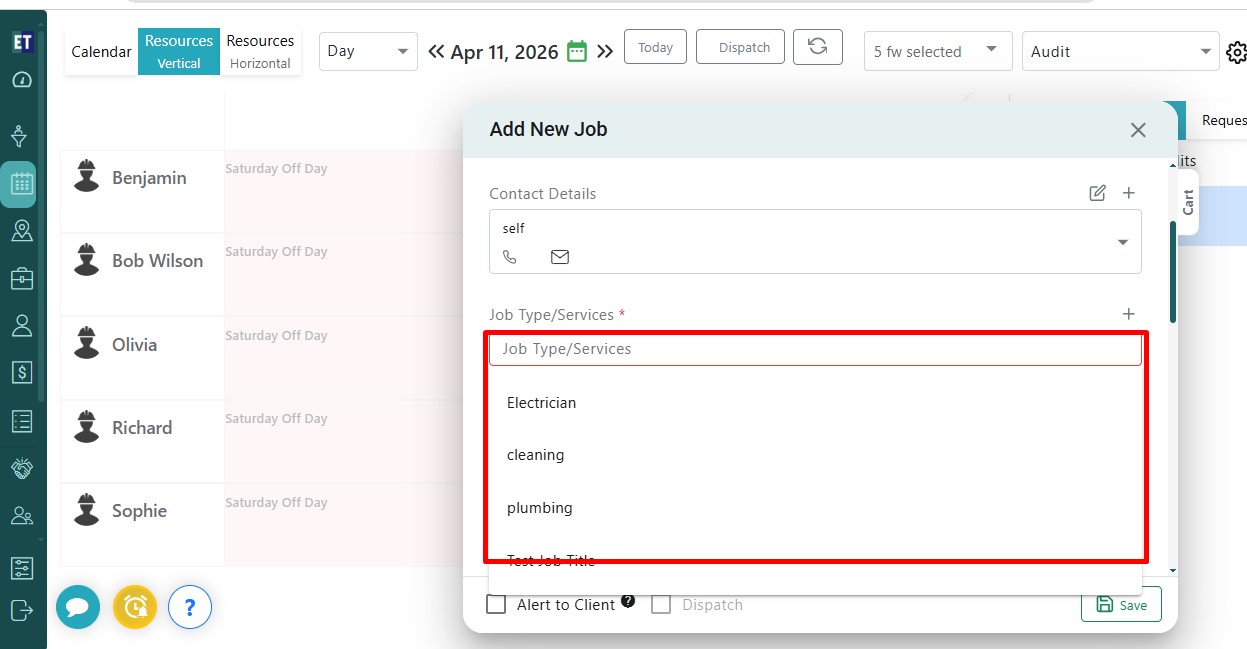 *Note: You must fill out all the fields marked with an asterisk.
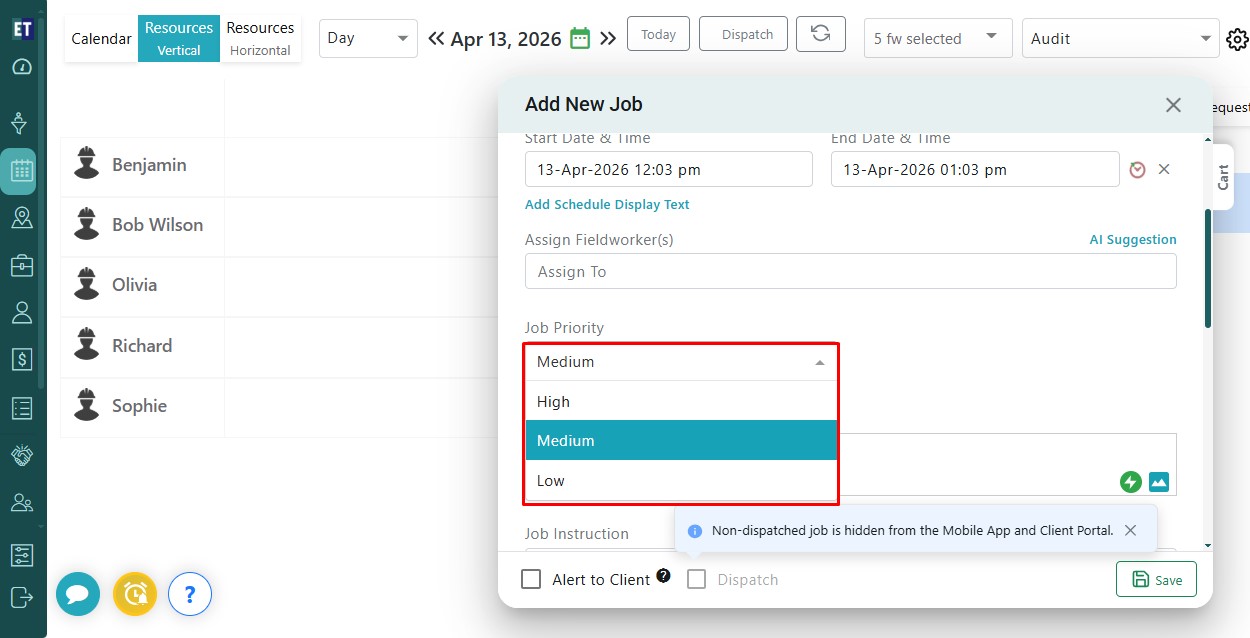
Click on Assign To field, it will open a dropdown. From the dropdown you can select the fieldworkers to assign the job.
*Note: You must fill out all the fields marked with an asterisk.
Click on Assign To field, it will open a dropdown. From the dropdown you can select the fieldworkers to assign the job.
 You can set the job priority as High, Medium, or Low based on your requirement by selecting the appropriate option from the Job Priority dropdown.
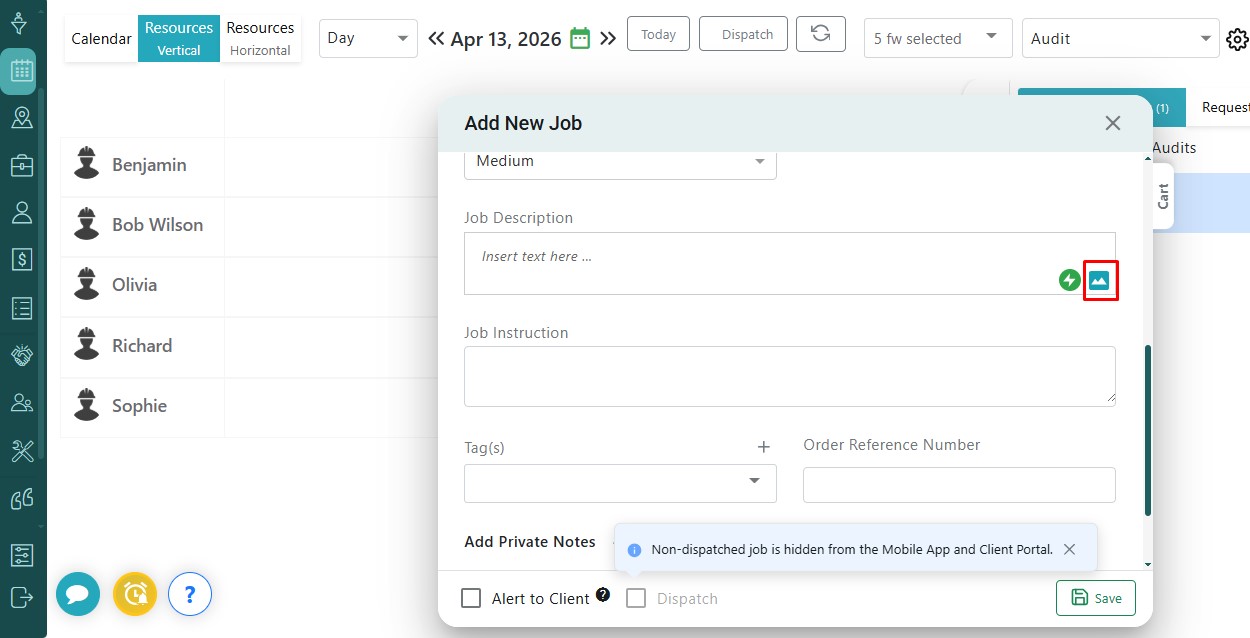
 If you want to Add the Description of the job, type the text in the Job Description box.
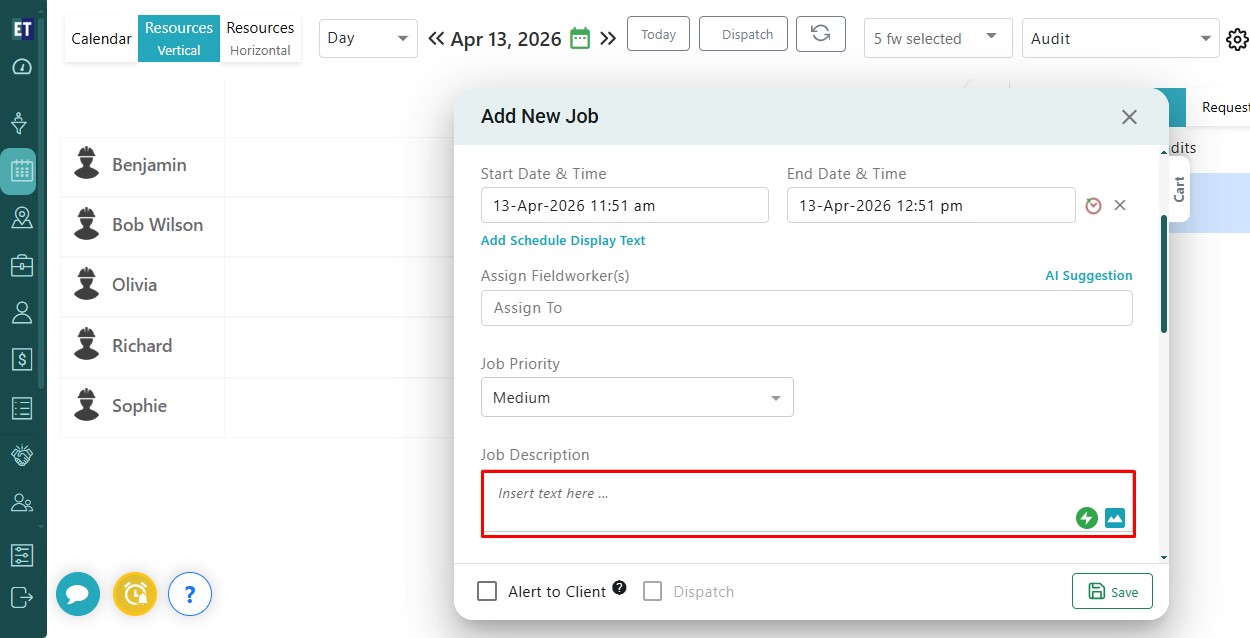 You can also attach the related job documents.
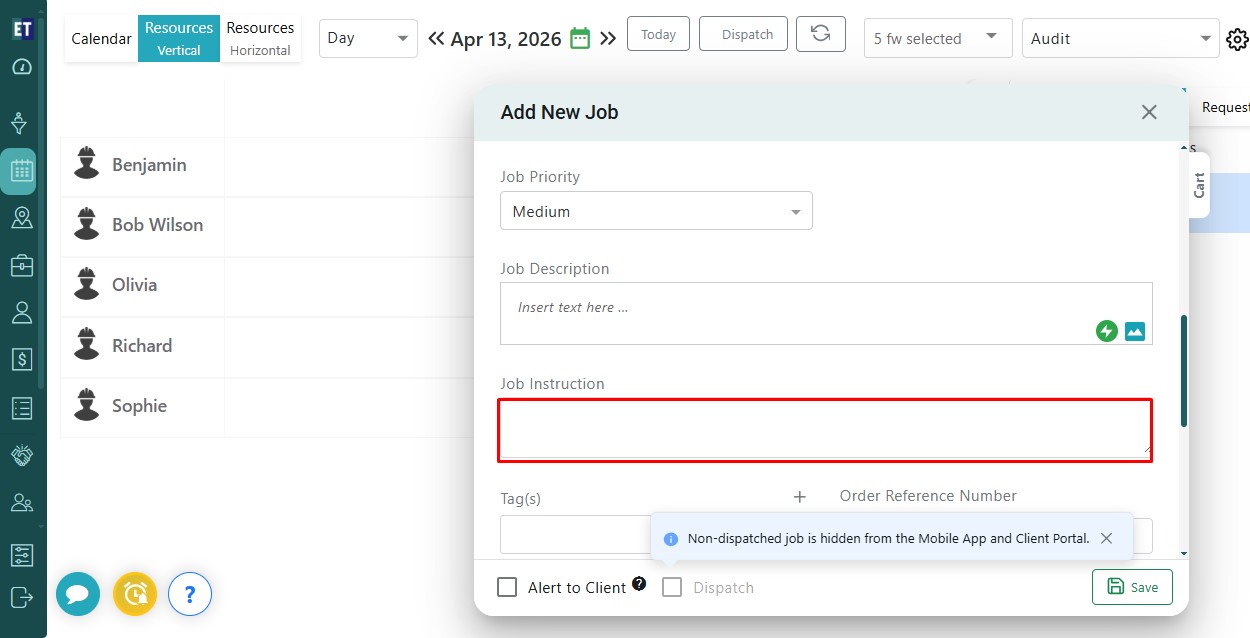
 You can also add instructions to your job in the Job Instruction field.
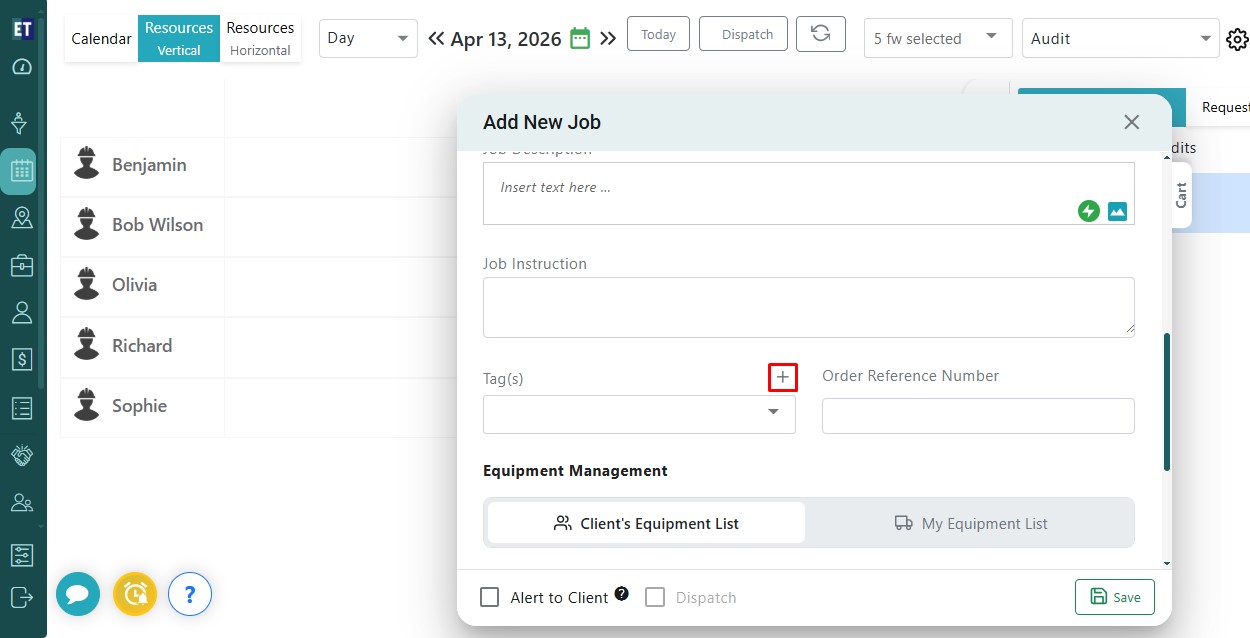
 To add a tag to the job, click on the “+” icon next to the Tag field. Then, enter the desired tag name in the Tag option and confirm to assign it to the job.
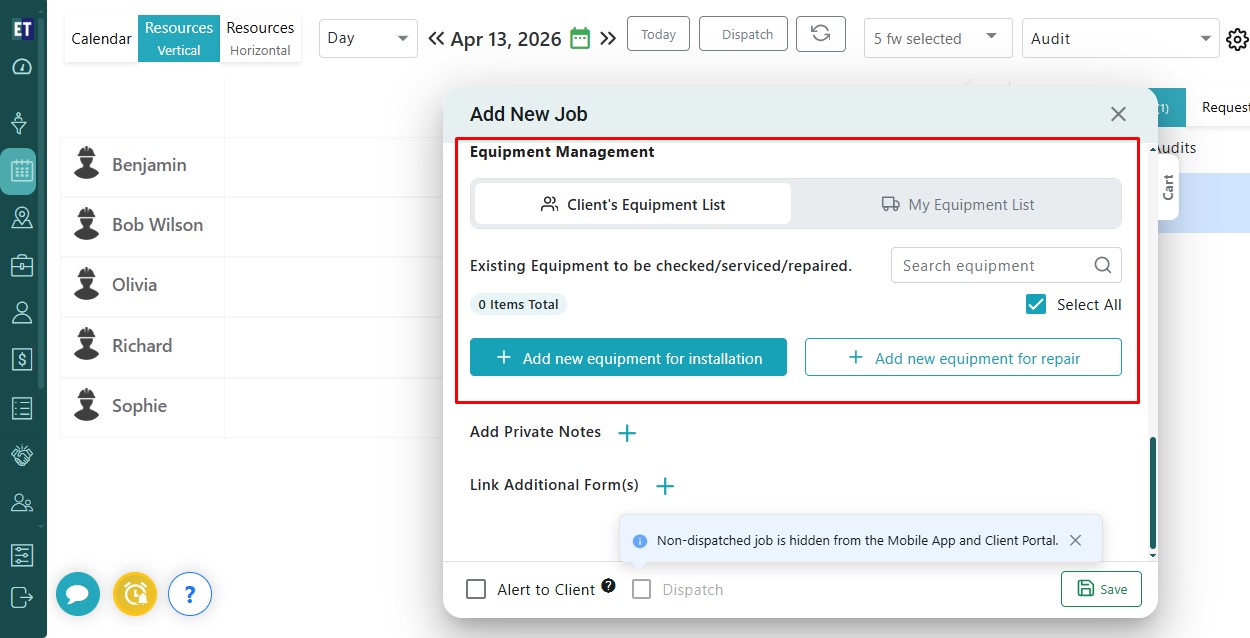
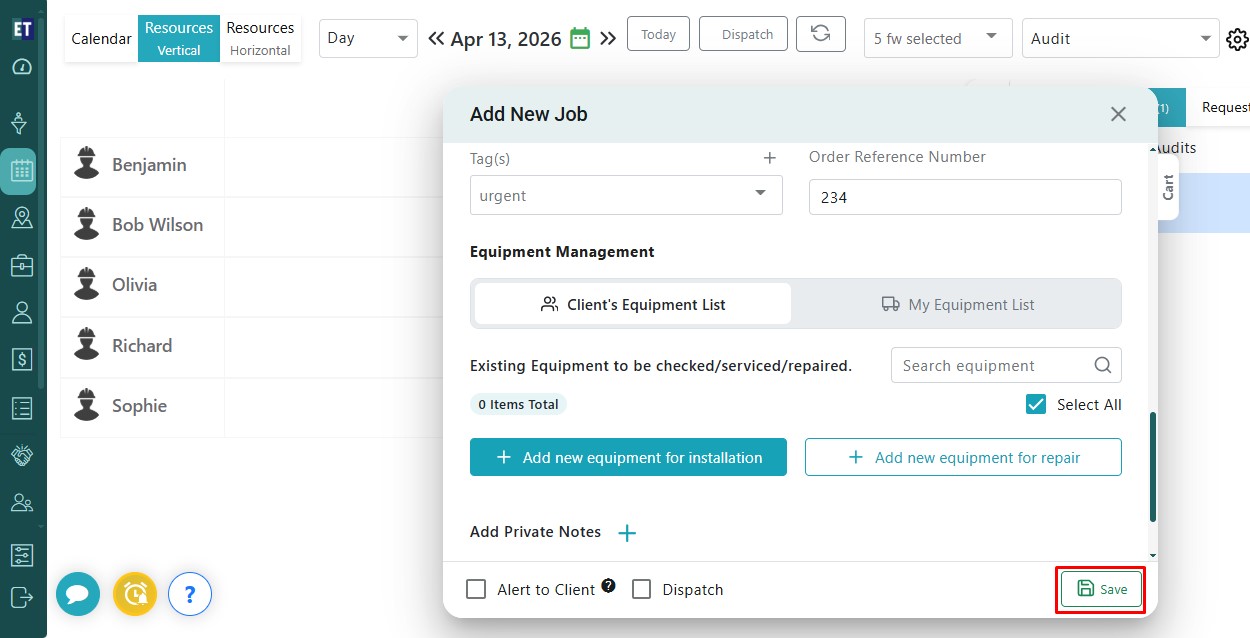
 You can manage the equipment associated with the job from the Equipment Management section. Select items from the Client’s Equipment List or switch to My Equipment List as needed. You can also search for existing equipment. You can select all items, or add new equipment for installation or repair using the available options as per your requirement.
 After filling all the details, click on the Save button.
 Clicking on the save button, will display the newly added job on the Scheduler.
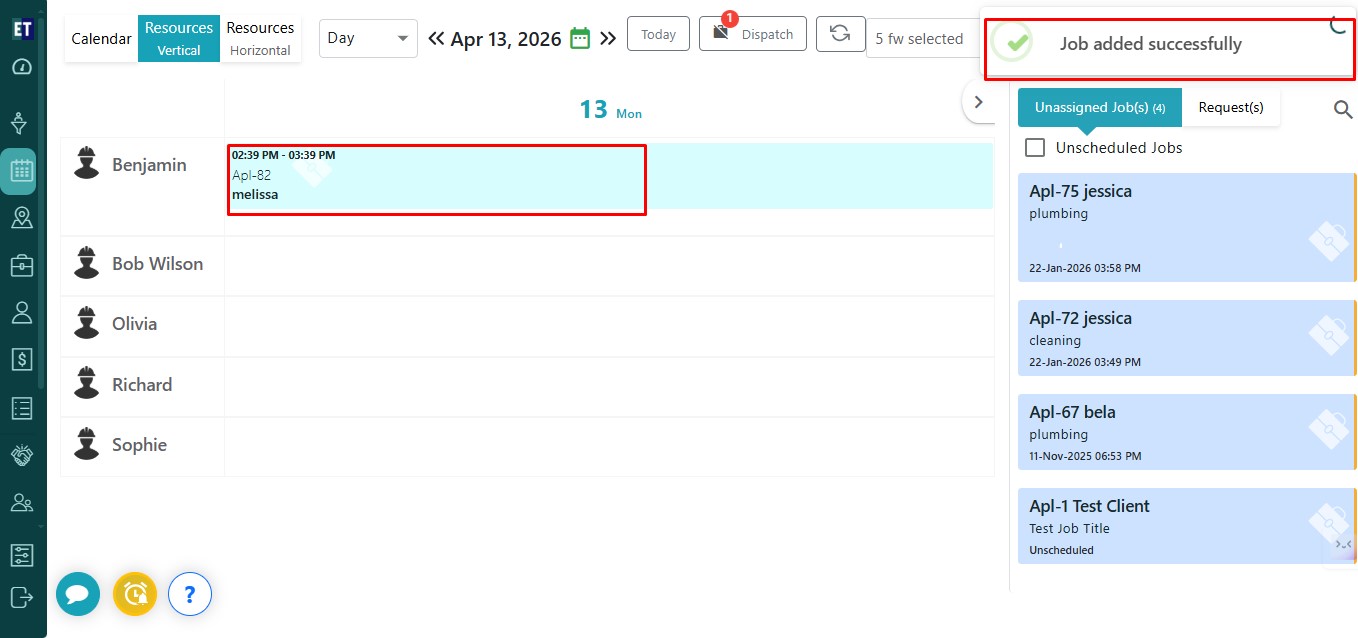 Also, a Success Alert will be displayed on the right top corner, indicating that the Job has been successfully added to the scheduler.
For getting more details for creating a new job visit the page: createnewjob
Using the second method, click on any time slot of the scheduler.
Also, a Success Alert will be displayed on the right top corner, indicating that the Job has been successfully added to the scheduler.
For getting more details for creating a new job visit the page: createnewjob
Using the second method, click on any time slot of the scheduler.
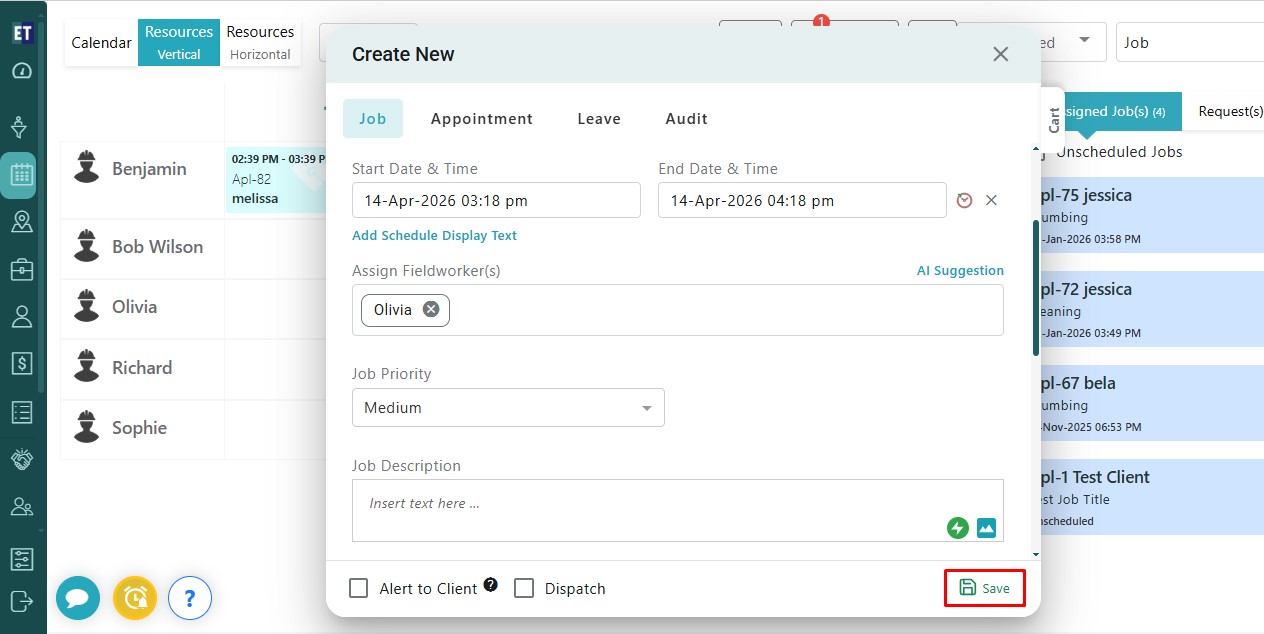
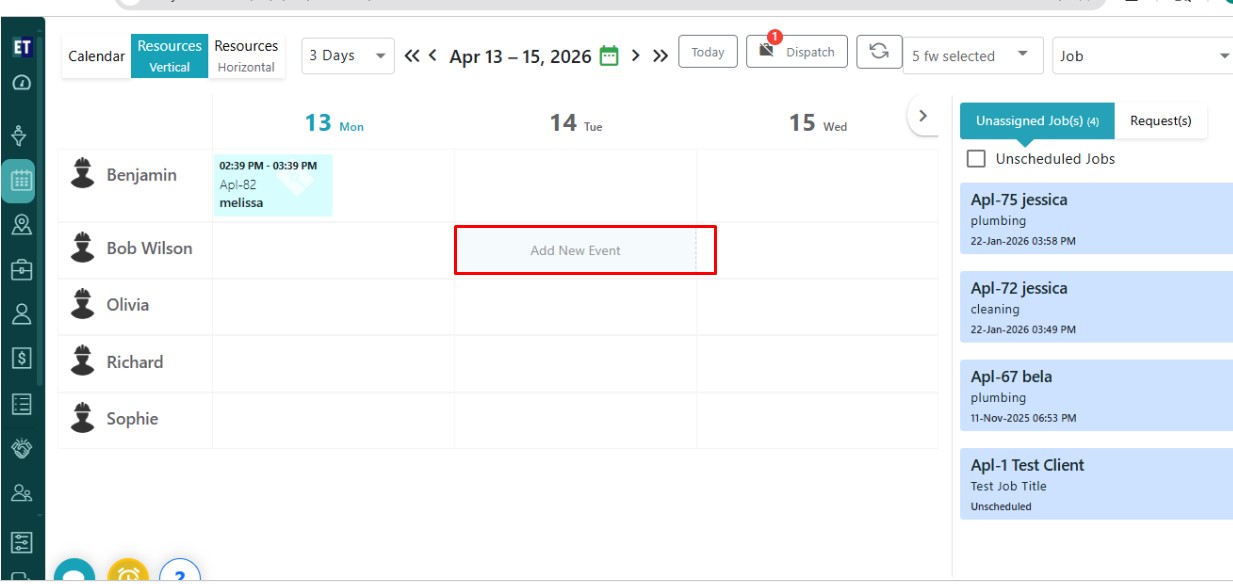 Clicking on a time slot will open a “Create New” popup window.
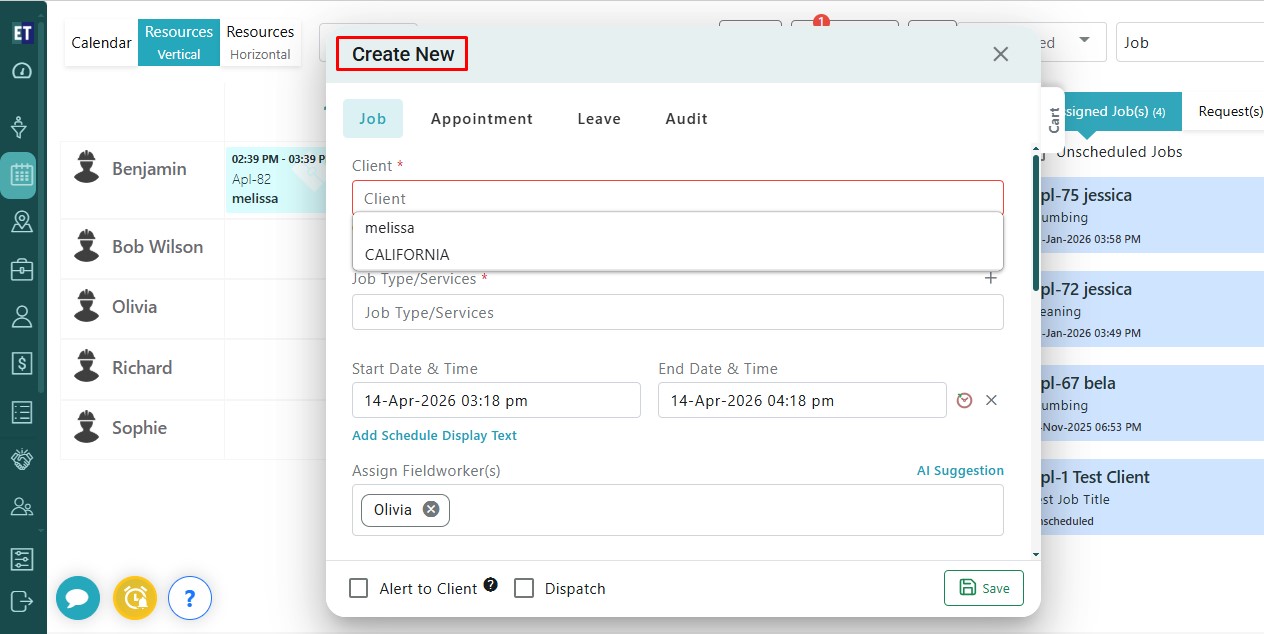 In the Job section, fill in all the required details as outlined in the first method, then click the Save button to add the job.
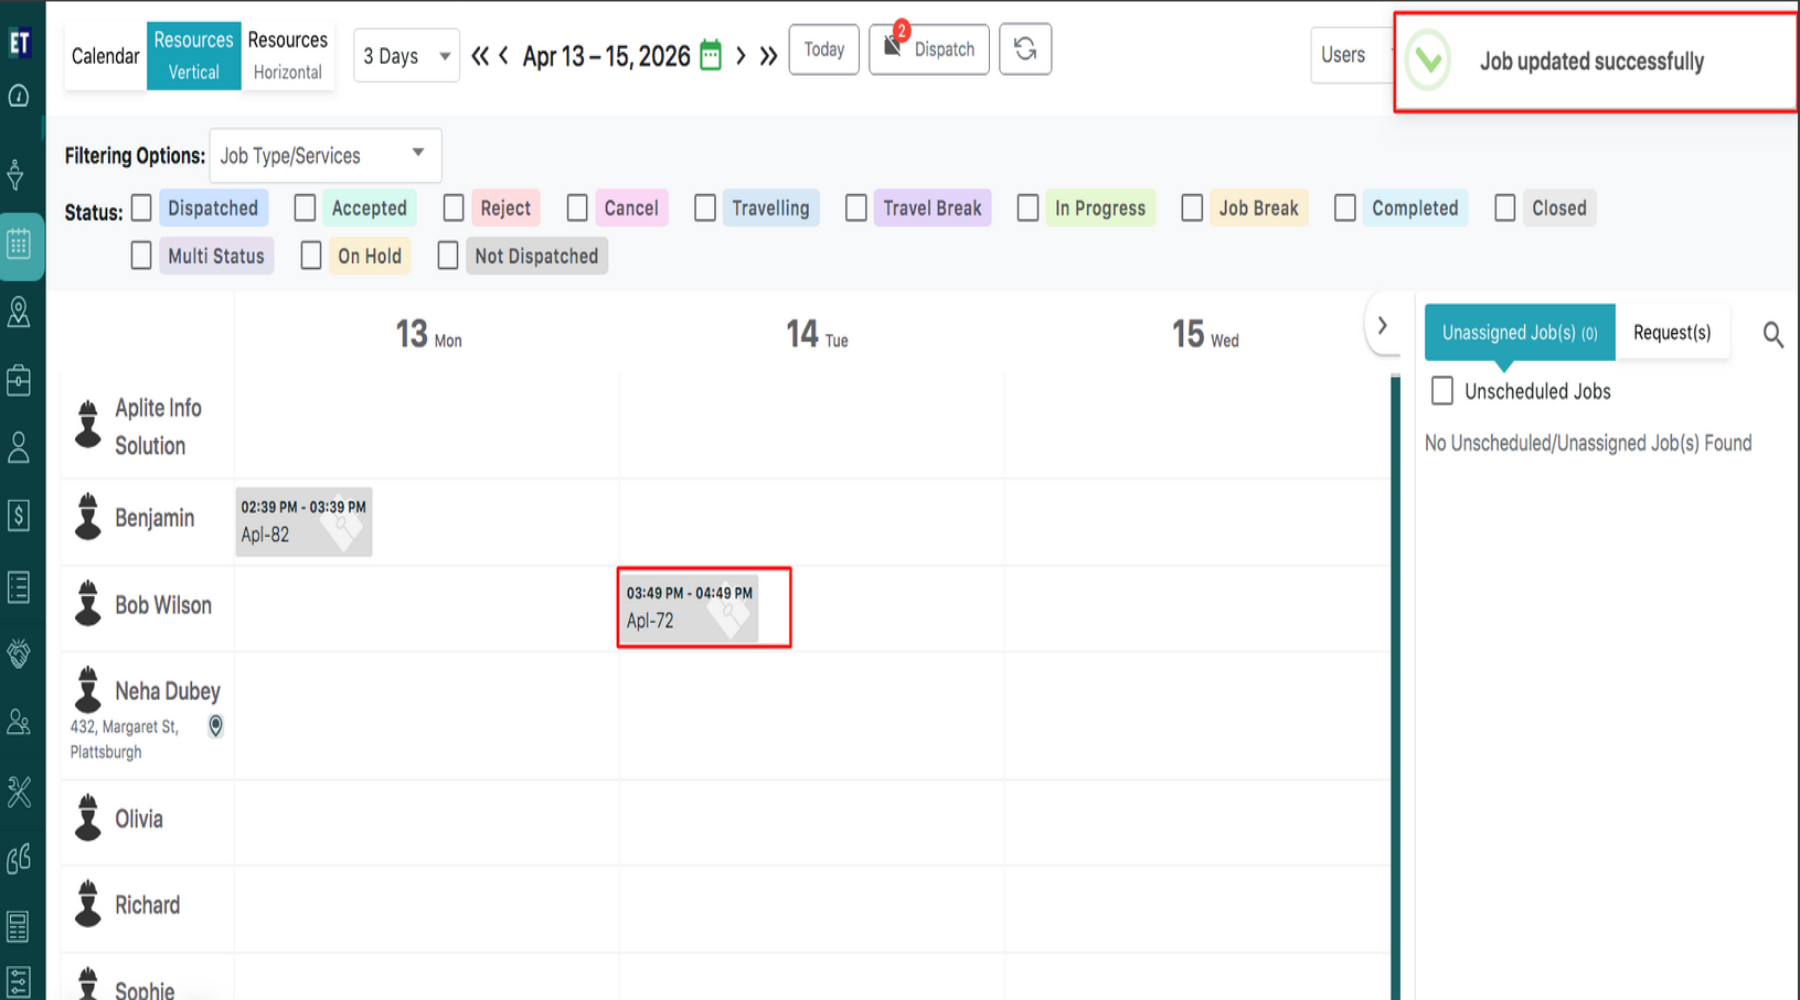
 A Success Alert will be displayed on the right top corner, indicating that the Job has been successfully added to the scheduler.
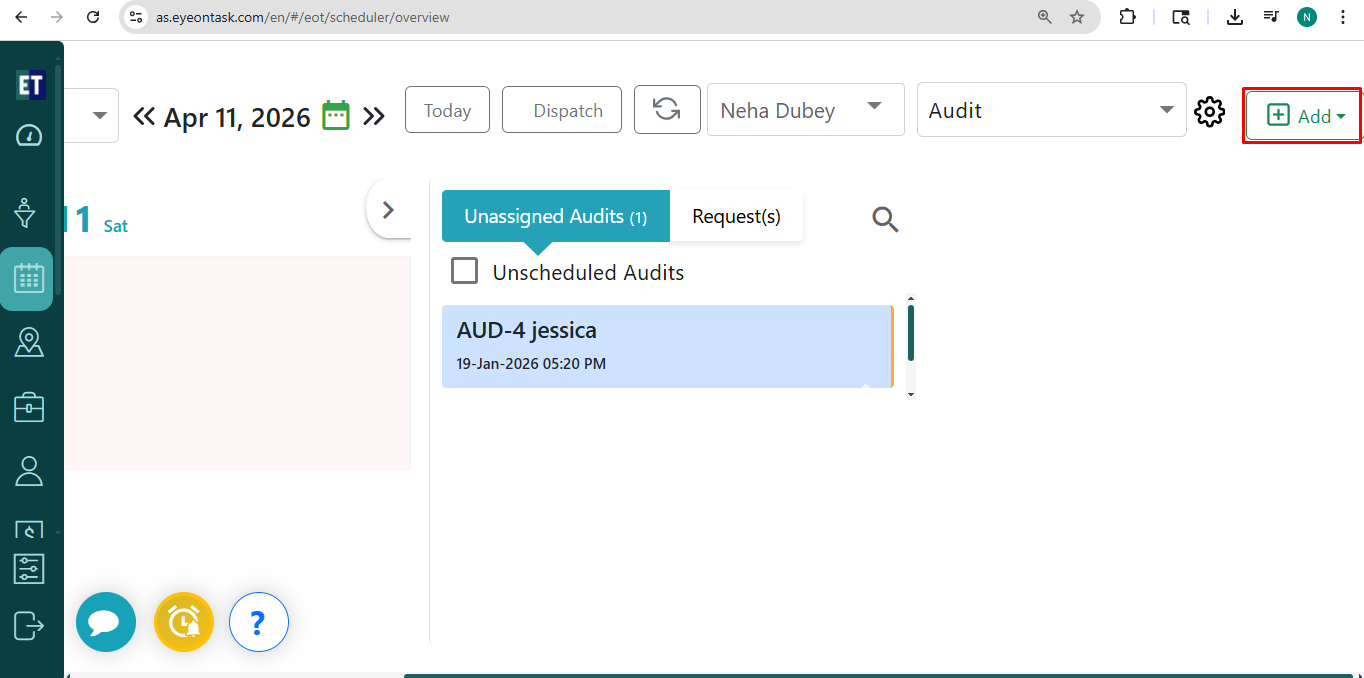
There are 2 ways to add a new job.
- From the Add Button on the top right.
- By double clicking on the time slot of the date of the scheduler.
Select the Add Job from the drop down menu.
You will see an Add New Job pop up on the screen with input fields.
Fill out all the details required in the form start with the Client Name, after filling the name you will see a drop down for additional client details such as Email ID, Mobile No, Address, City.
Select the JobType/Services from the dropdown field. You can select more than one JobType/Services from here.
*Note: You must fill out all the fields marked with an asterisk.
Click on Assign To field, it will open a dropdown. From the dropdown you can select the fieldworkers to assign the job.
You can set the job priority as High, Medium, or Low based on your requirement by selecting the appropriate option from the Job Priority dropdown.
If you want to Add the Description of the job, type the text in the Job Description box.
You can also attach the related job documents.
You can also add instructions to your job in the Job Instruction field.
To add a tag to the job, click on the “+” icon next to the Tag field. Then, enter the desired tag name in the Tag option and confirm to assign it to the job.
You can manage the equipment associated with the job from the Equipment Management section. Select items from the Client’s Equipment List or switch to My Equipment List as needed. You can also search for existing equipment. You can select all items, or add new equipment for installation or repair using the available options as per your requirement.
After filling all the details, click on the Save button.
Clicking on the save button, will display the newly added job on the Scheduler.
Also, a Success Alert will be displayed on the right top corner, indicating that the Job has been successfully added to the scheduler.
For getting more details for creating a new job visit the page: createnewjob
Using the second method, click on any time slot of the scheduler.
Clicking on a time slot will open a “Create New” popup window.
In the Job section, fill in all the required details as outlined in the first method, then click the Save button to add the job.
A Success Alert will be displayed on the right top corner, indicating that the Job has been successfully added to the scheduler.