Dashboard
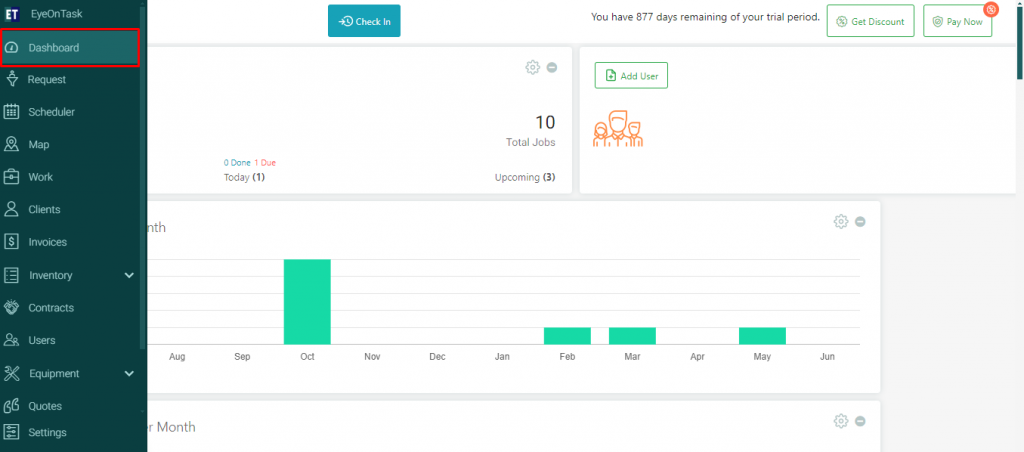
After you've created your EyeOnTask profile, you'll see the detailed Dashboard. Here, you can visualize and analyze your data.
EyeOnTask provides you customized Dashboard and it will help you to track your key performance indicators (KPIs) for easier data analysis, work management and collaboration.
You will see the first option on the Hamburger Menu is Dashboard.
 To Add Widgets: At the top left corner of the screen, you will get the Add Widgets button.
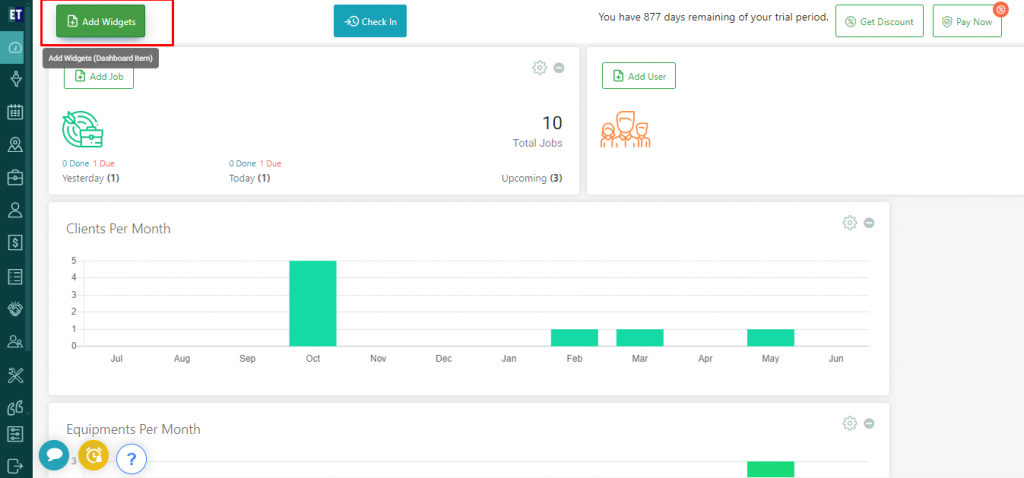 Widgets: Here Widgets are the shortcuts that are always active on your dashboard screen. You can add and organize work with widgets quickly.
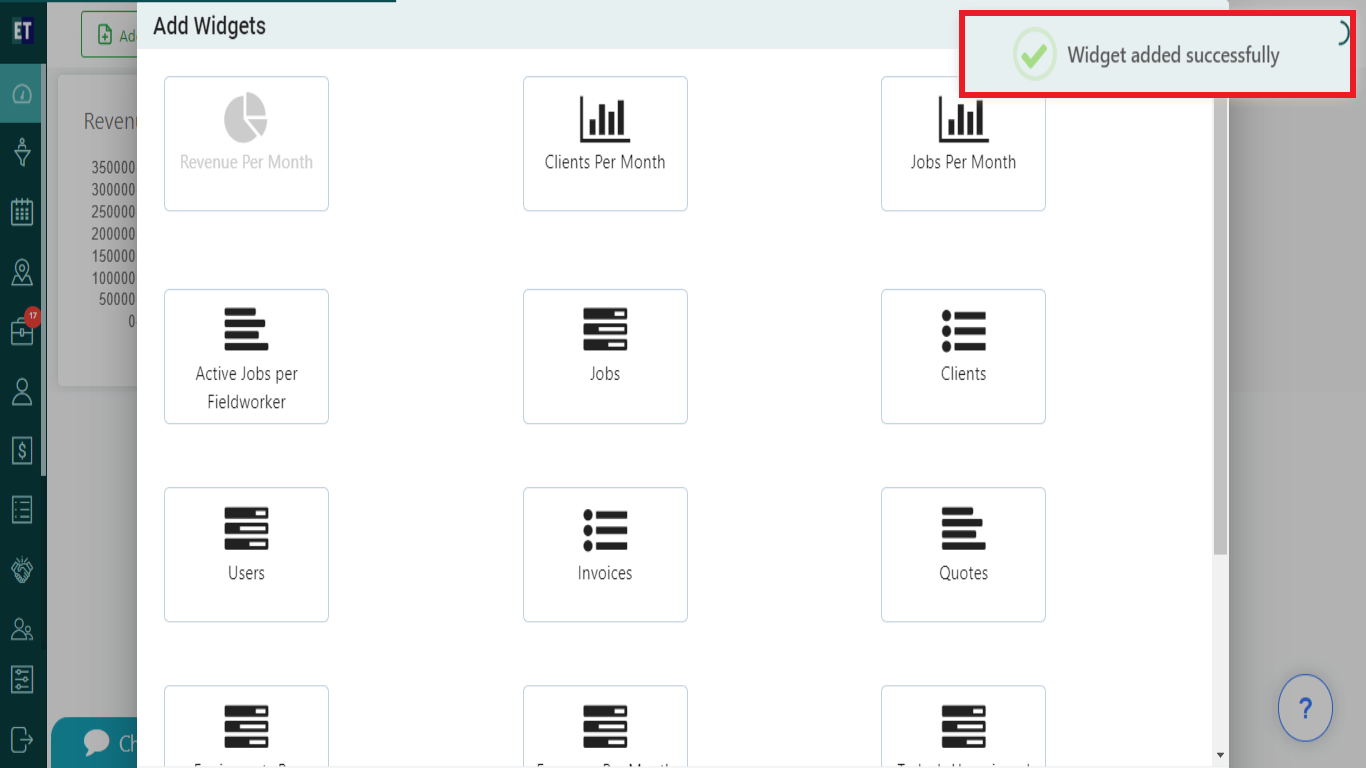
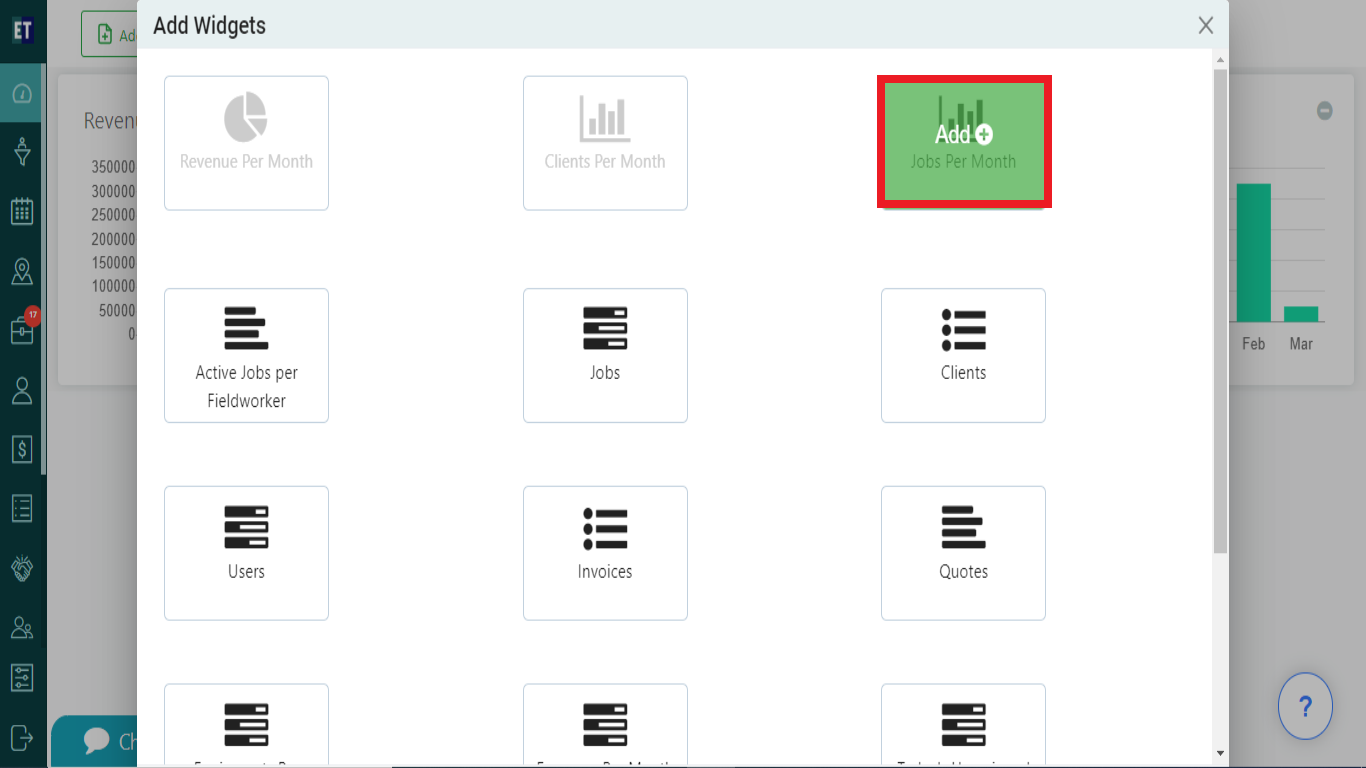
Click on the Add Widget button. You will see Add Widgets pop up on the screen, from where you can add different widgets on your dashboard.
Widgets: Here Widgets are the shortcuts that are always active on your dashboard screen. You can add and organize work with widgets quickly.
Click on the Add Widget button. You will see Add Widgets pop up on the screen, from where you can add different widgets on your dashboard.
 1. Revenue Per Month: Select the Revenue Per Month widget from the pop up.
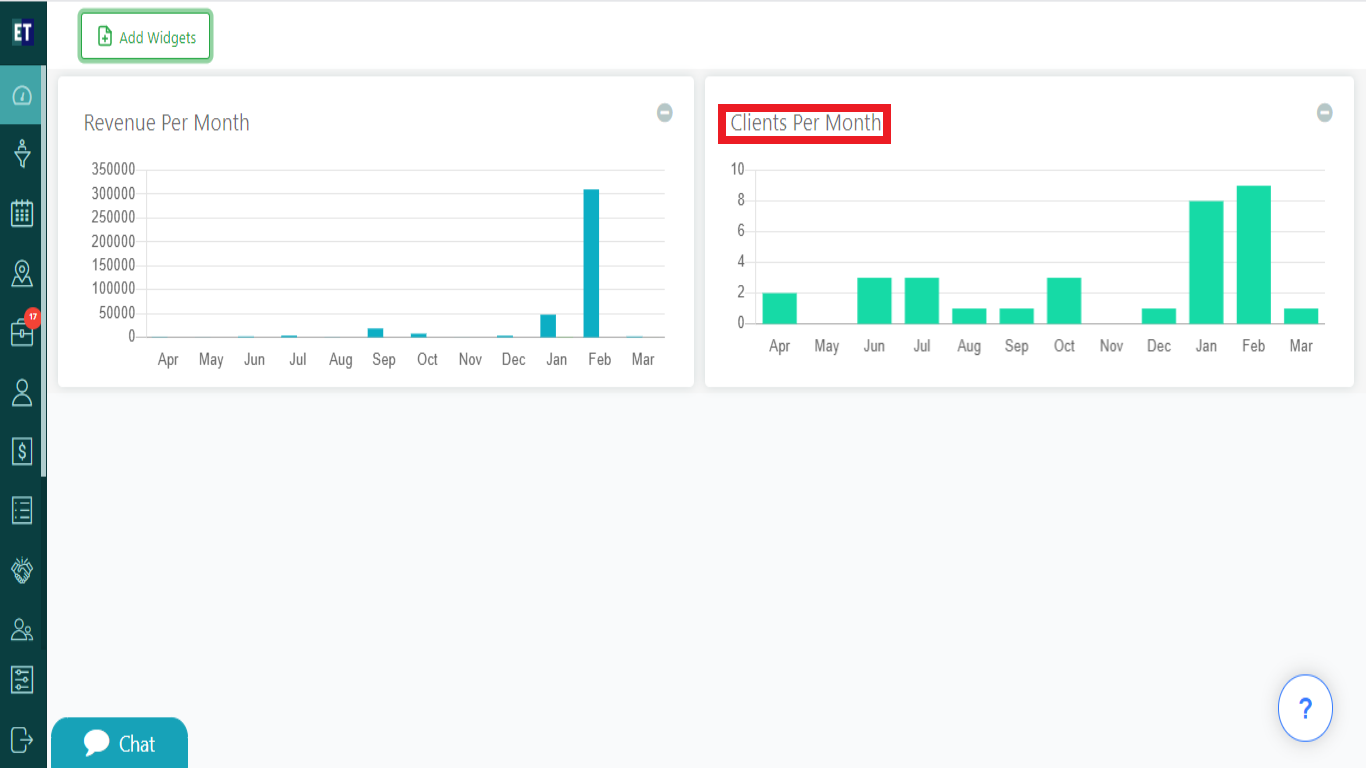
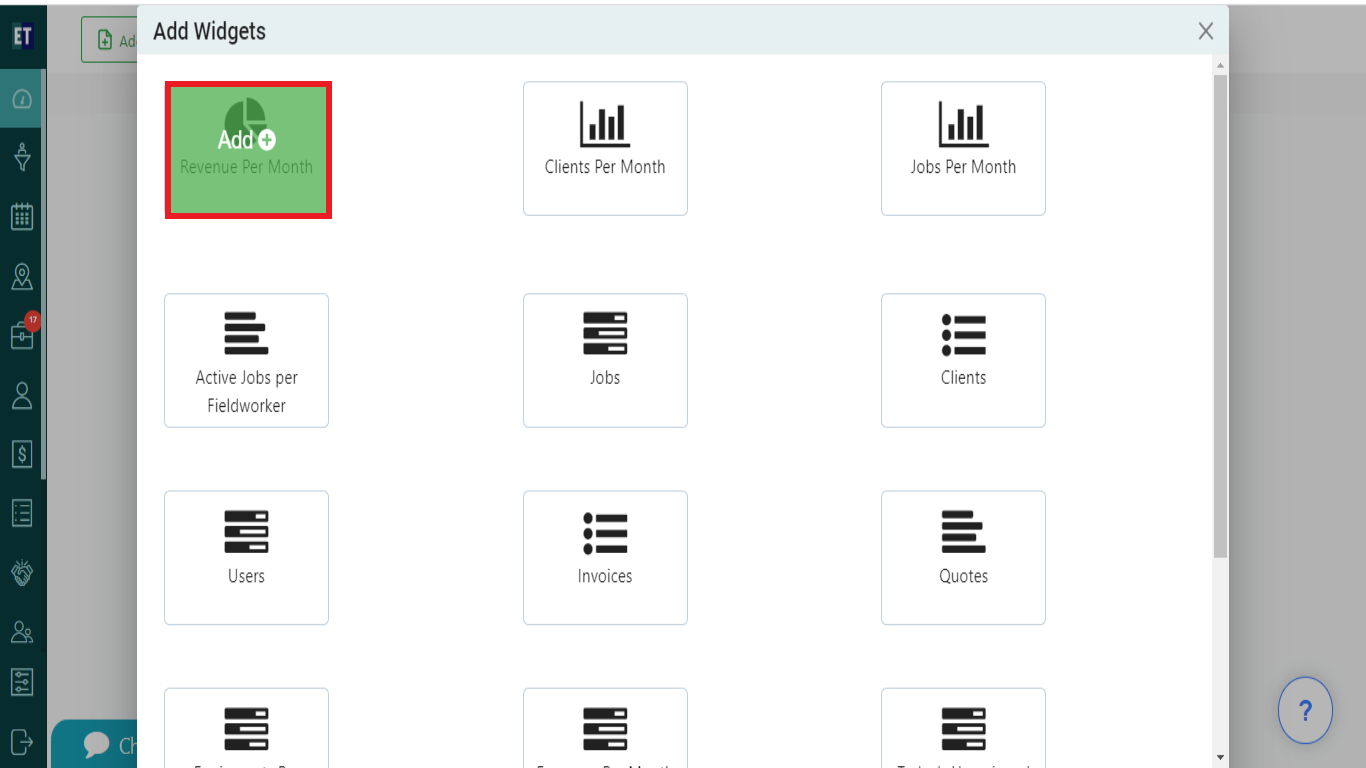 You will get the bar graph of the revenue report of your organisation based on the jobs done and worked service hours of every month on the dashboard, that will help you to track and analyse the monthly revenue figures.
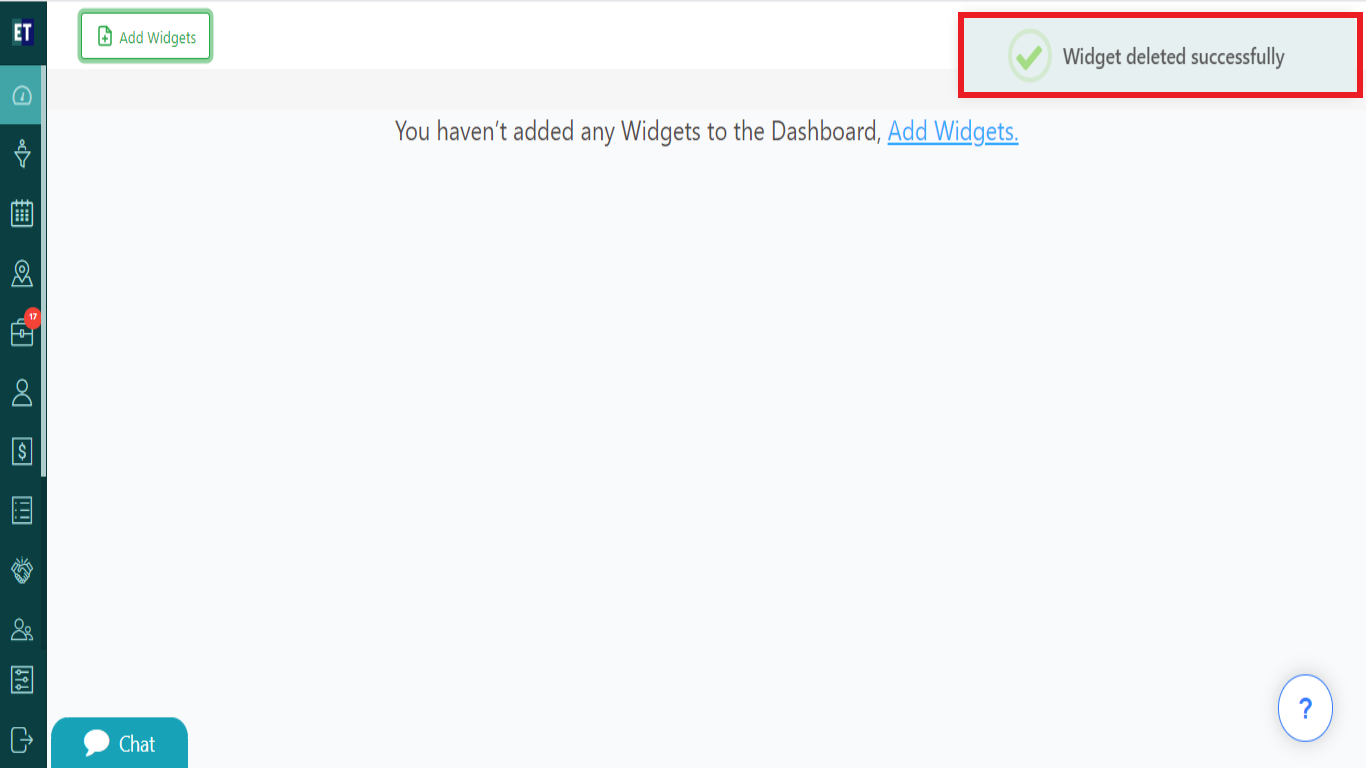
 *NOTE: You will be notified via an alert on the top left corner of the screen, after adding or deleting every widget.
 2. Clients Per Month: Select the Clients Per Month widget from the pop up.
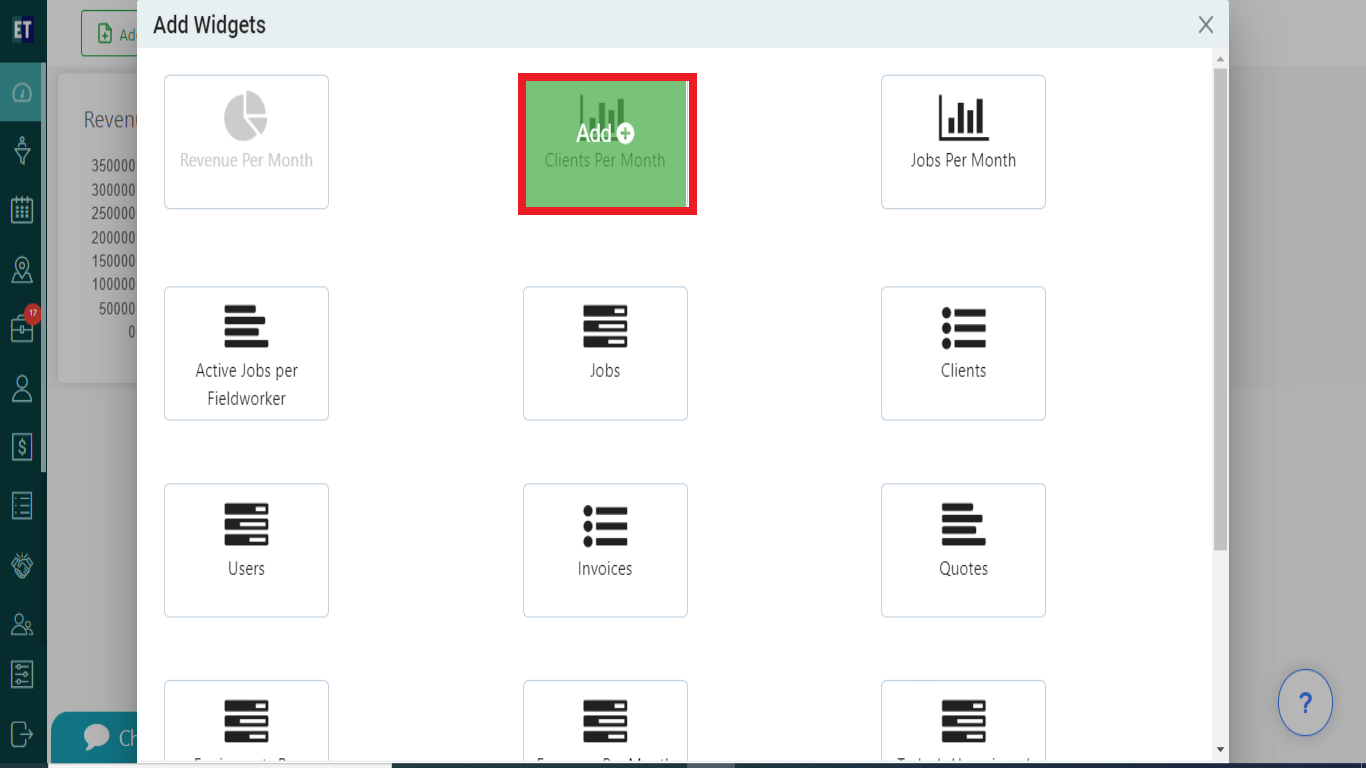 It will be added on the dashboard and you will get the graphic view of the total clients per month.
 3. Jobs Per Month: Select the Jobs Per Month widget from the pop up.
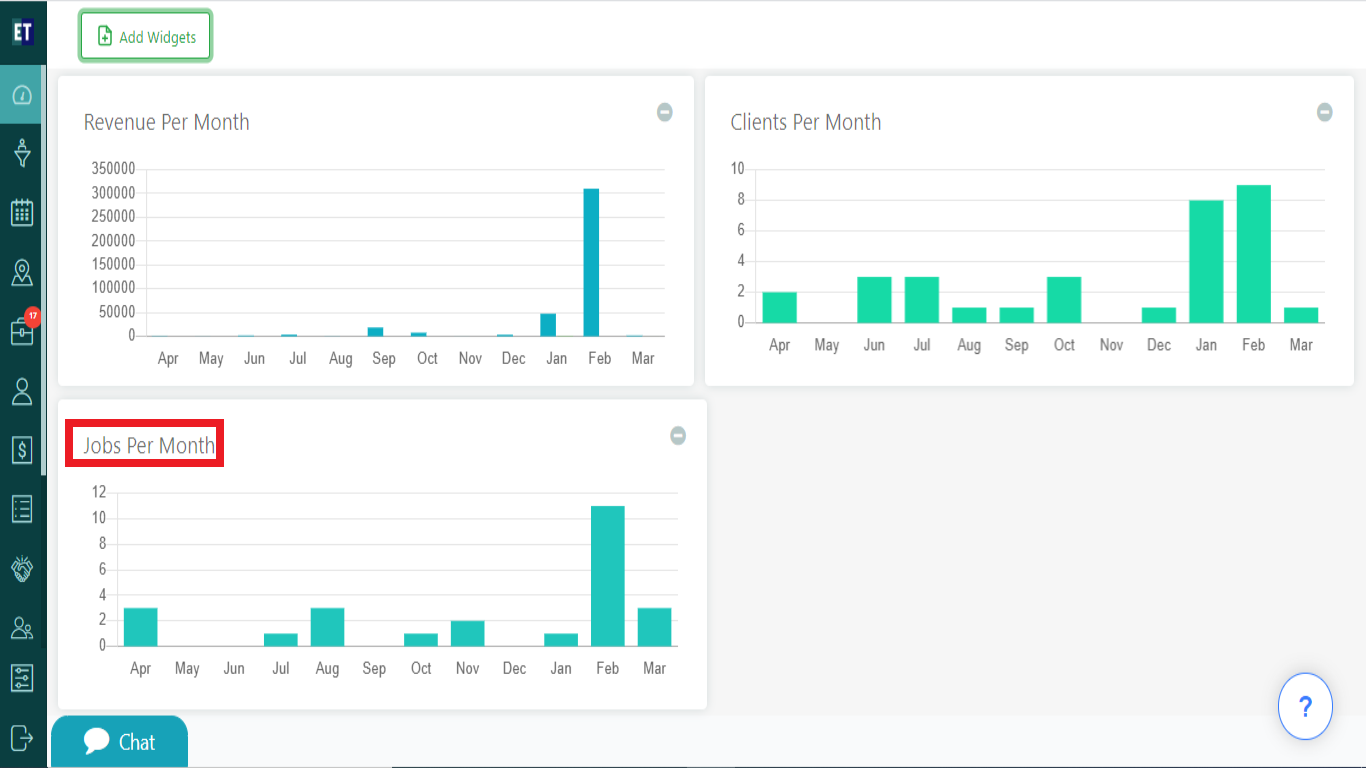
 It will be added on the dashboard and you will get the graphic view of the Jobs per month.
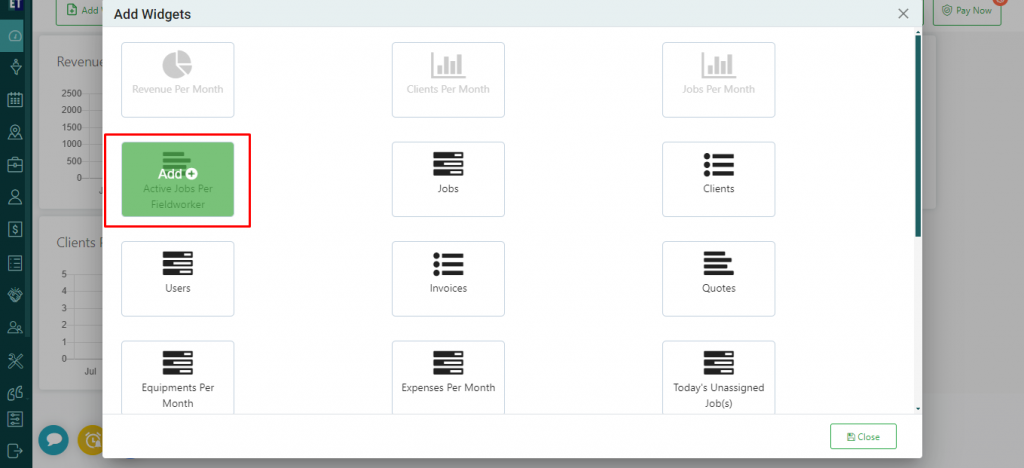
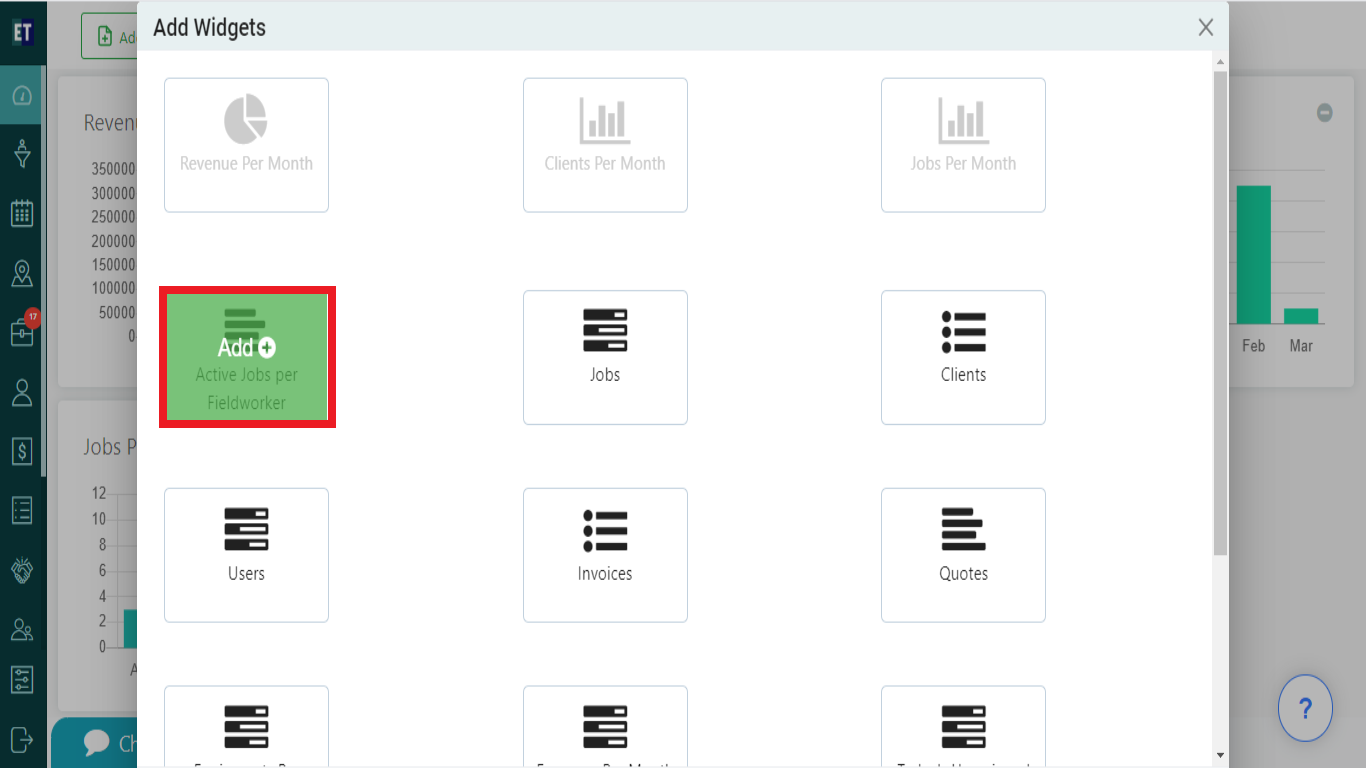
 4. Active Jobs Per Fieldworker : Select the Active Jobs Per Fieldworker widget from the pop up.
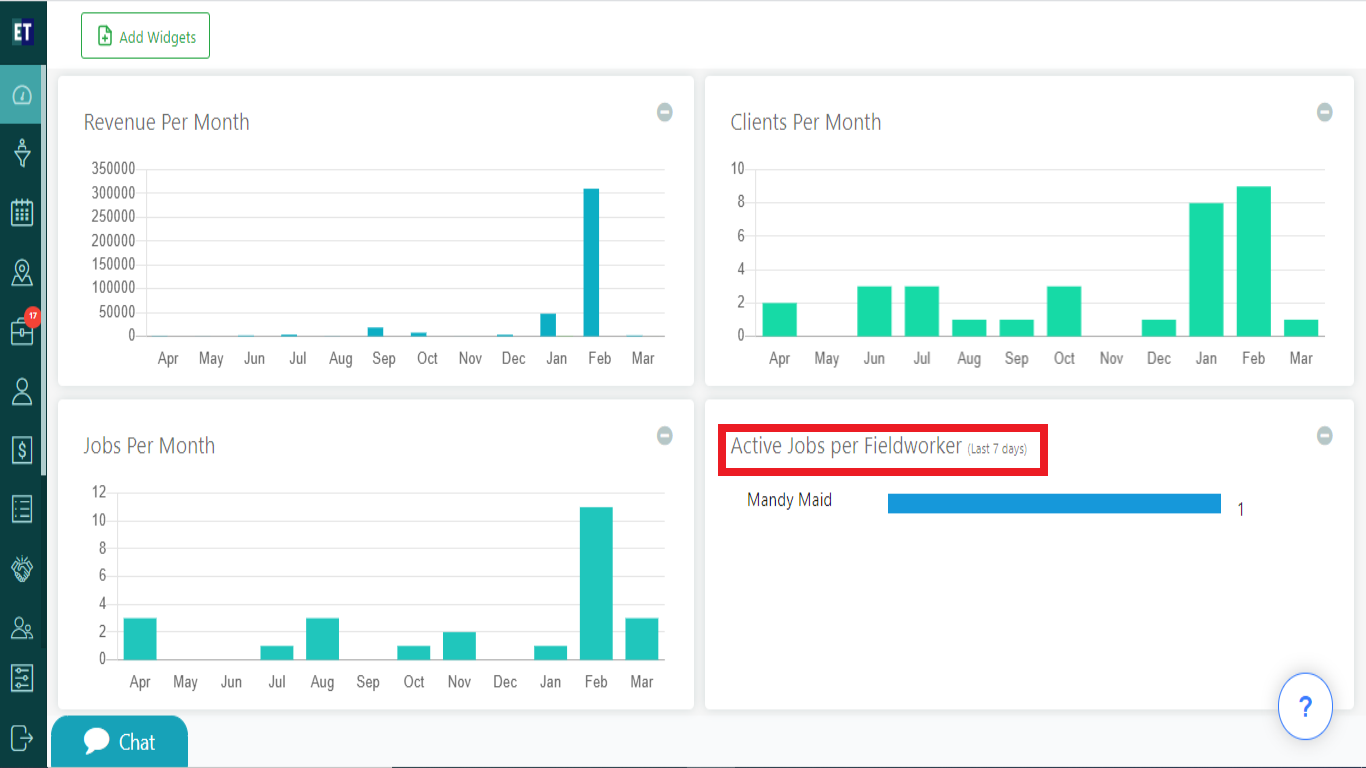
 After Selecting the Active Jobs Per Fieldworker widget, it will be added on the dashboard and you will get the bar graph of the active jobs of last seven days assigned to Fieldworkers.
 5. Jobs : Select the Jobs widget from the pop up.
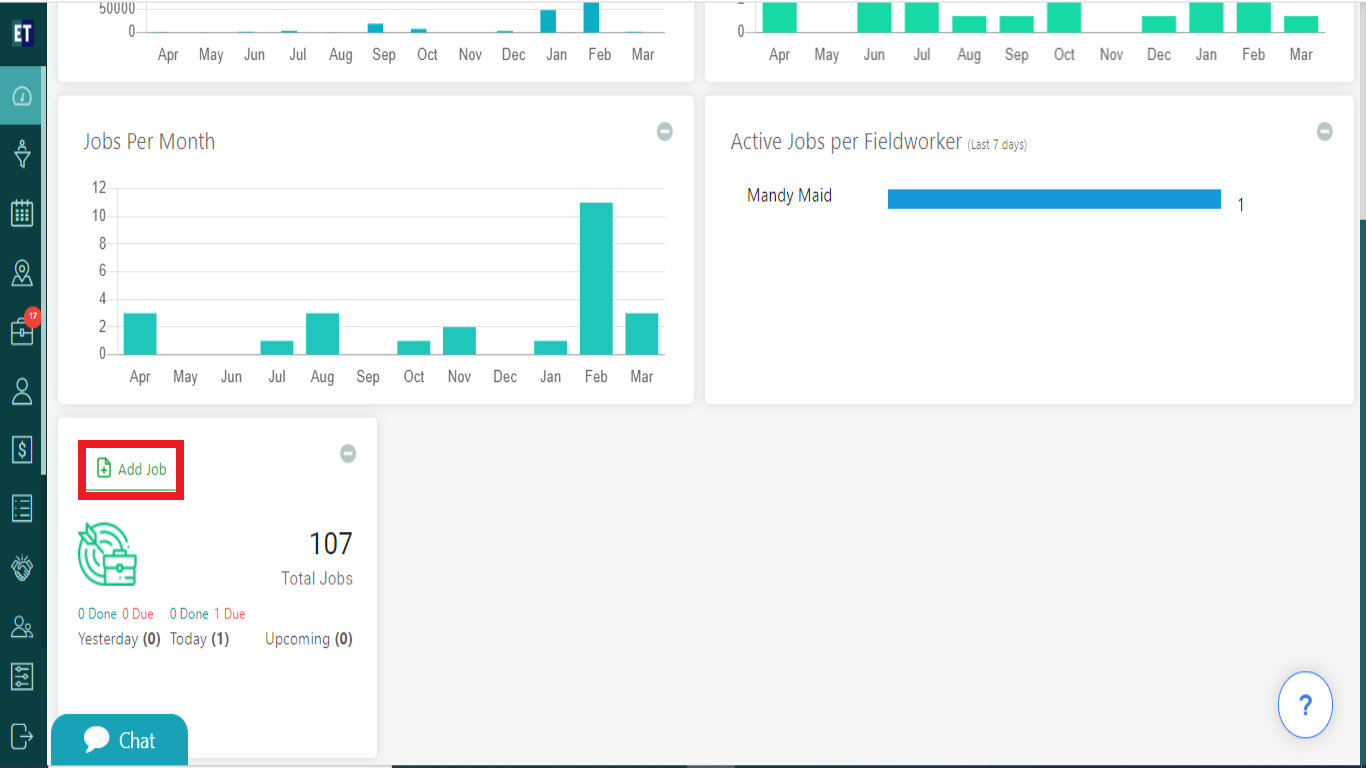
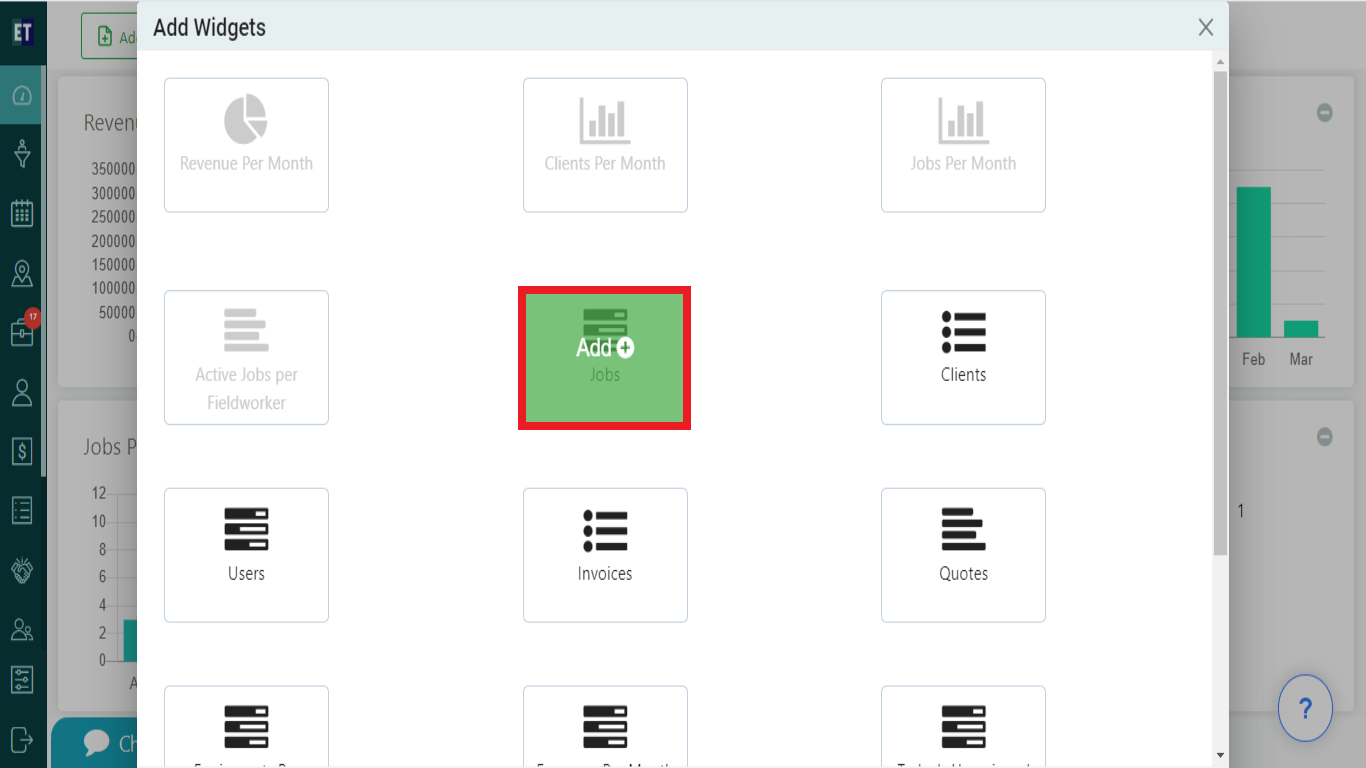 After selecting the Jobs Widget, it will be added on the dashboard and you will get the total number of Jobs with Add Job button that will redirect you to the Add Job popup.
 6.Clients : Select the Clients widget from the pop up.
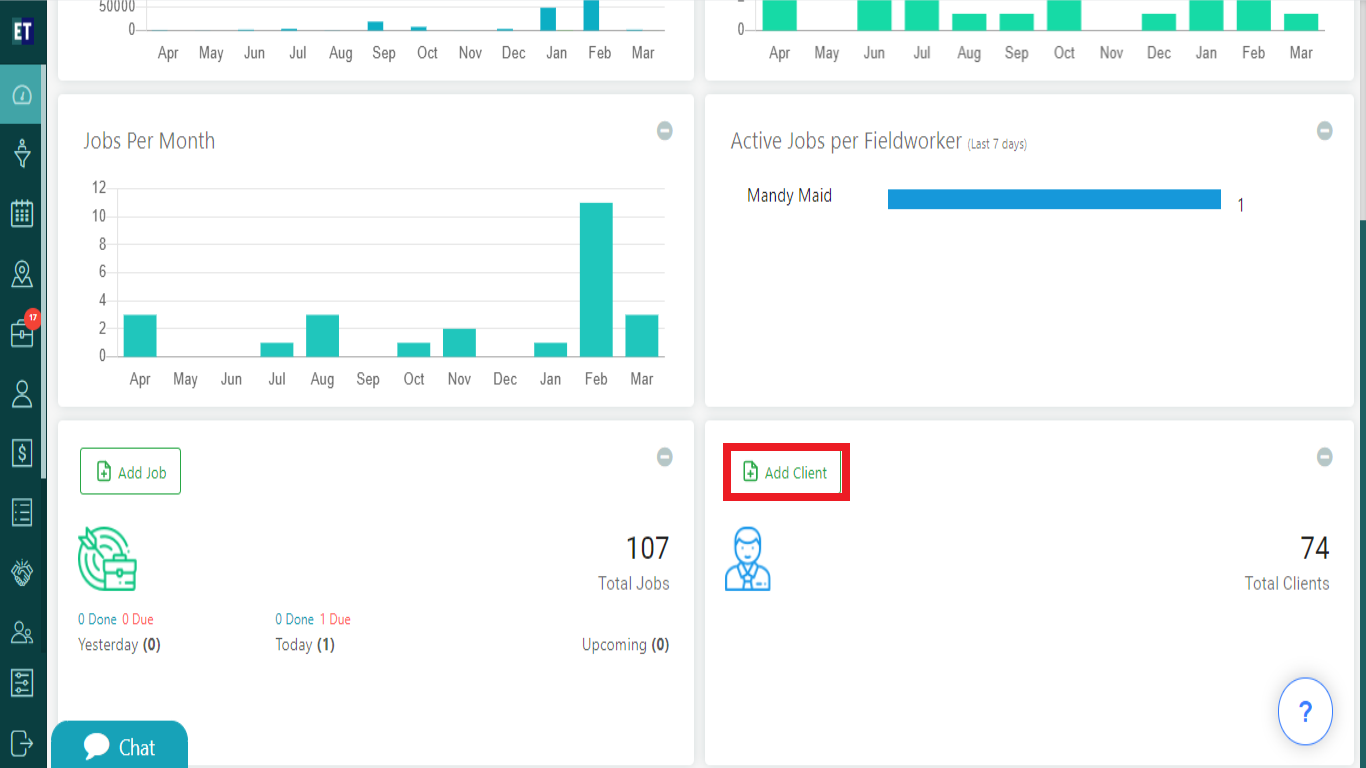
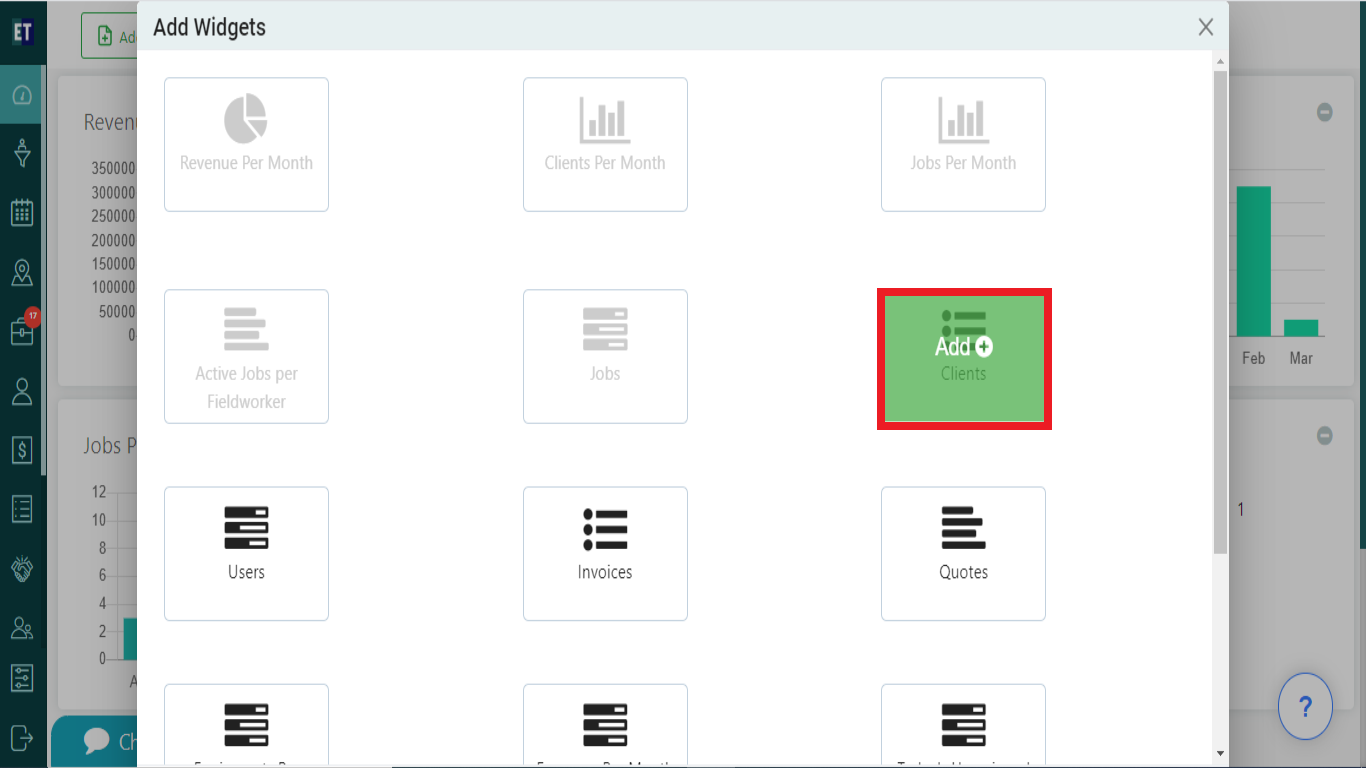 After Selecting the Clients Widget, it will be added on the dashboard and will show you the total number of Clients added with the Add client tab that will redirect you to the Add Client popup.
 7. Users : Select the Users widget from the pop up.
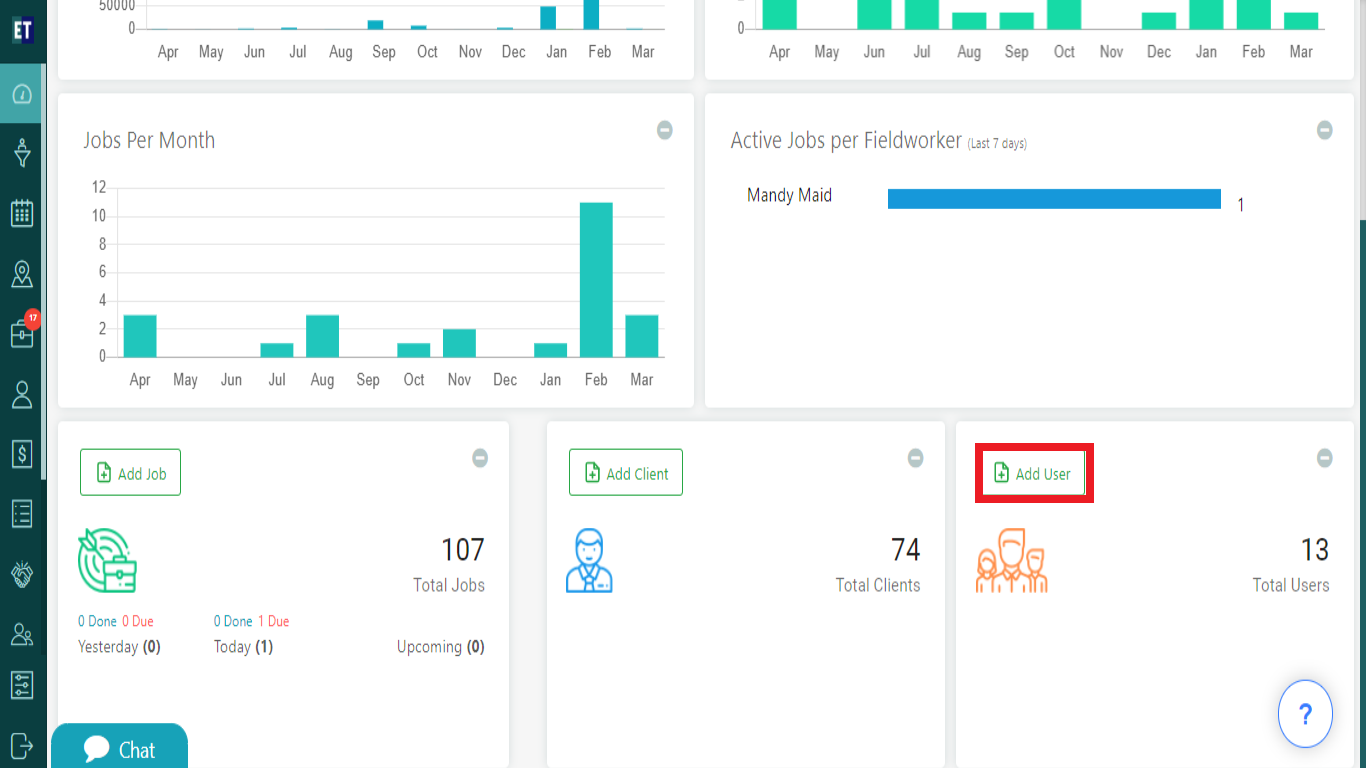
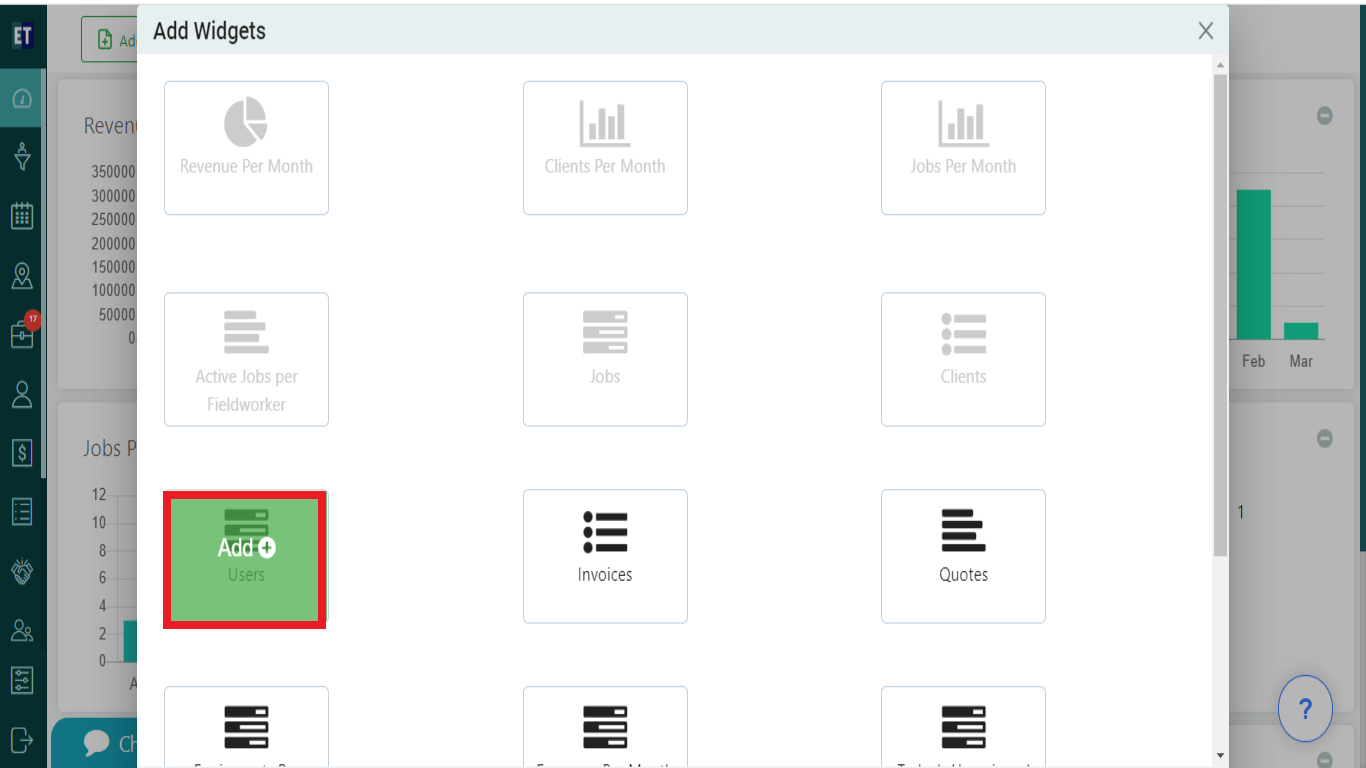 After Selecting the Users Widget, it will appear on the dashboard and will show you the total number of Users and with Add Users button that will redirect you to the Add User popup.
 8. Invoices : Select the Invoices widget from the pop up.
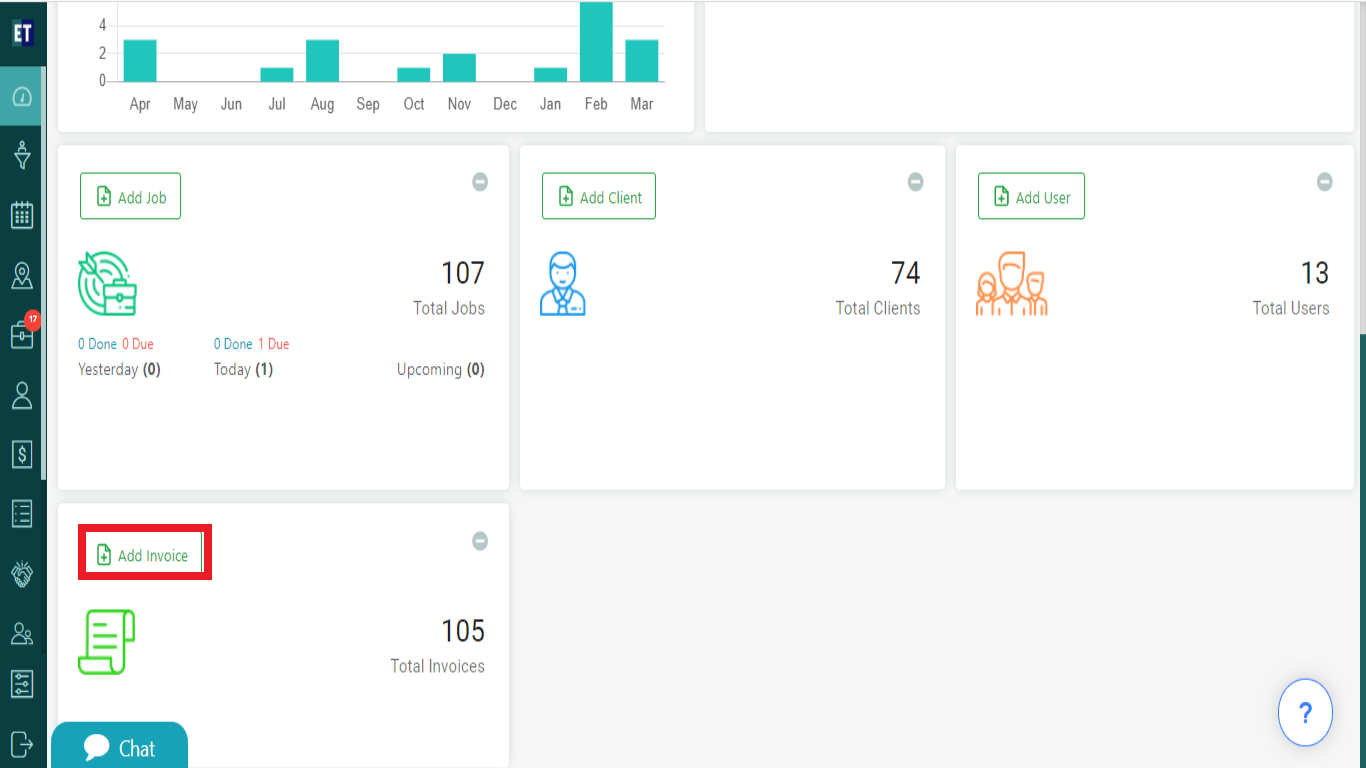
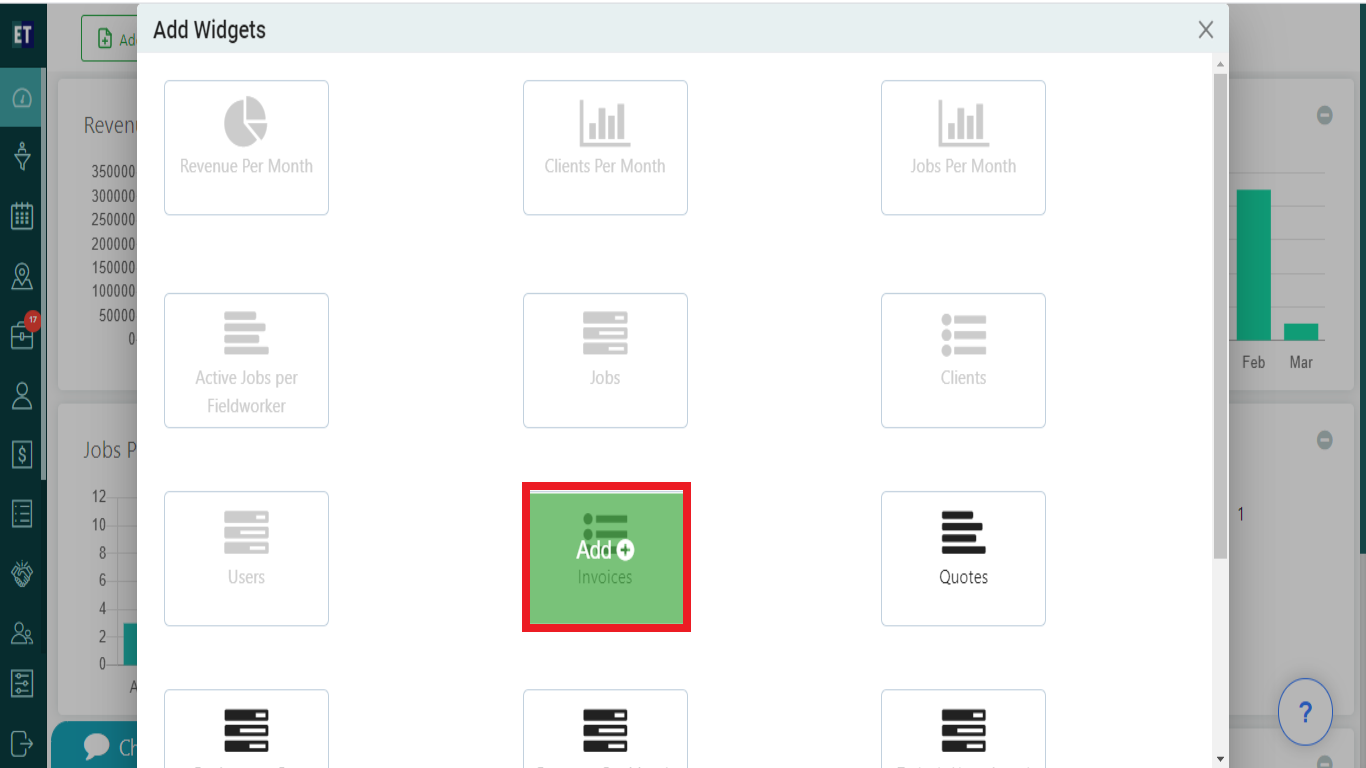 After Selecting the Invoices widget, it will be added on the dashboard and will show you the total invoices generated and the Add Invoice button that will redirect you to the Add Invoice popup.
 9. Quotes : Select the Quotes widget from the pop up.
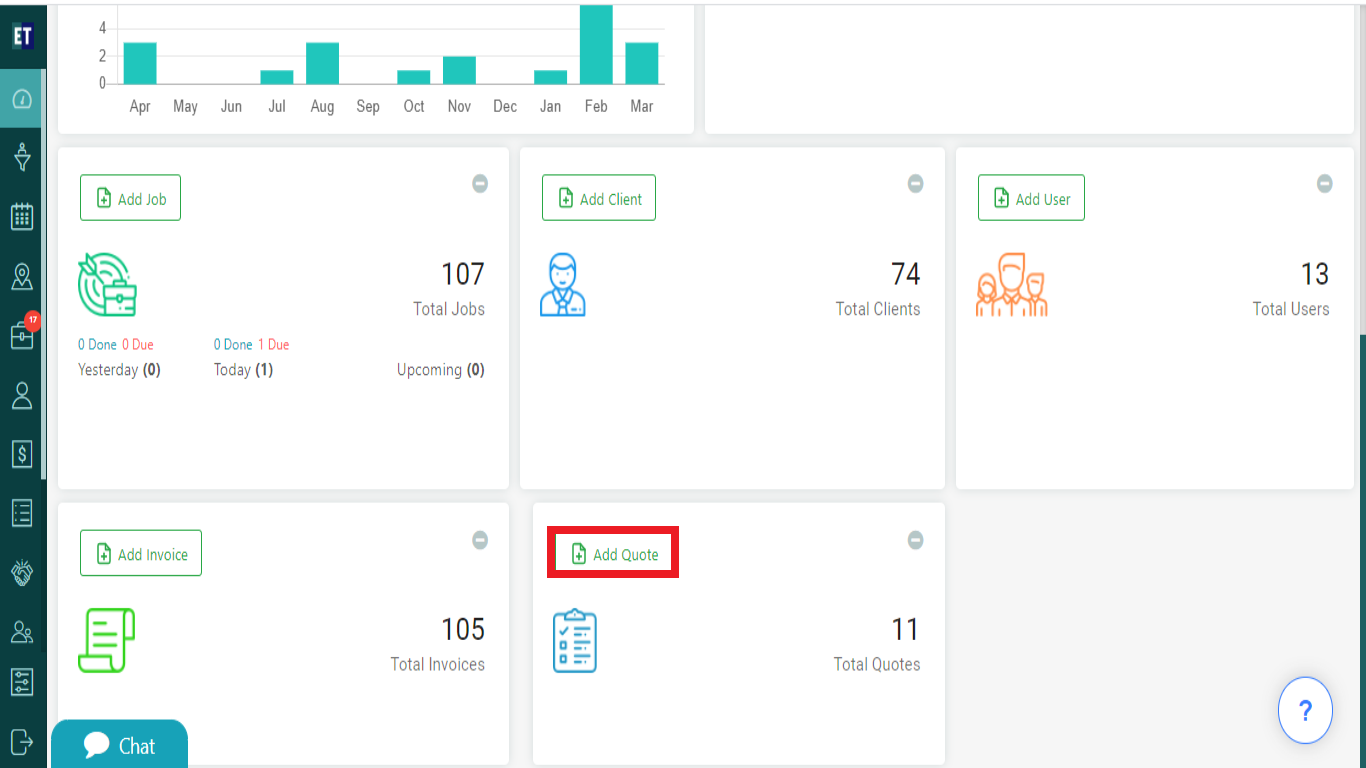
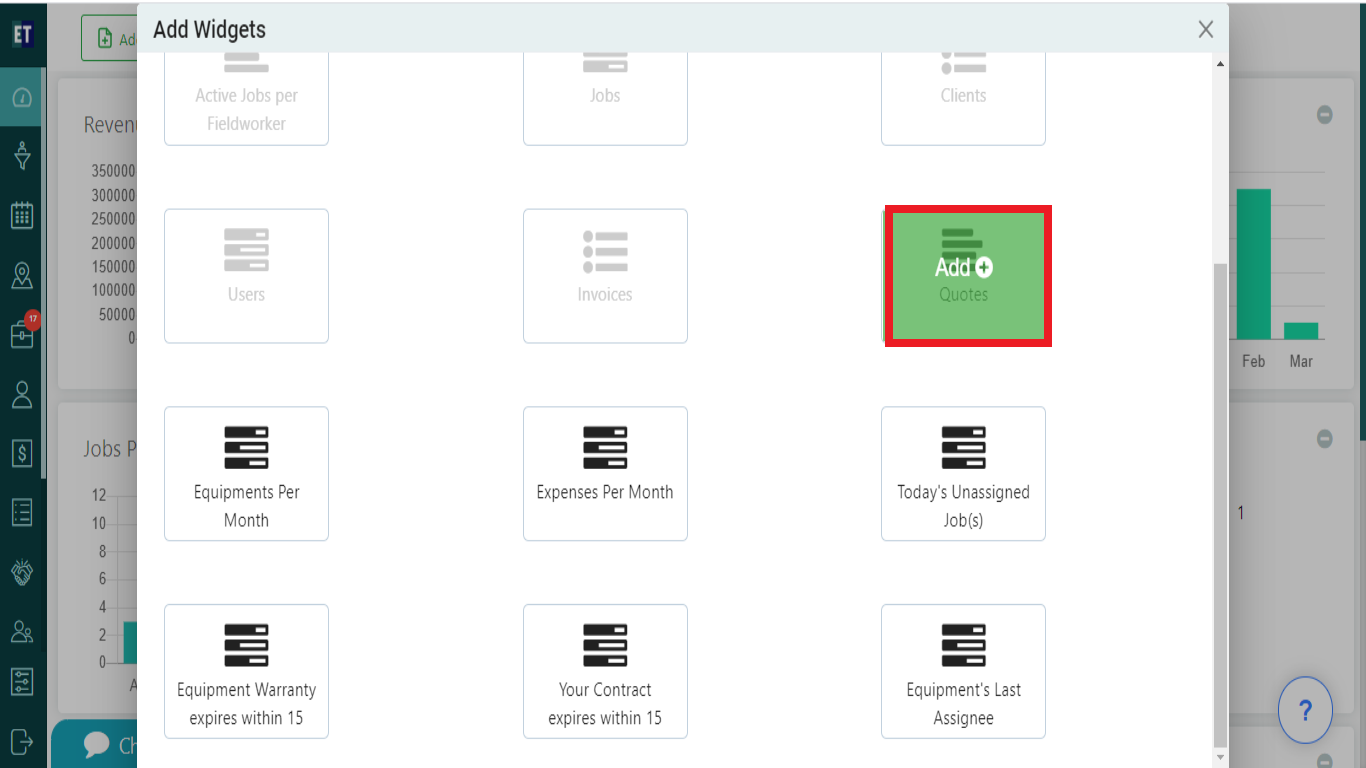 After Selecting the Quotes Widget, it will be added on the dashboard and will show you the Total Quotes created and the Add Quotes that will redirect you to the Add Quote popup.
 10. Equipments Per Month : Select the Equipments Per Month widget from the pop up.
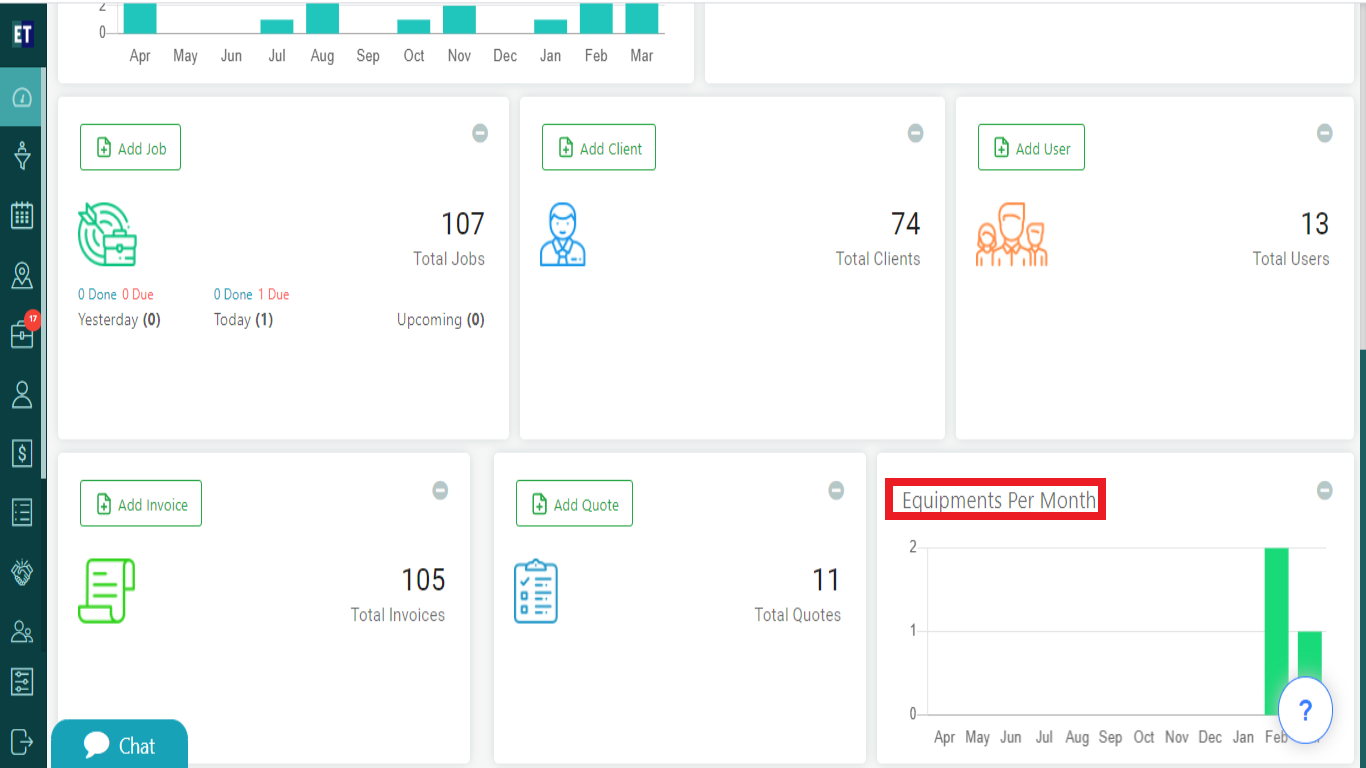
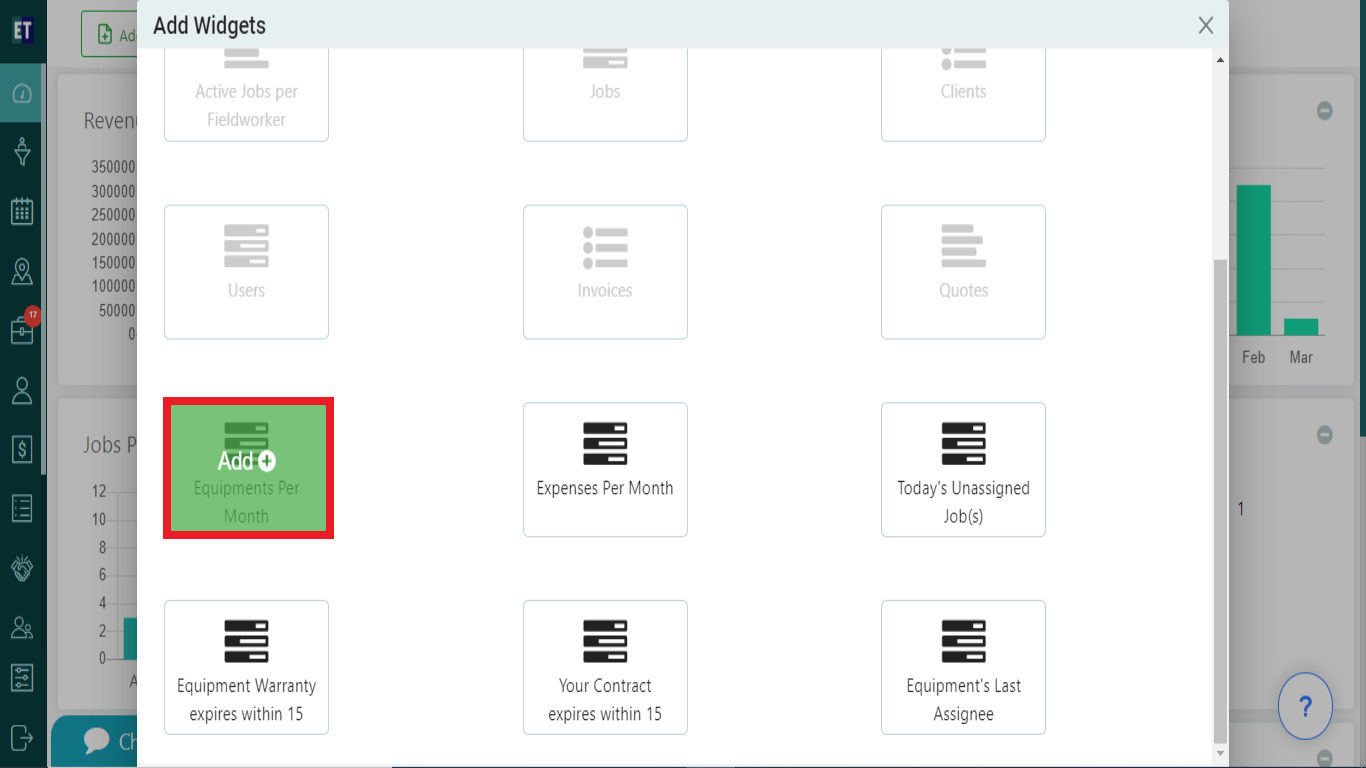 After Selecting the Equipments Per Month widget, it will be added on the dashboard and you will get the graphic view of the total equipments added per month.
 11. Expenses Per Month : Select the Expenses Per Month widget from the pop up.
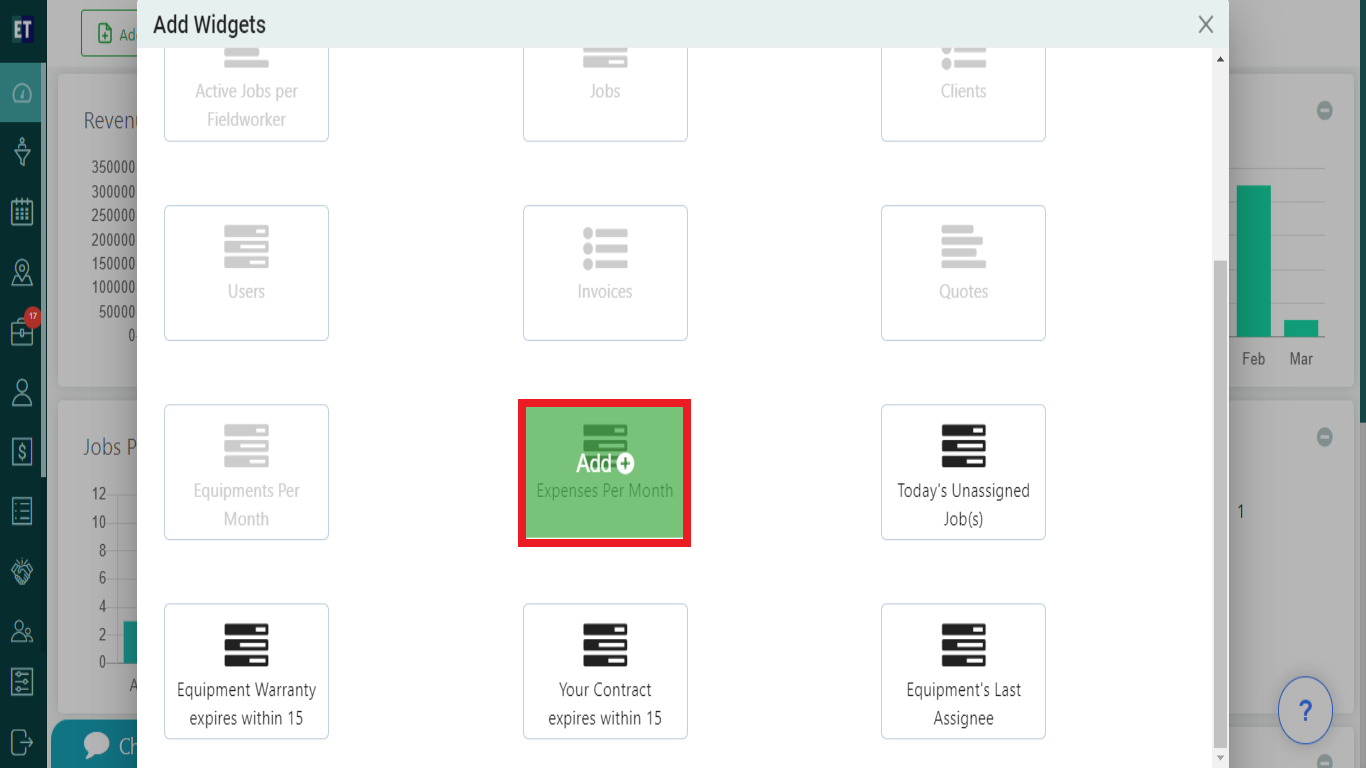 After Selecting the Expenses Per Month widget, it will be added on the dashboard and you will get the graphic view of the total expenses per month.
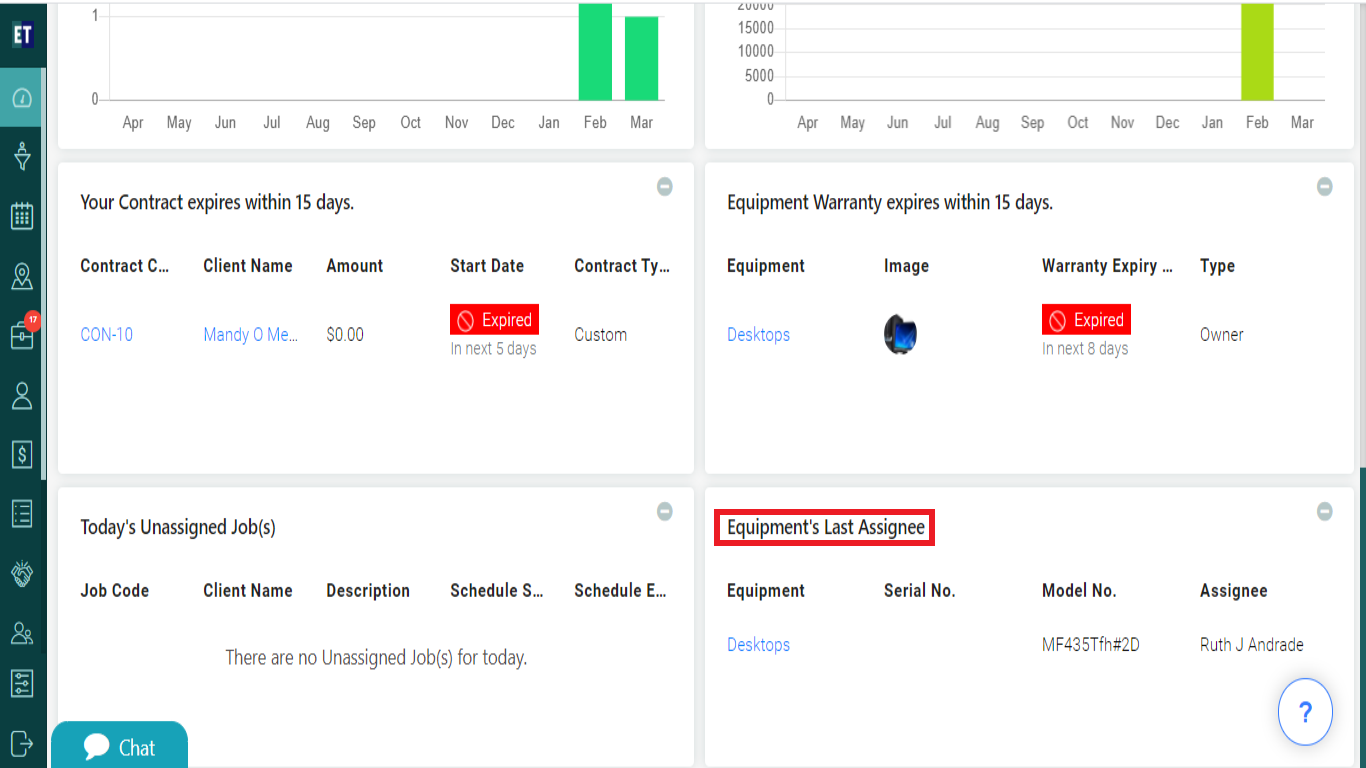
 12. Today's Unassigned Job(s) : Select the today's unassigned job(s) widget from the pop up.
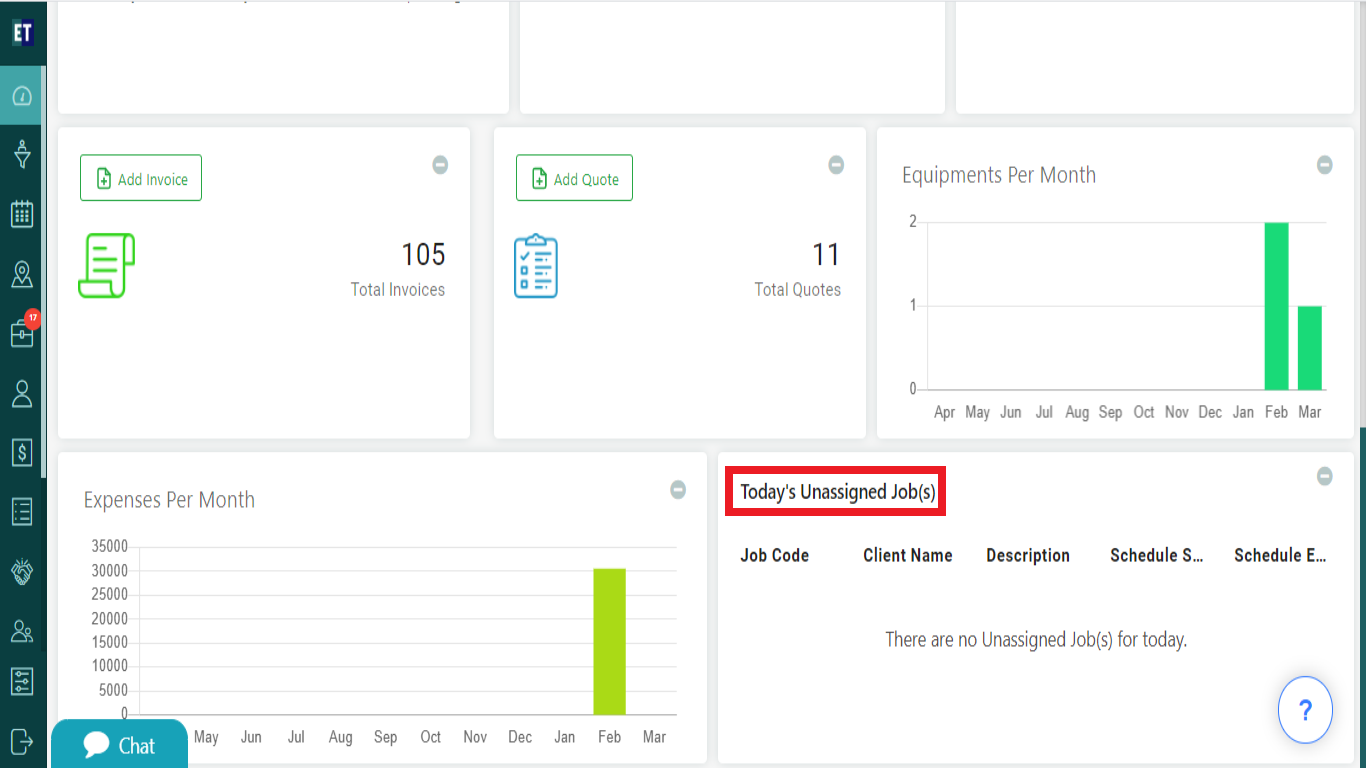
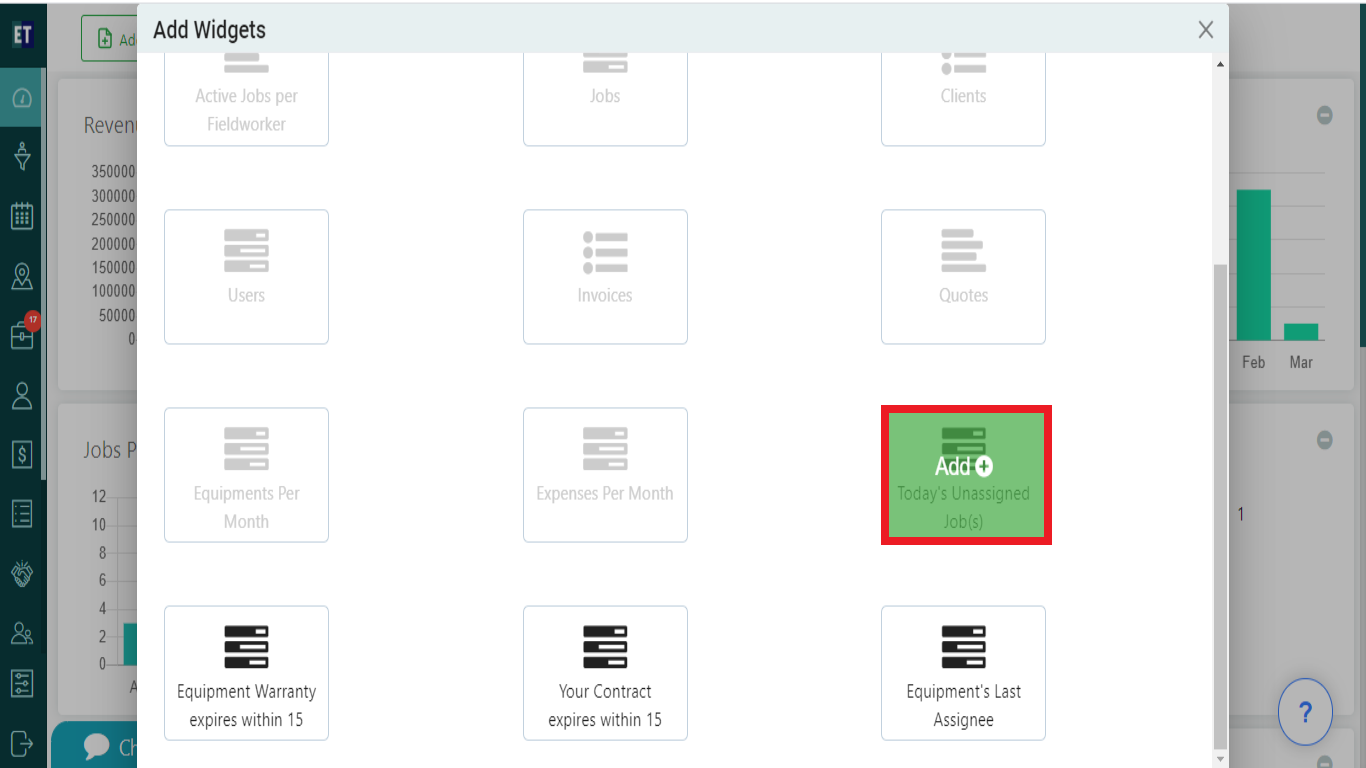 After Selecting the Today's Unassigned Job(s), it will be added on the dashboard and you will get the view of data on the screen with all unassigned job(s) for today.
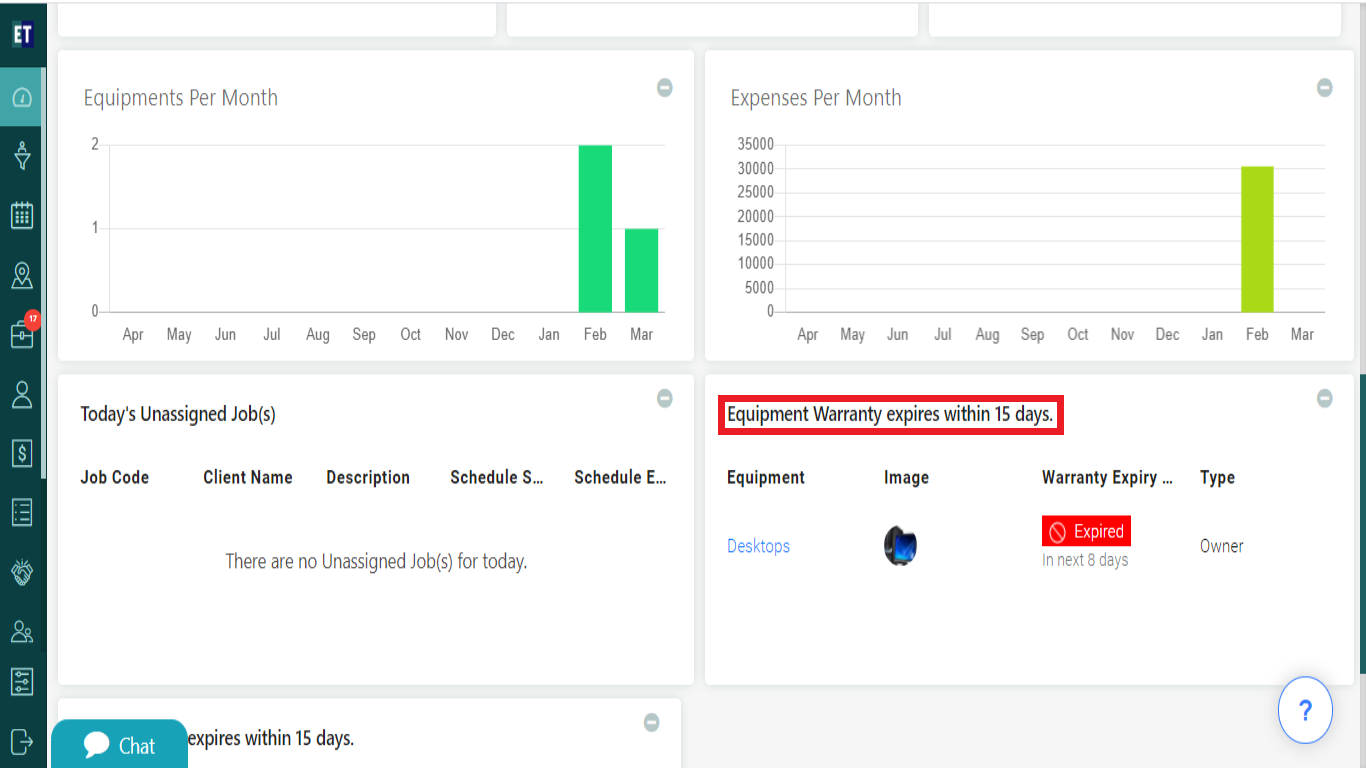
 13. Equipment Warranty Expires within 15 days: Select the Equipment Warranty Expires within 15 days widget from the pop up.
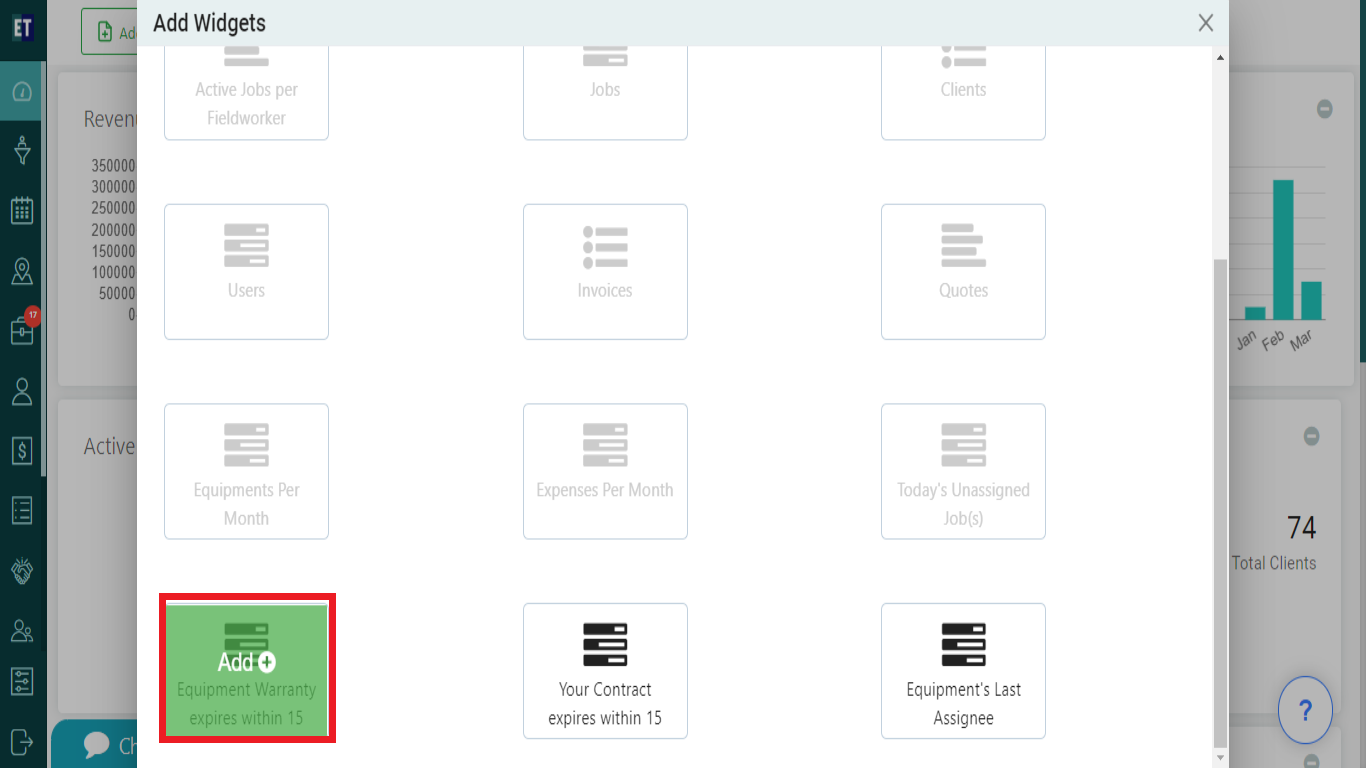 After Selecting the Widget, it will be added on the dashboard and you will get the view of all the equipments with warranty that are going to be expires within 15days.
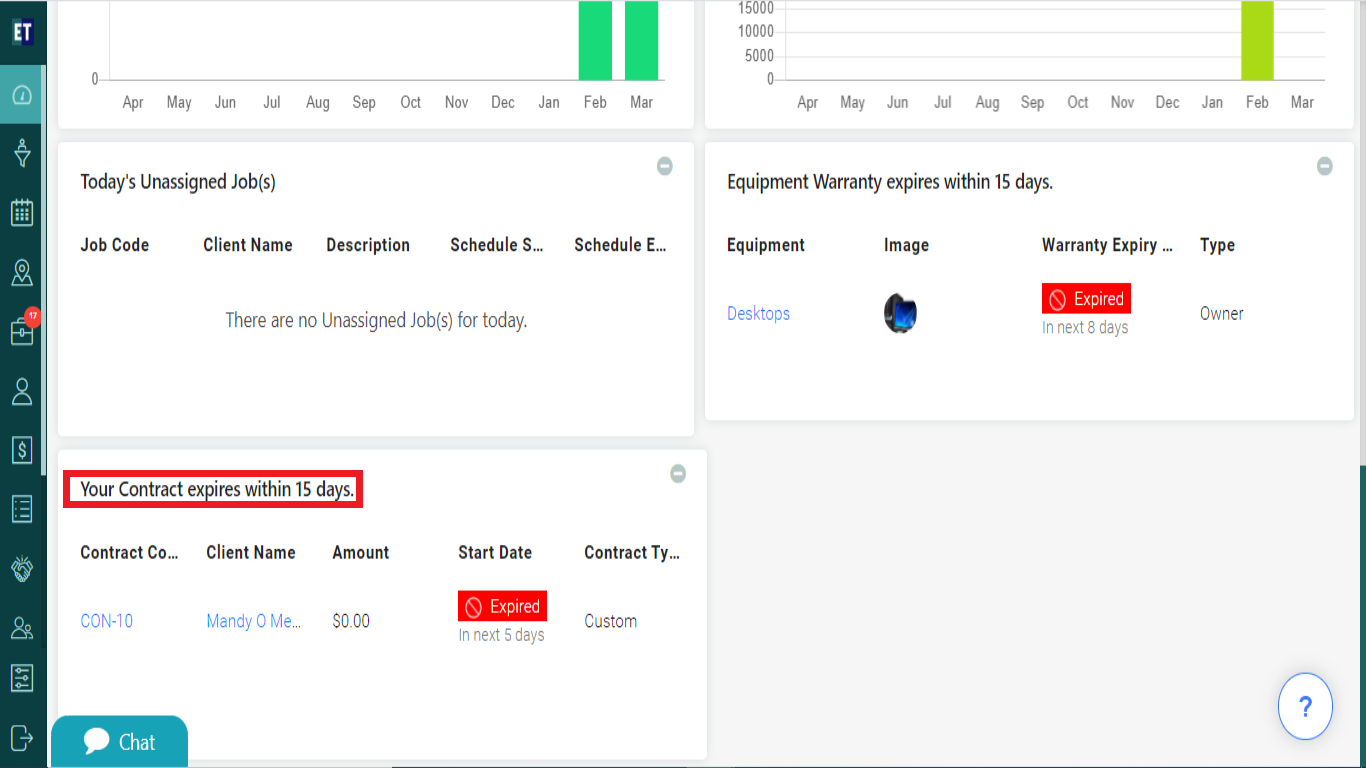
 14. Your Contract Expires within 15 days: Select the Contract Expires within 15 days widget from the pop up.
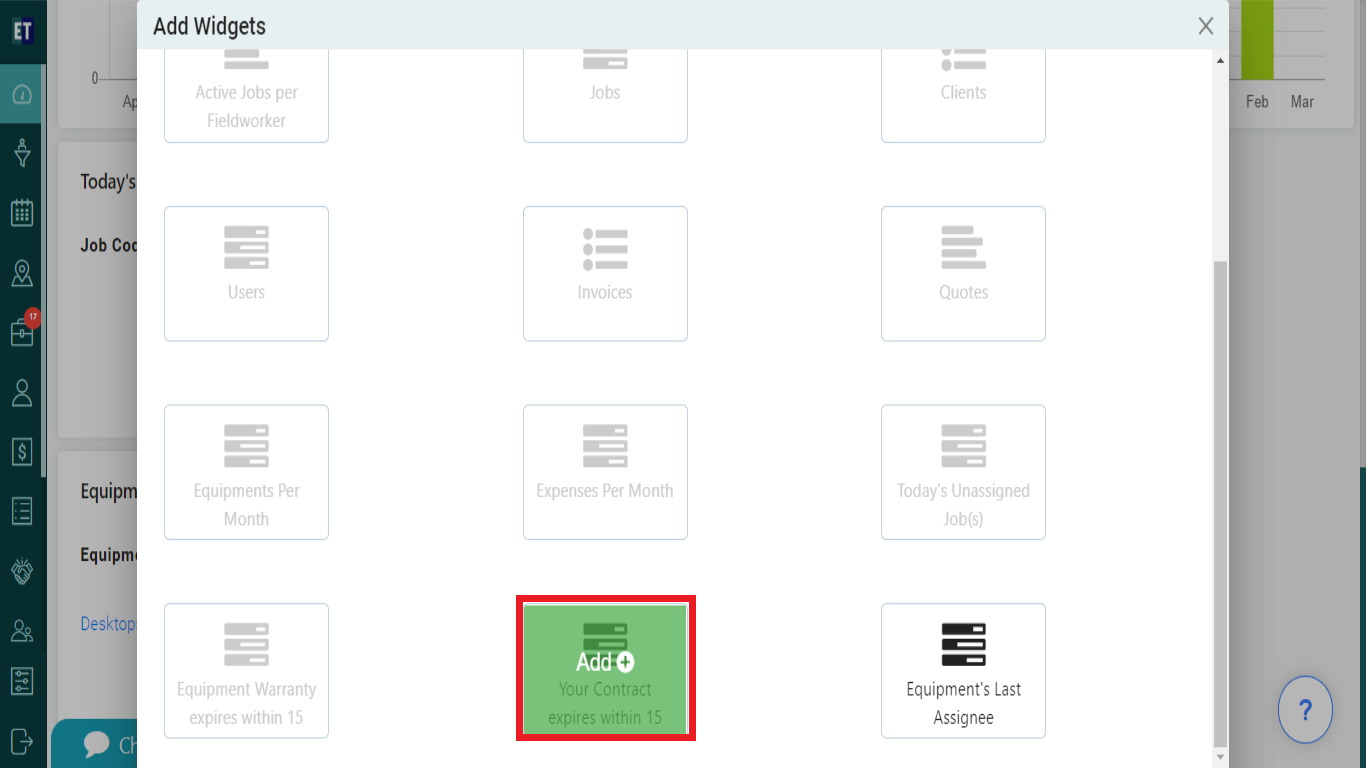 After Selecting the Contract Expires within 15 day, it will be added on the dashboard and you will get the view of data on the screen with all Contracts that are going to be expires within 15days.
 15. Equipments last Assignee: Select the Equipments last Assignee widget from the pop up.
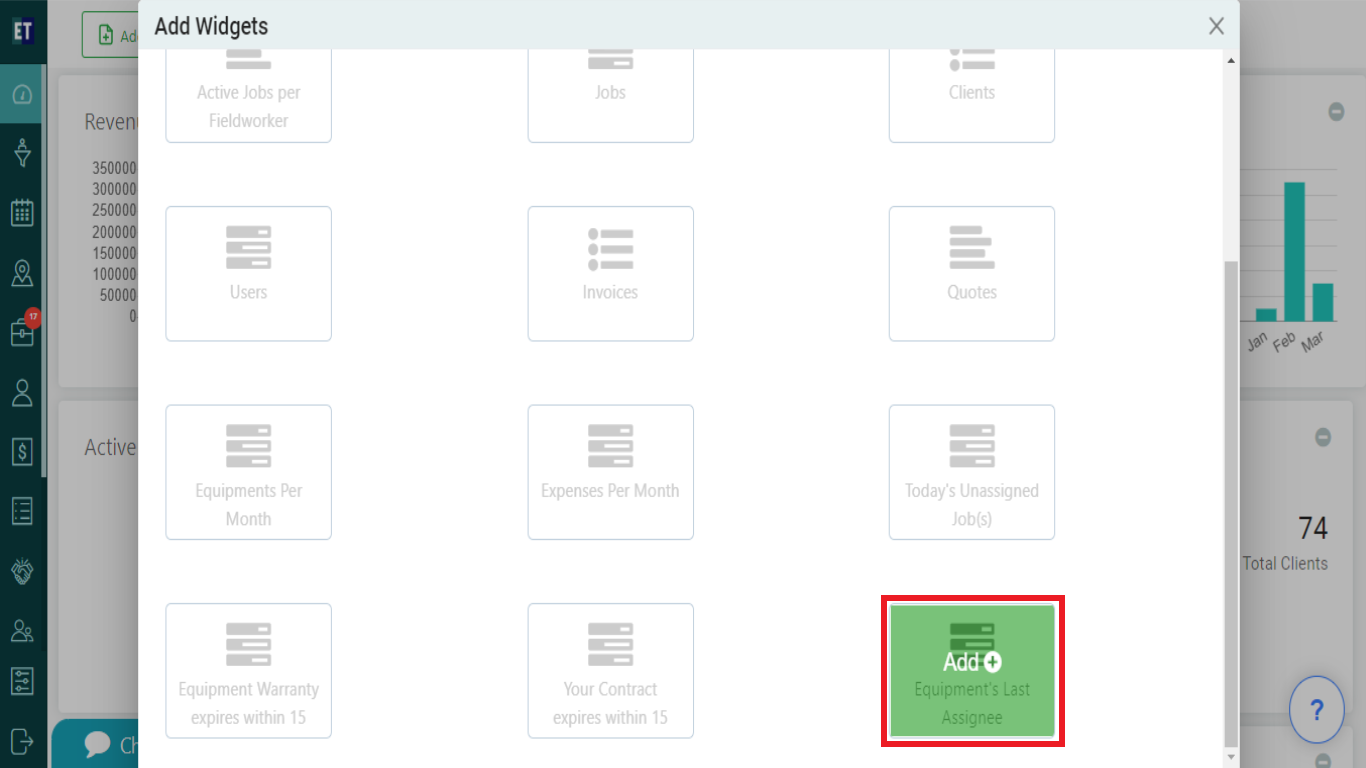 After Selecting the Equipments last Assignee, it will be added on the dashboard and you will get details of the equipments with assigned fieldworker's name.
To Add Widgets: At the top left corner of the screen, you will get the Add Widgets button.
Widgets: Here Widgets are the shortcuts that are always active on your dashboard screen. You can add and organize work with widgets quickly.
Click on the Add Widget button. You will see Add Widgets pop up on the screen, from where you can add different widgets on your dashboard.
1. Revenue Per Month: Select the Revenue Per Month widget from the pop up.
You will get the bar graph of the revenue report of your organisation based on the jobs done and worked service hours of every month on the dashboard, that will help you to track and analyse the monthly revenue figures.
*NOTE: You will be notified via an alert on the top left corner of the screen, after adding or deleting every widget.
2. Clients Per Month: Select the Clients Per Month widget from the pop up.
It will be added on the dashboard and you will get the graphic view of the total clients per month.
3. Jobs Per Month: Select the Jobs Per Month widget from the pop up.
It will be added on the dashboard and you will get the graphic view of the Jobs per month.
4. Active Jobs Per Fieldworker : Select the Active Jobs Per Fieldworker widget from the pop up.
After Selecting the Active Jobs Per Fieldworker widget, it will be added on the dashboard and you will get the bar graph of the active jobs of last seven days assigned to Fieldworkers.
5. Jobs : Select the Jobs widget from the pop up.
After selecting the Jobs Widget, it will be added on the dashboard and you will get the total number of Jobs with Add Job button that will redirect you to the Add Job popup.
6.Clients : Select the Clients widget from the pop up.
After Selecting the Clients Widget, it will be added on the dashboard and will show you the total number of Clients added with the Add client tab that will redirect you to the Add Client popup.
7. Users : Select the Users widget from the pop up.
After Selecting the Users Widget, it will appear on the dashboard and will show you the total number of Users and with Add Users button that will redirect you to the Add User popup.
8. Invoices : Select the Invoices widget from the pop up.
After Selecting the Invoices widget, it will be added on the dashboard and will show you the total invoices generated and the Add Invoice button that will redirect you to the Add Invoice popup.
9. Quotes : Select the Quotes widget from the pop up.
After Selecting the Quotes Widget, it will be added on the dashboard and will show you the Total Quotes created and the Add Quotes that will redirect you to the Add Quote popup.
10. Equipments Per Month : Select the Equipments Per Month widget from the pop up.
After Selecting the Equipments Per Month widget, it will be added on the dashboard and you will get the graphic view of the total equipments added per month.
11. Expenses Per Month : Select the Expenses Per Month widget from the pop up.
After Selecting the Expenses Per Month widget, it will be added on the dashboard and you will get the graphic view of the total expenses per month.
12. Today's Unassigned Job(s) : Select the today's unassigned job(s) widget from the pop up.
After Selecting the Today's Unassigned Job(s), it will be added on the dashboard and you will get the view of data on the screen with all unassigned job(s) for today.
13. Equipment Warranty Expires within 15 days: Select the Equipment Warranty Expires within 15 days widget from the pop up.
After Selecting the Widget, it will be added on the dashboard and you will get the view of all the equipments with warranty that are going to be expires within 15days.
14. Your Contract Expires within 15 days: Select the Contract Expires within 15 days widget from the pop up.
After Selecting the Contract Expires within 15 day, it will be added on the dashboard and you will get the view of data on the screen with all Contracts that are going to be expires within 15days.
15. Equipments last Assignee: Select the Equipments last Assignee widget from the pop up.
After Selecting the Equipments last Assignee, it will be added on the dashboard and you will get details of the equipments with assigned fieldworker's name.