How can a fieldworker add an Expense and associate it with a Job or a Client?
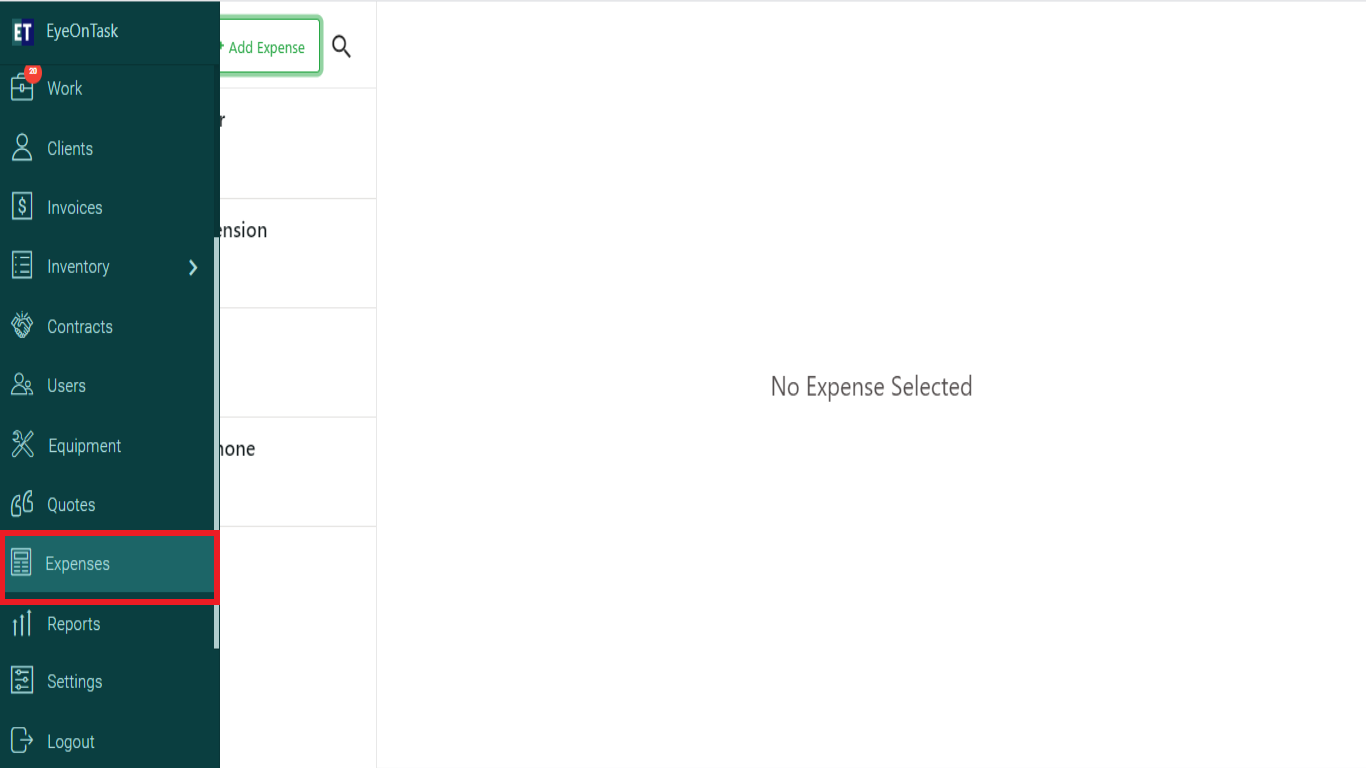
Go to the main menu: select Expenses.
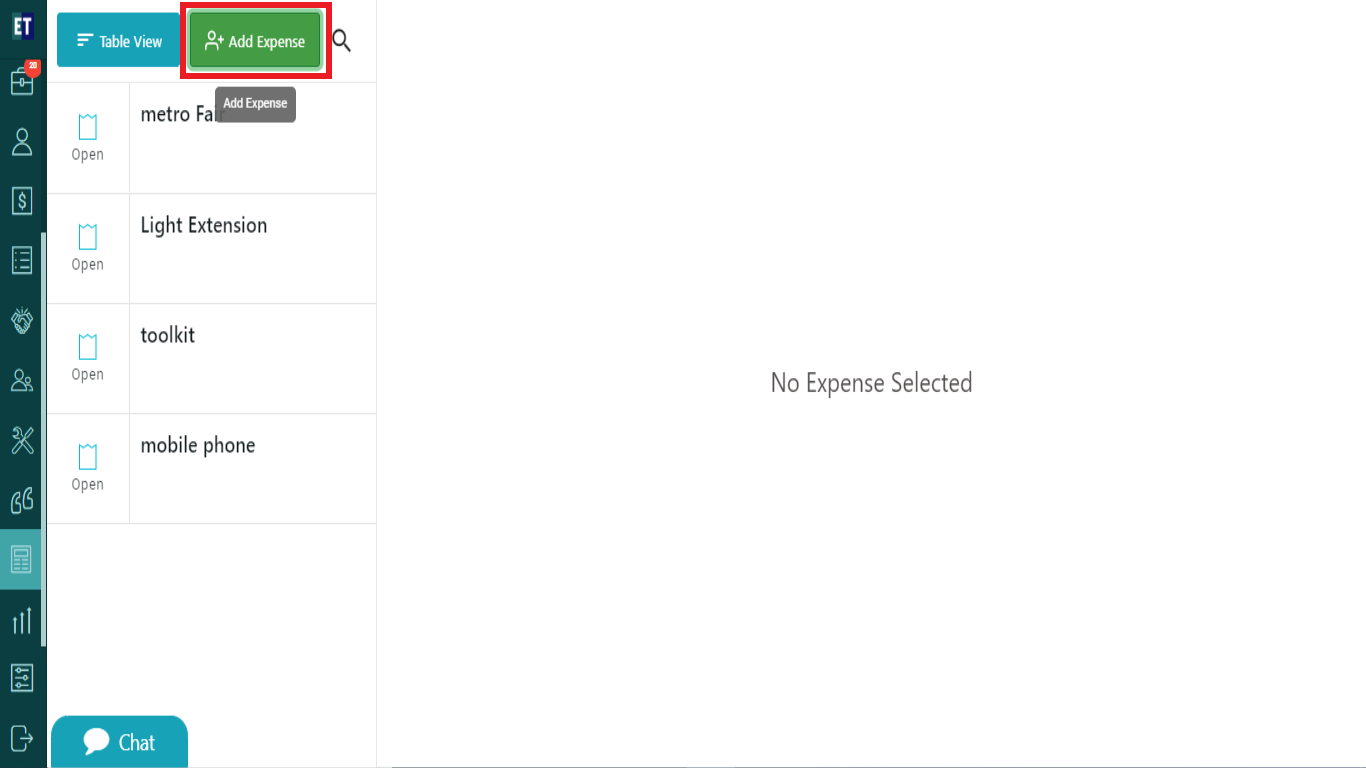
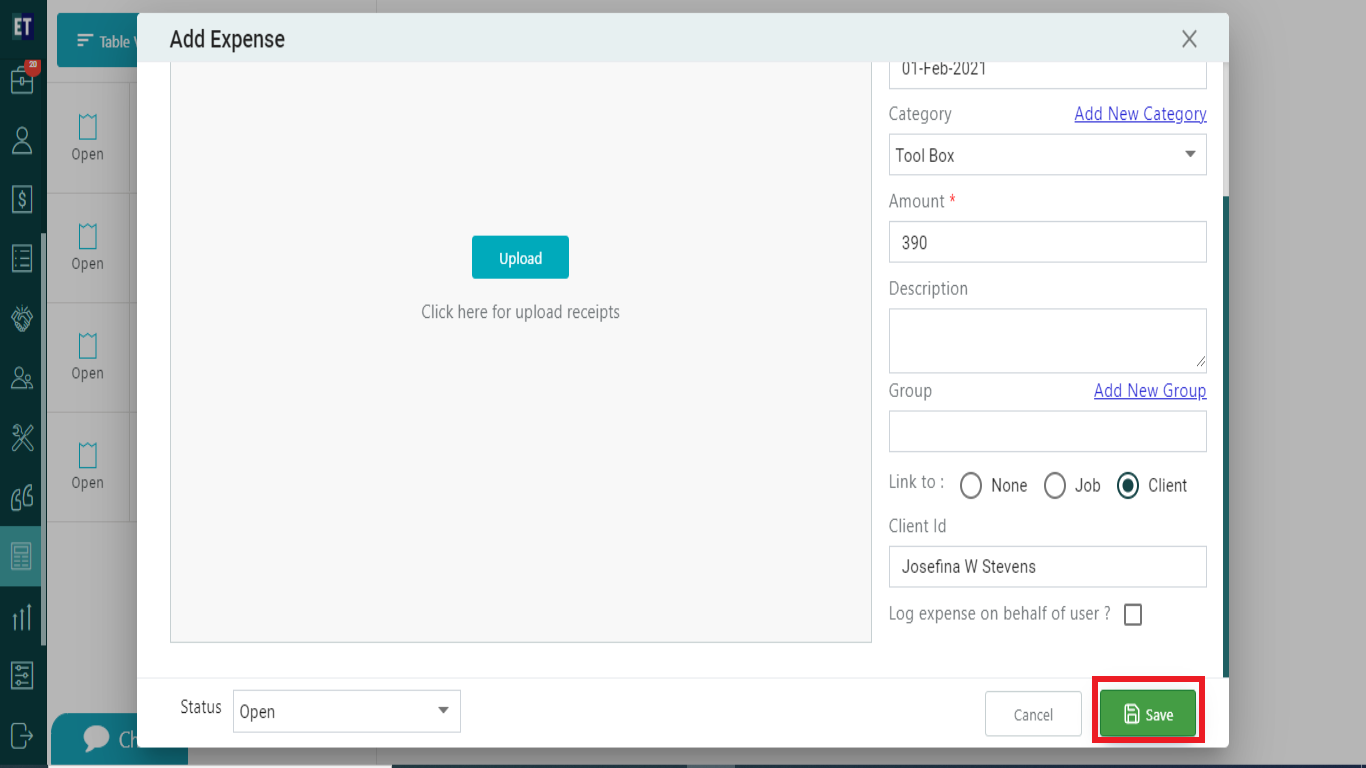
You will see two button at the top left side i.e. Table View and Add Expense. Select Add Expense.
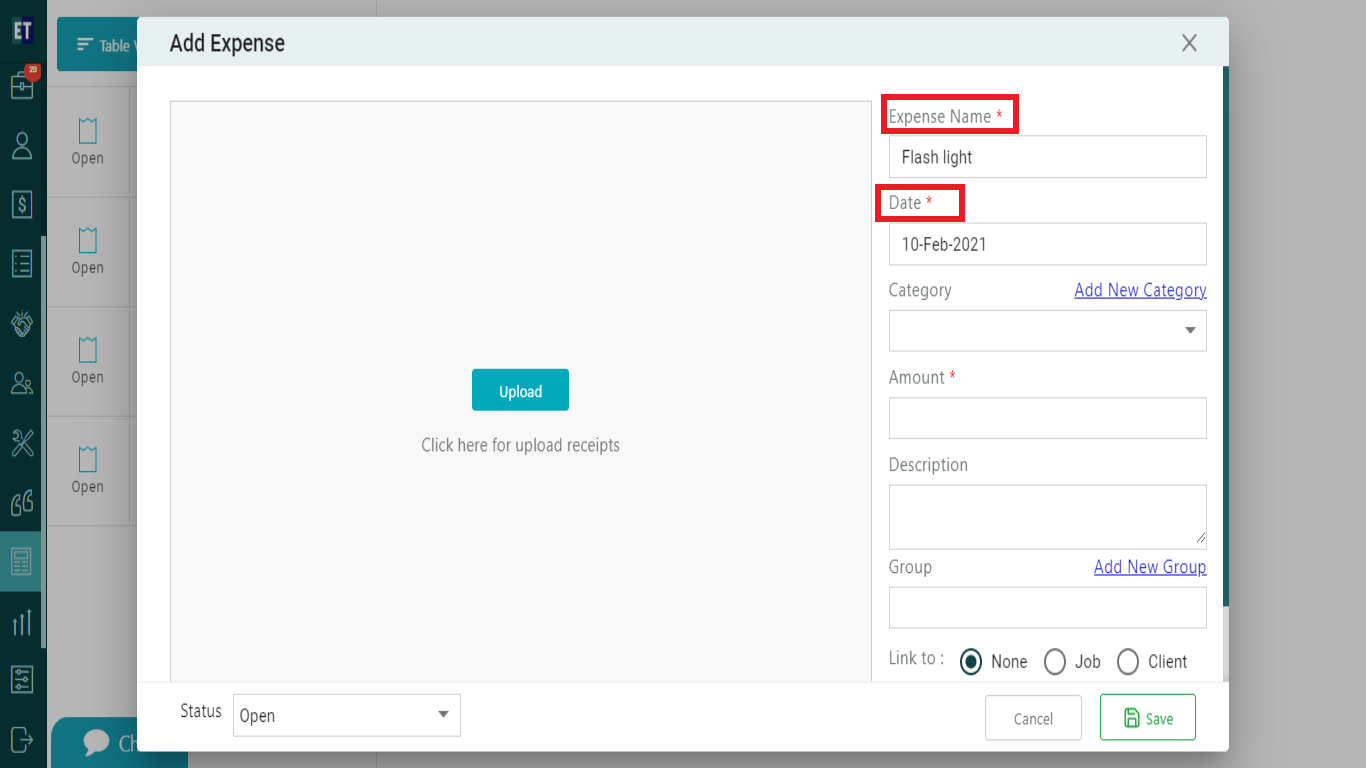
Clicking on Add Expense will open a pop up with input fields related to expense.
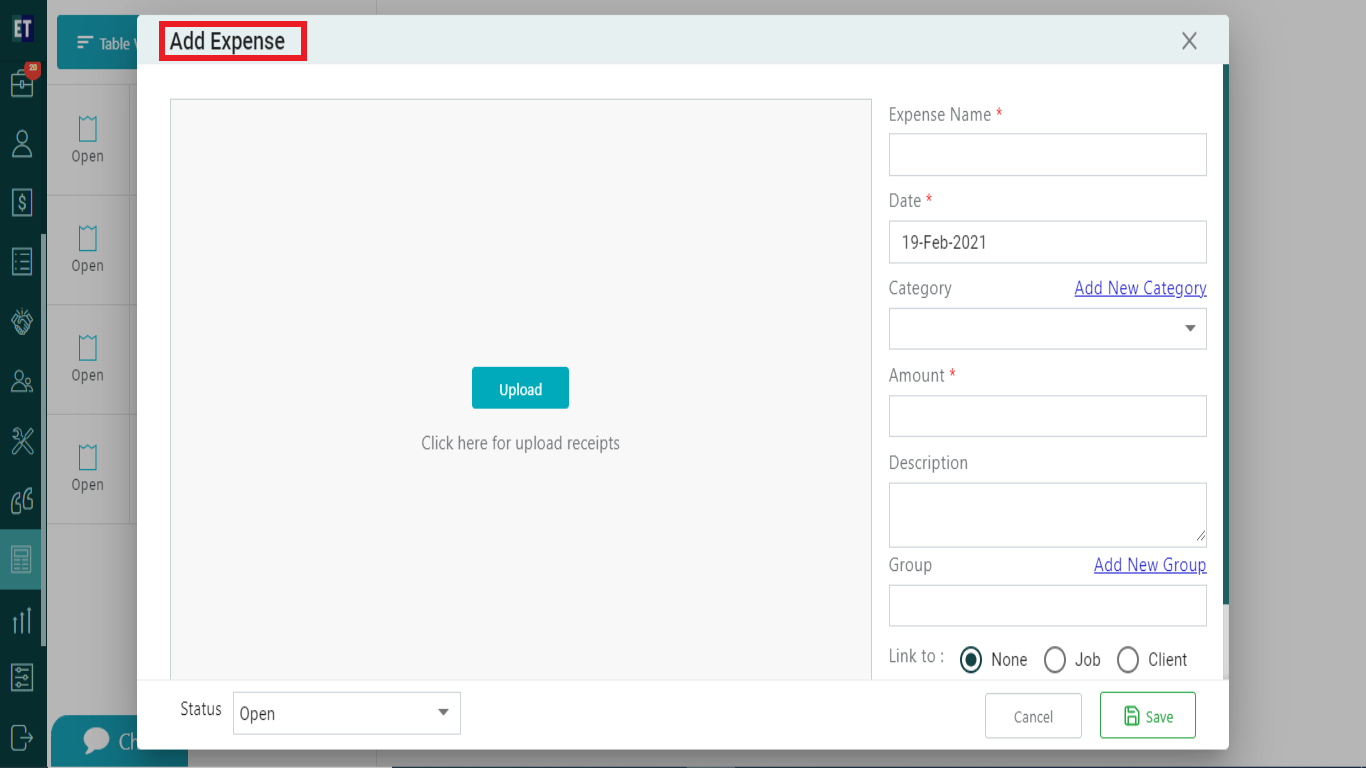
Here, you have to fill the details of the expense starting with the Expense Name, Date.
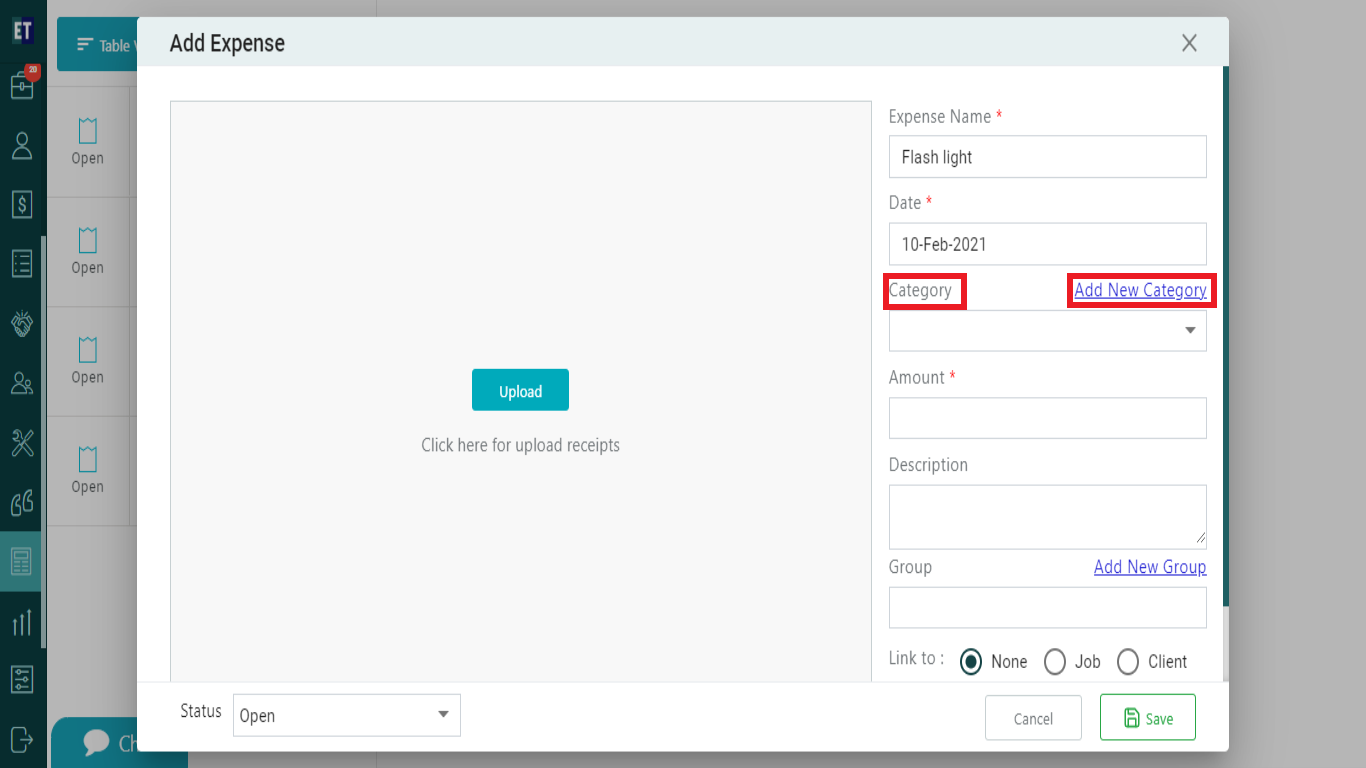
Next input field is Category, here you can choose the category of expense from the drop down list else you can add new category by clicking on the "Add New Category" hyperlink.
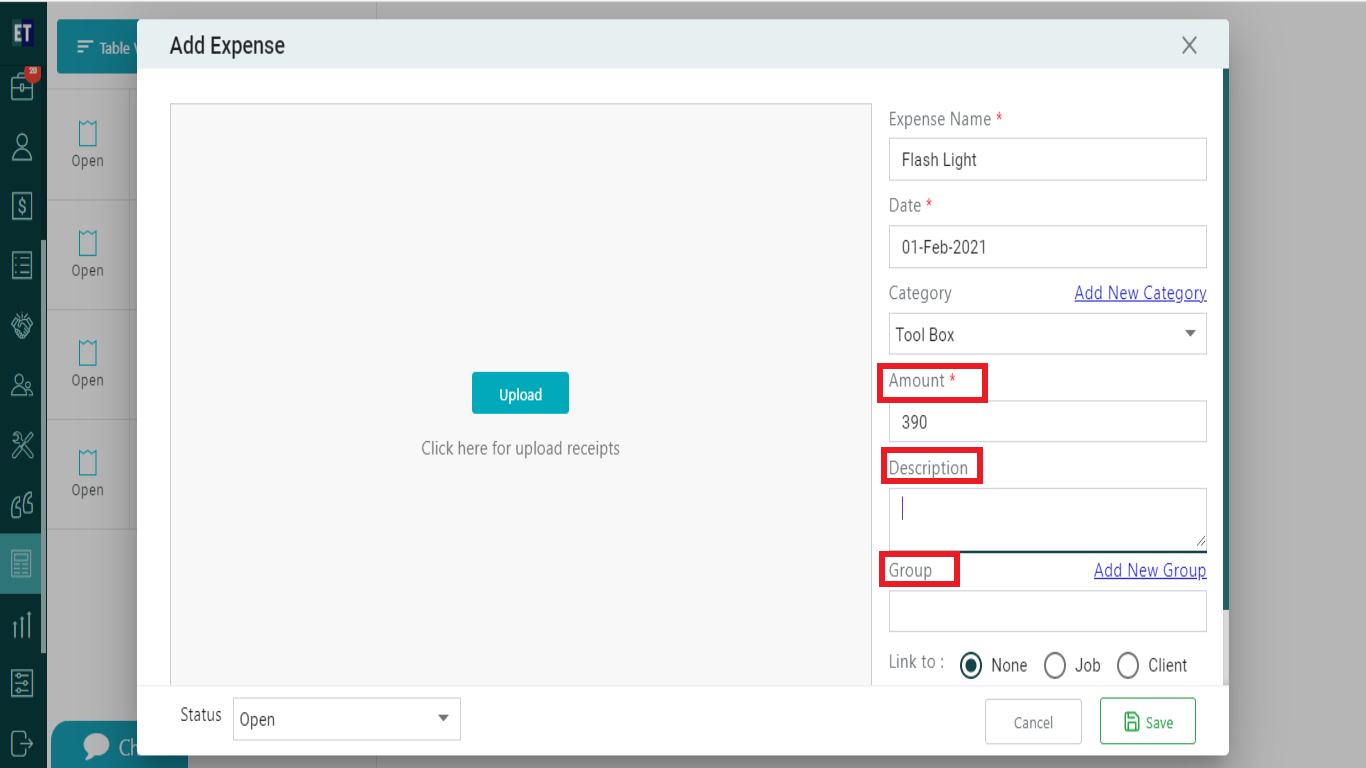
You can fill extra details for the expense like Amount, Description, Group.
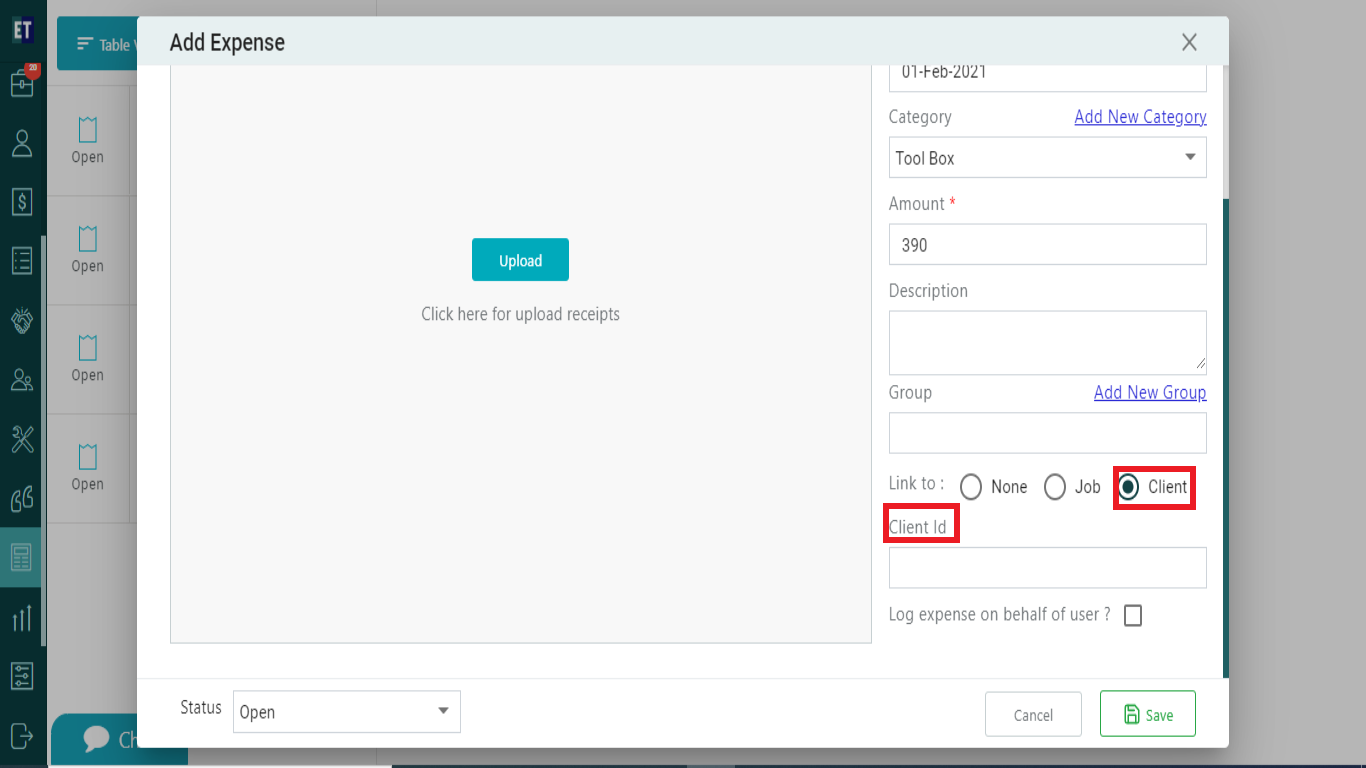
You can also link the expense with a job or client from the Link to field.
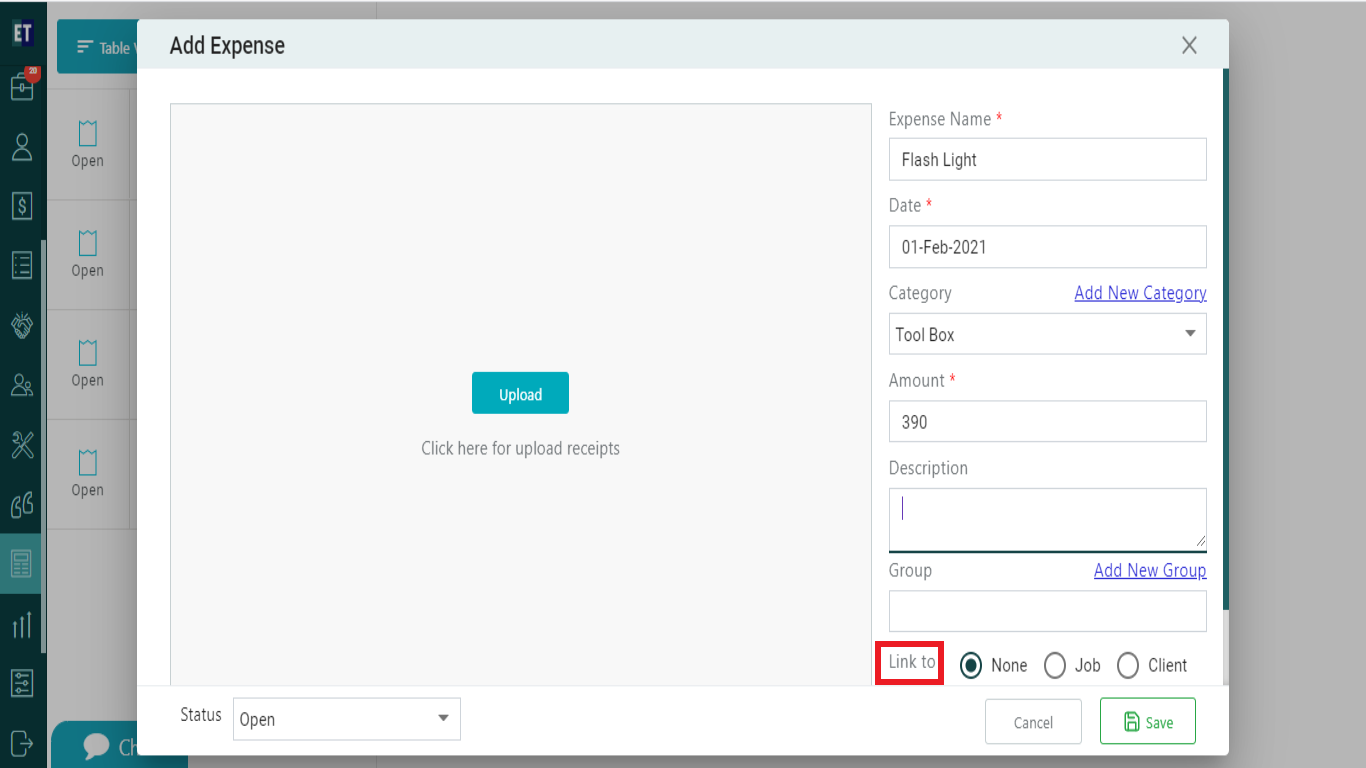
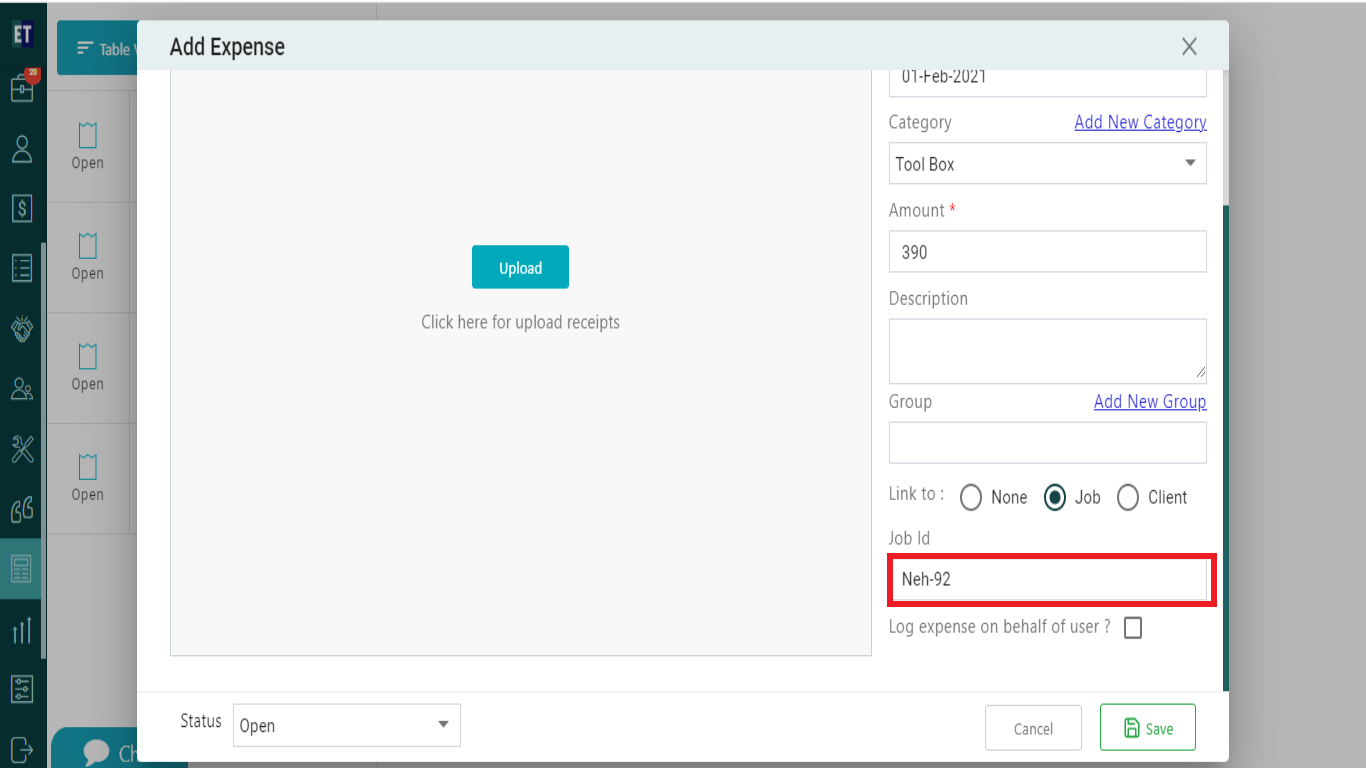
To Link the expense with the Job, click on the Job radio button and you will see a Job Id field.
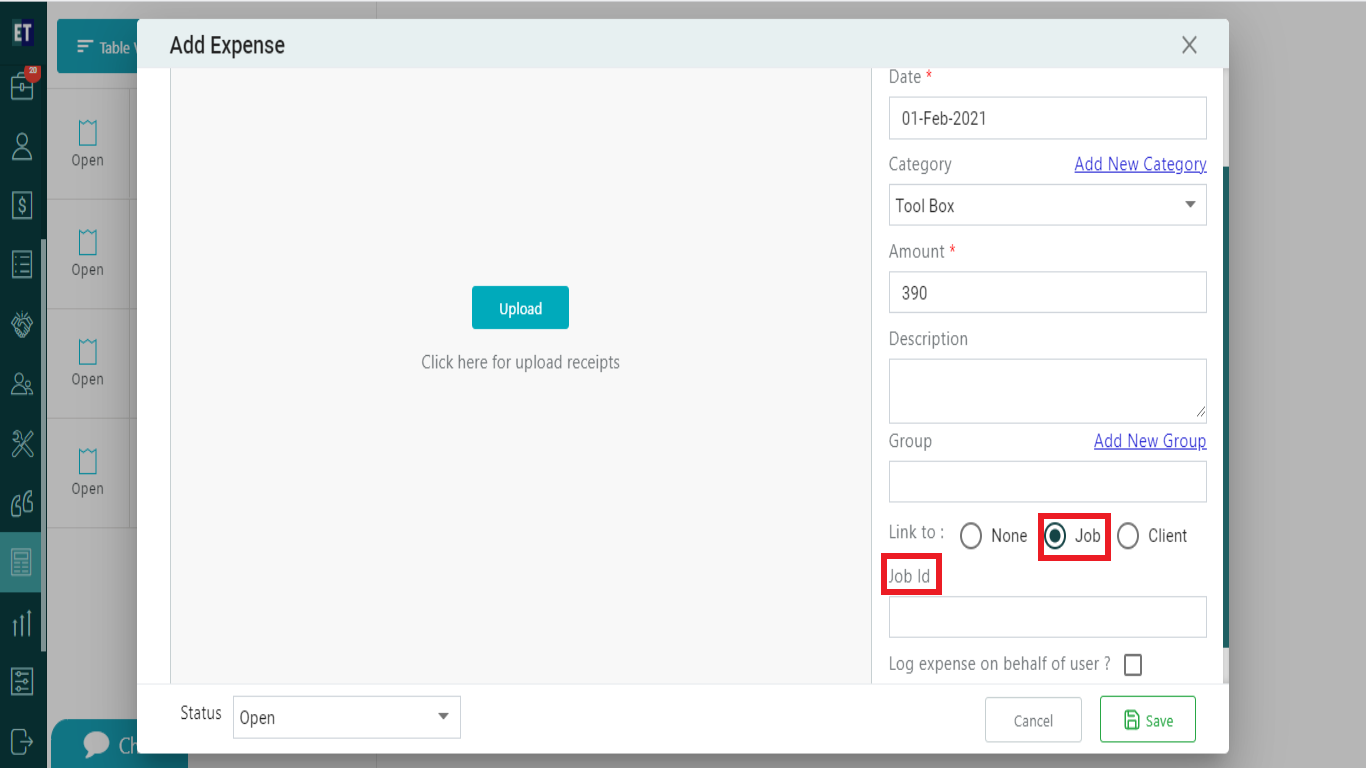
In Job Id field, you need to fill the Id of the Job to which you want to associate the expense made.
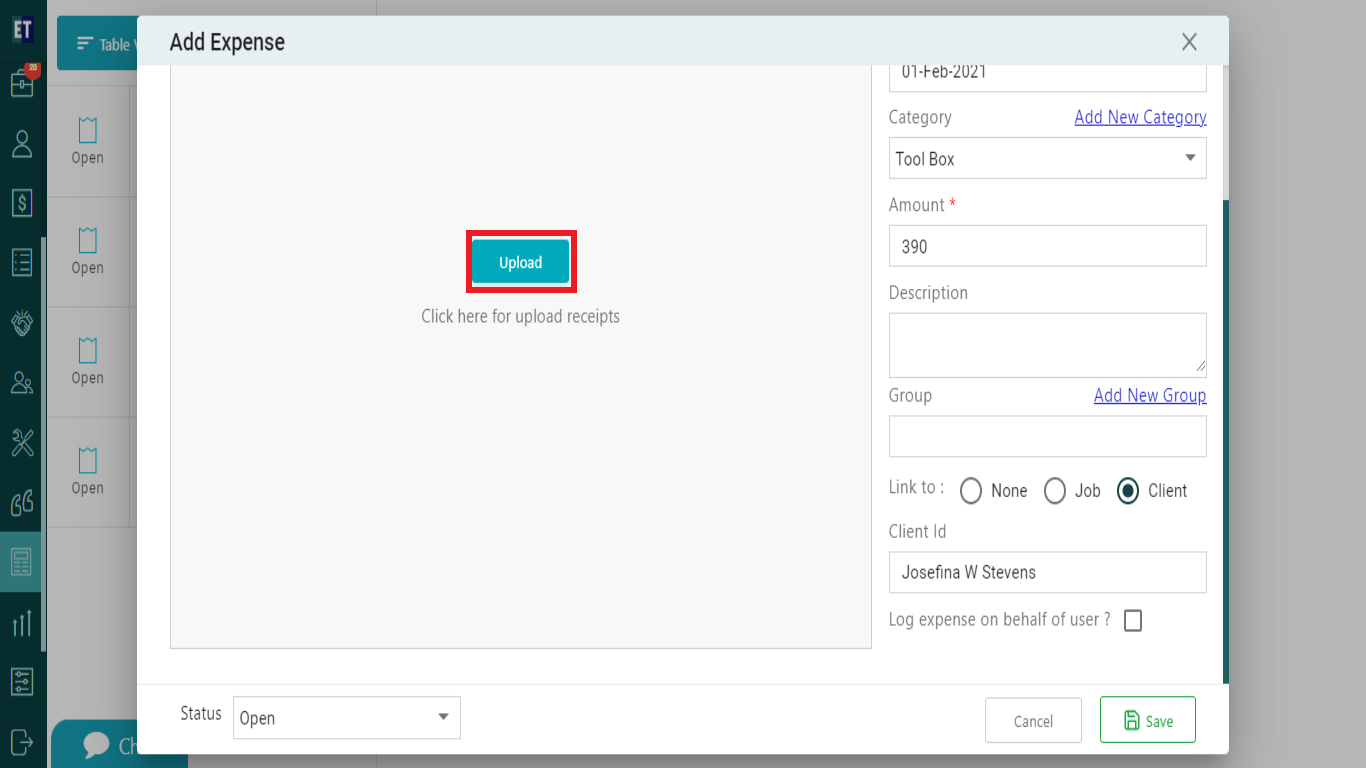
And if yo want to link the expense with client, click on the Client radio button and fill the Client Id.
NOTE: You must fill out all the fields market with asterisk.
To add the receipt(s) of the expense, click on the upload button and it will allow you to attach the image from your device.
After filling up all the details and linking the expense with a job or a client, click on Save button.
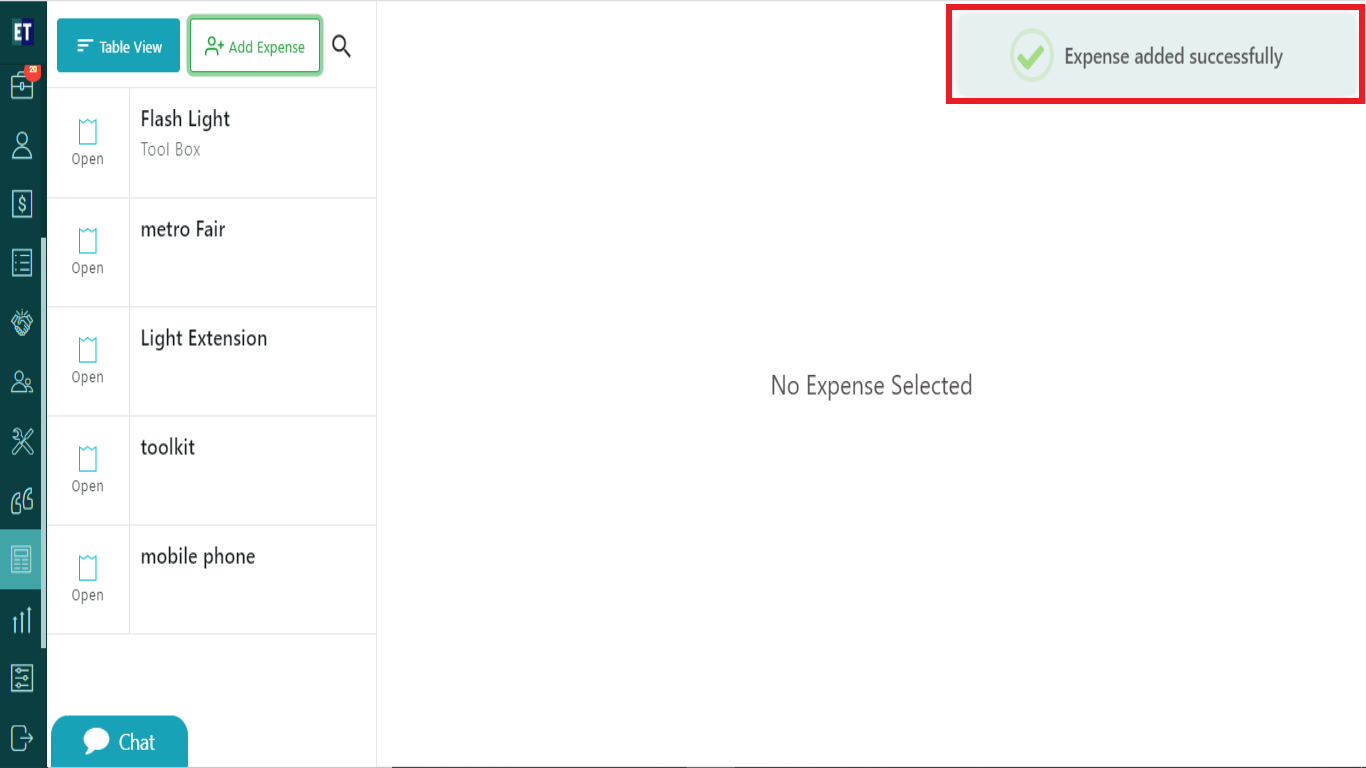
It will show the success alert. It means expense is added successfully.