How do I create a New Request?
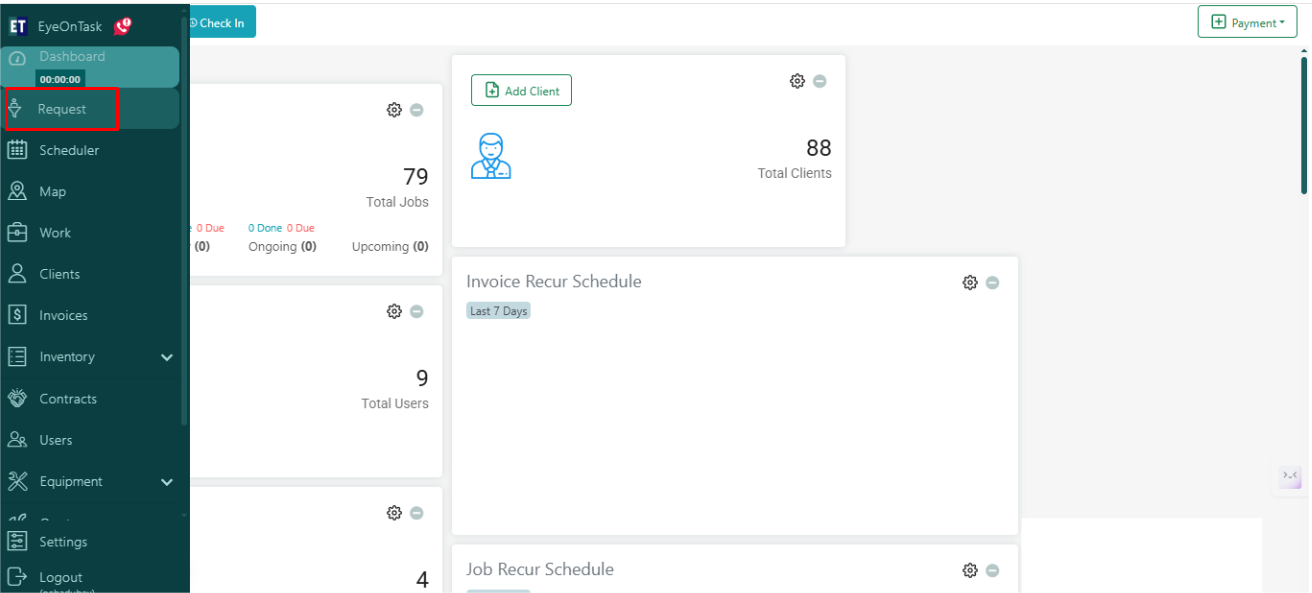
The Home screen shows the hamburger menu at the left part of the screen. Go to: The hamburger menu and you will see the second option of the menu, which is Request.
 You will see two tabs on the top left i.e., Table View and Add Request, select Add Request here.
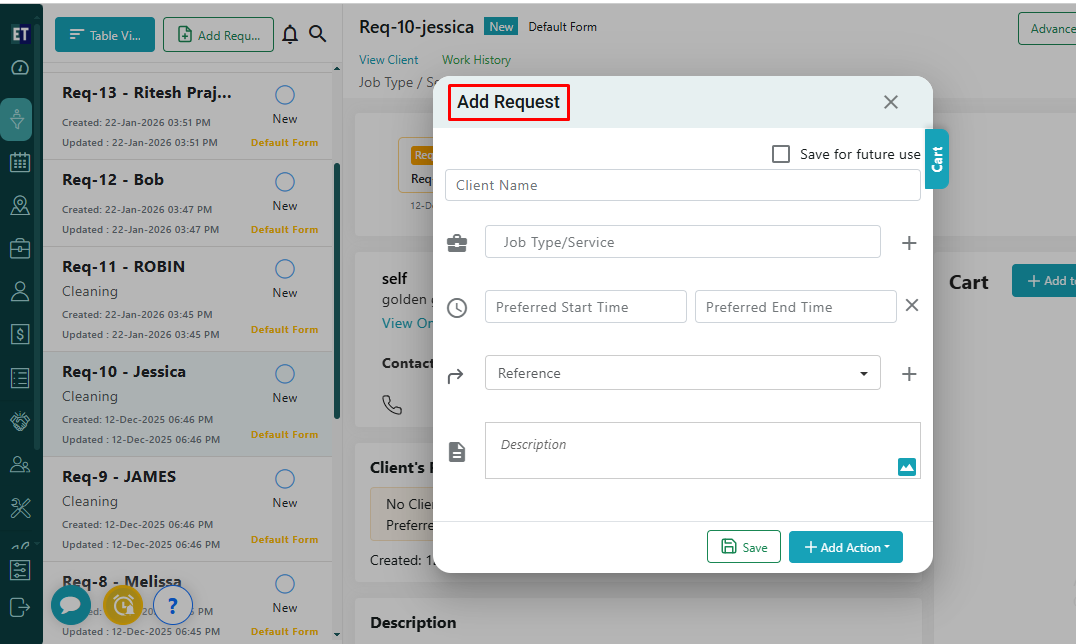
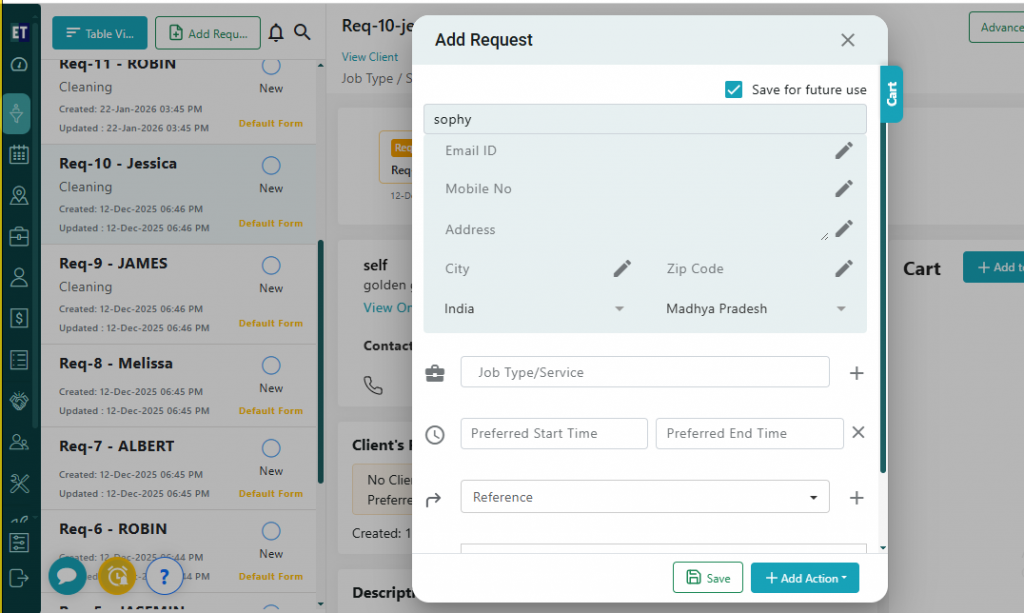
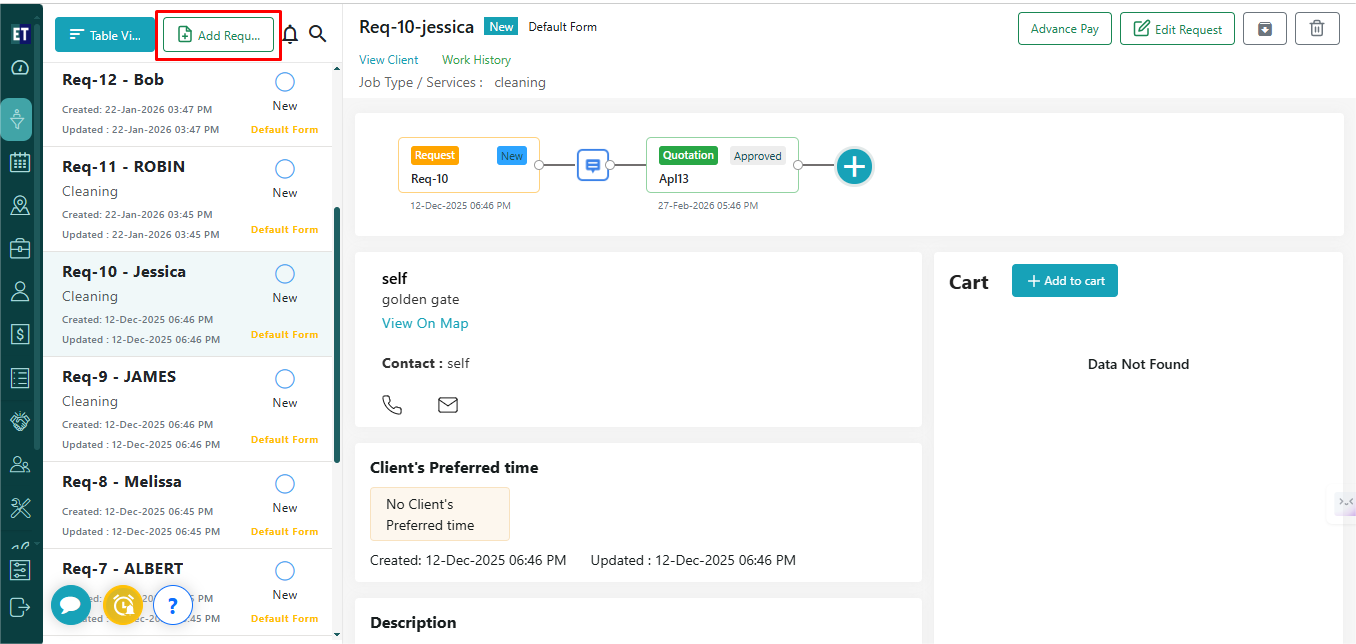 Clicking on Add Request will open a pop up on the screen.
 You need to enter the three starting alphabets of the added client's name here, the client's information will be auto filled such as Email Id, Mobile No, Address, City and Zip Code.
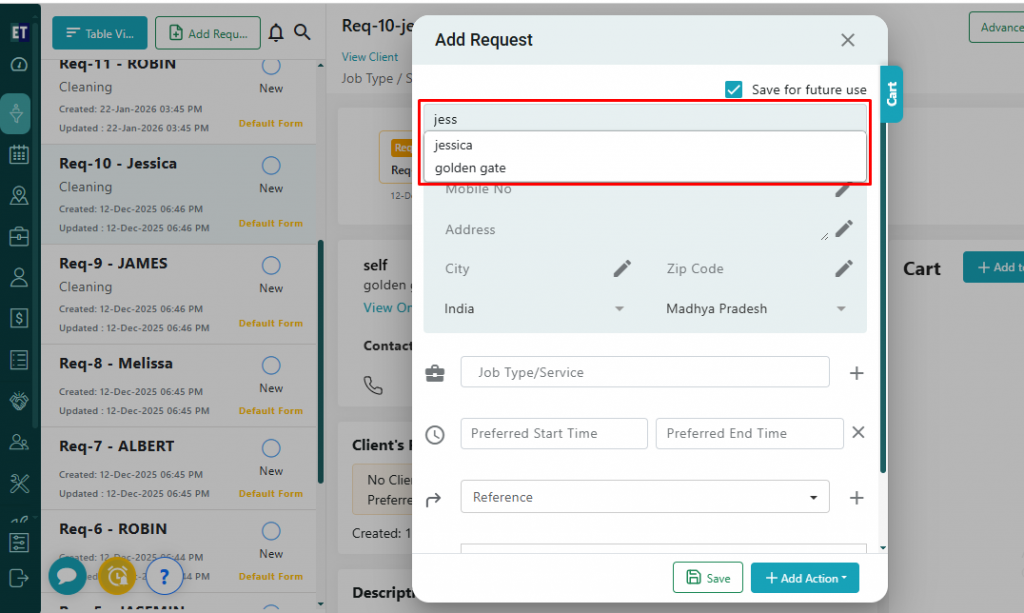 And for adding a new client, simply fill in the information.
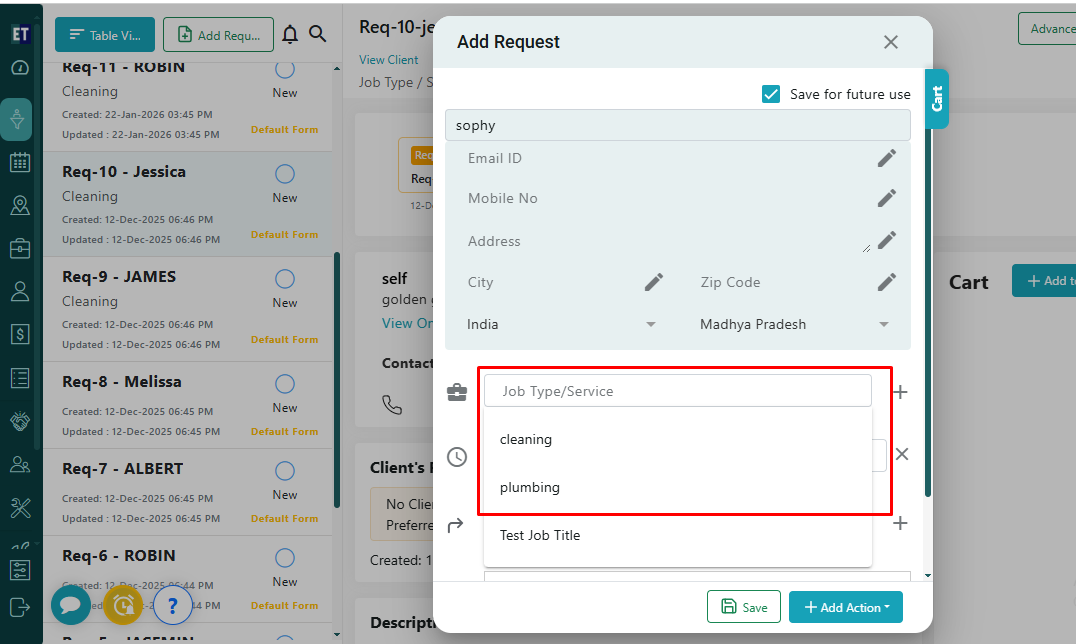
 Select the Job Type/Services from the drop down.
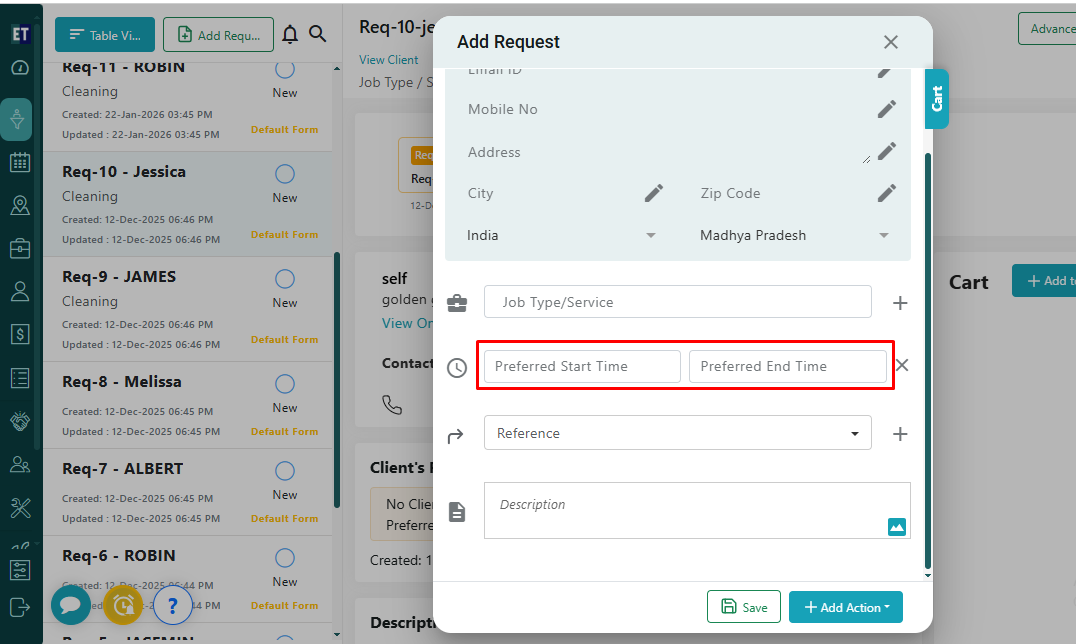
 You can fill in your preferred job start date/time and job end date/time.
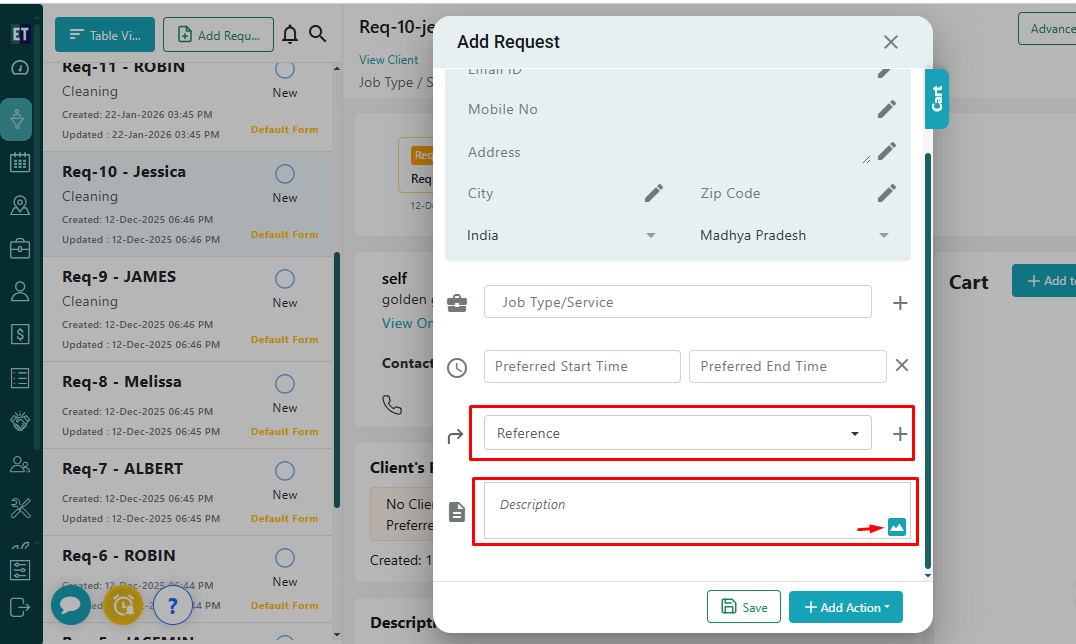
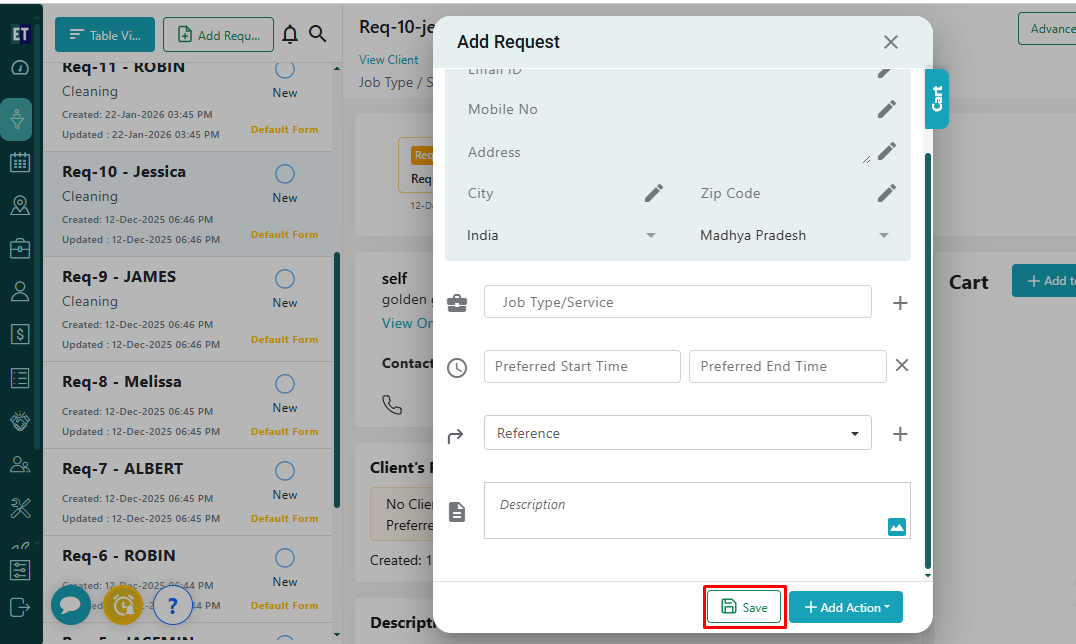
 You can fill extra details for the request like Reference By, Add Request Description and attach documents/image related to the request.
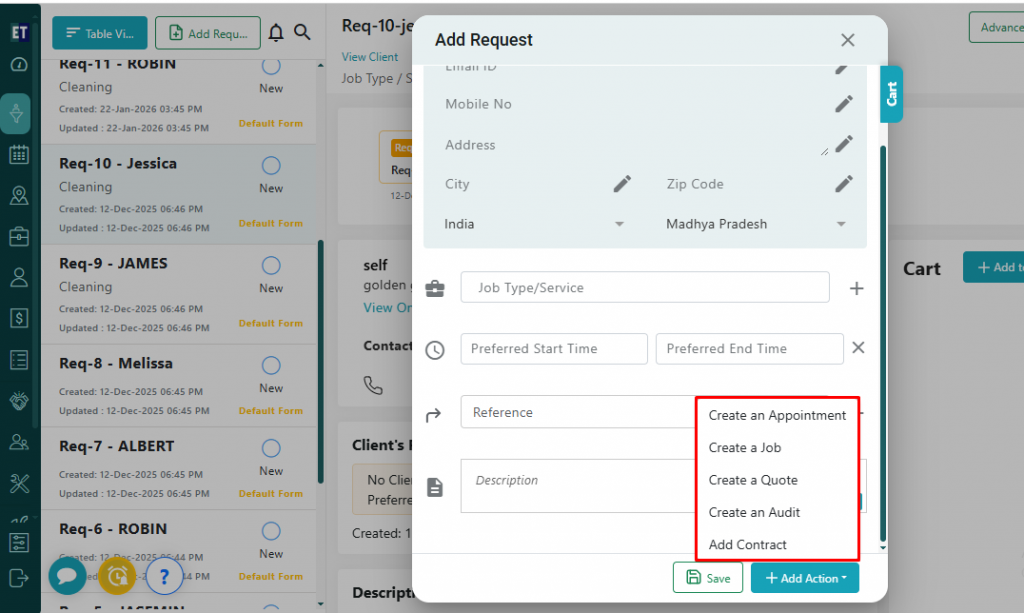
 Selecting the Add Action button allows you to Create An Appointment, Job, Quote, Audit or add Contract for a Request you recently are going to create.
 *Note: You must fill out all fields marked with an asterisk before saving. Save the Request with the Save button.
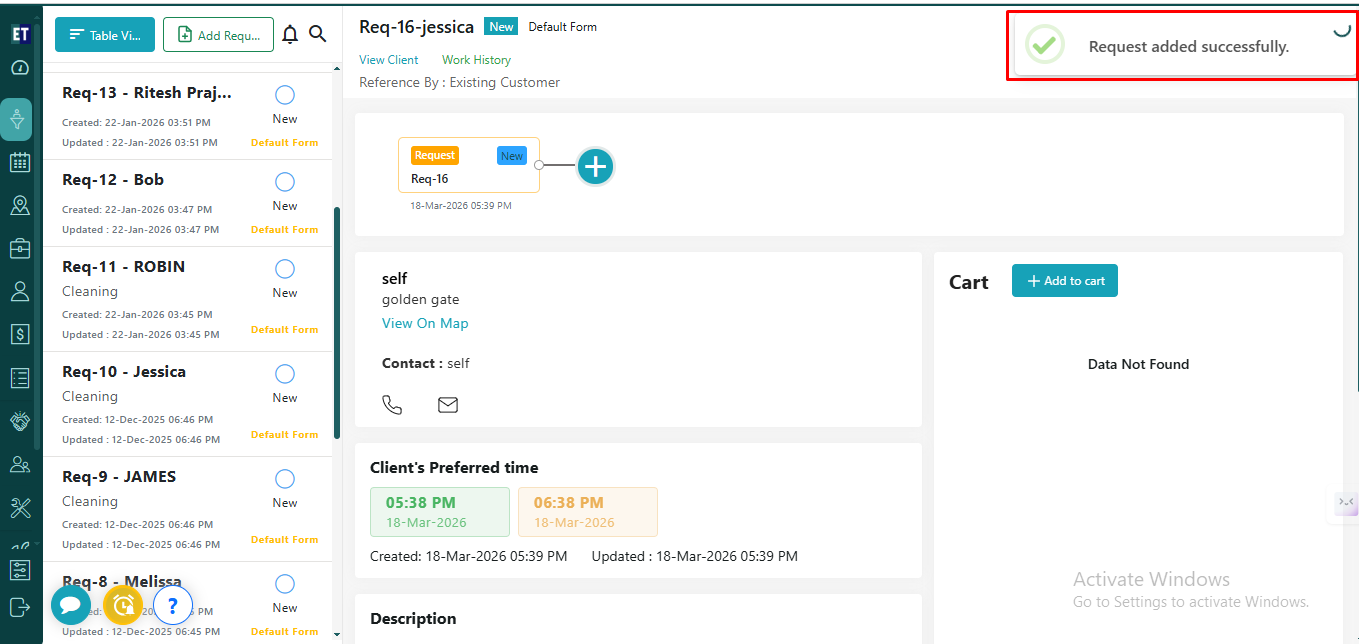
 A “Success Alert” indicates that a new request has been successfully added and will appear at the top of the list.
You will see two tabs on the top left i.e., Table View and Add Request, select Add Request here.
Clicking on Add Request will open a pop up on the screen.
You need to enter the three starting alphabets of the added client's name here, the client's information will be auto filled such as Email Id, Mobile No, Address, City and Zip Code.
And for adding a new client, simply fill in the information.
Select the Job Type/Services from the drop down.
You can fill in your preferred job start date/time and job end date/time.
You can fill extra details for the request like Reference By, Add Request Description and attach documents/image related to the request.
Selecting the Add Action button allows you to Create An Appointment, Job, Quote, Audit or add Contract for a Request you recently are going to create.
*Note: You must fill out all fields marked with an asterisk before saving. Save the Request with the Save button.
A “Success Alert” indicates that a new request has been successfully added and will appear at the top of the list.