How do I add leave for a Fieldworker/User from Scheduler?
Navigate to Scheduler from the main menu.
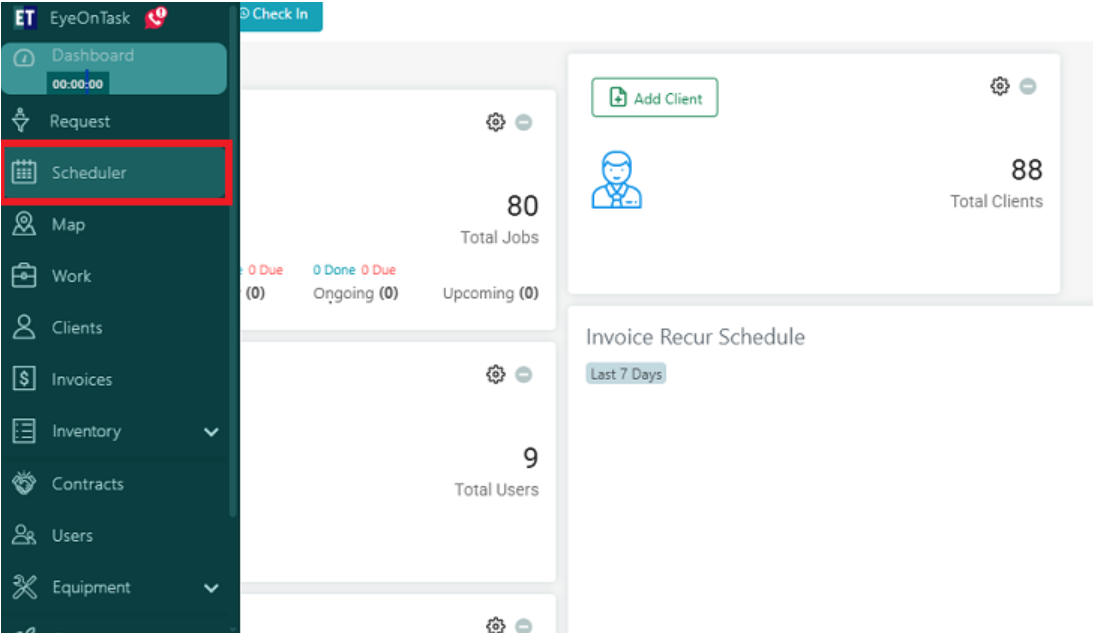 Click on the “Add” button available at the top right corner. From the dropdown list, select “Add Leave”.
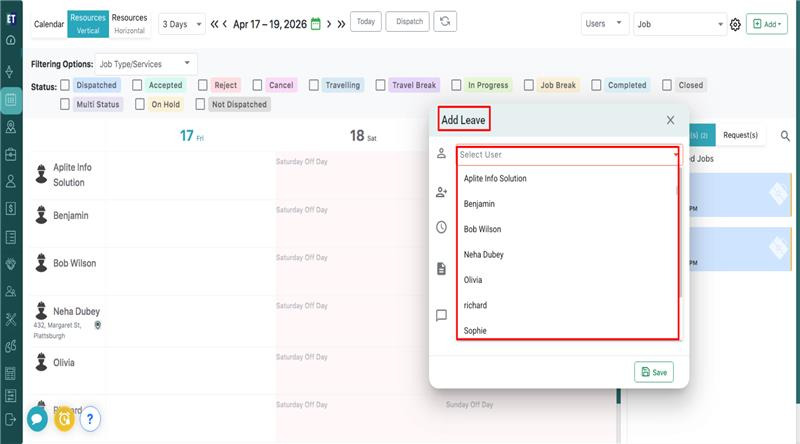
 Clicking on “Add Leave” will open an “Add Leave” pop-up window. Then, click on “Select User” and Choose the required user from the list.
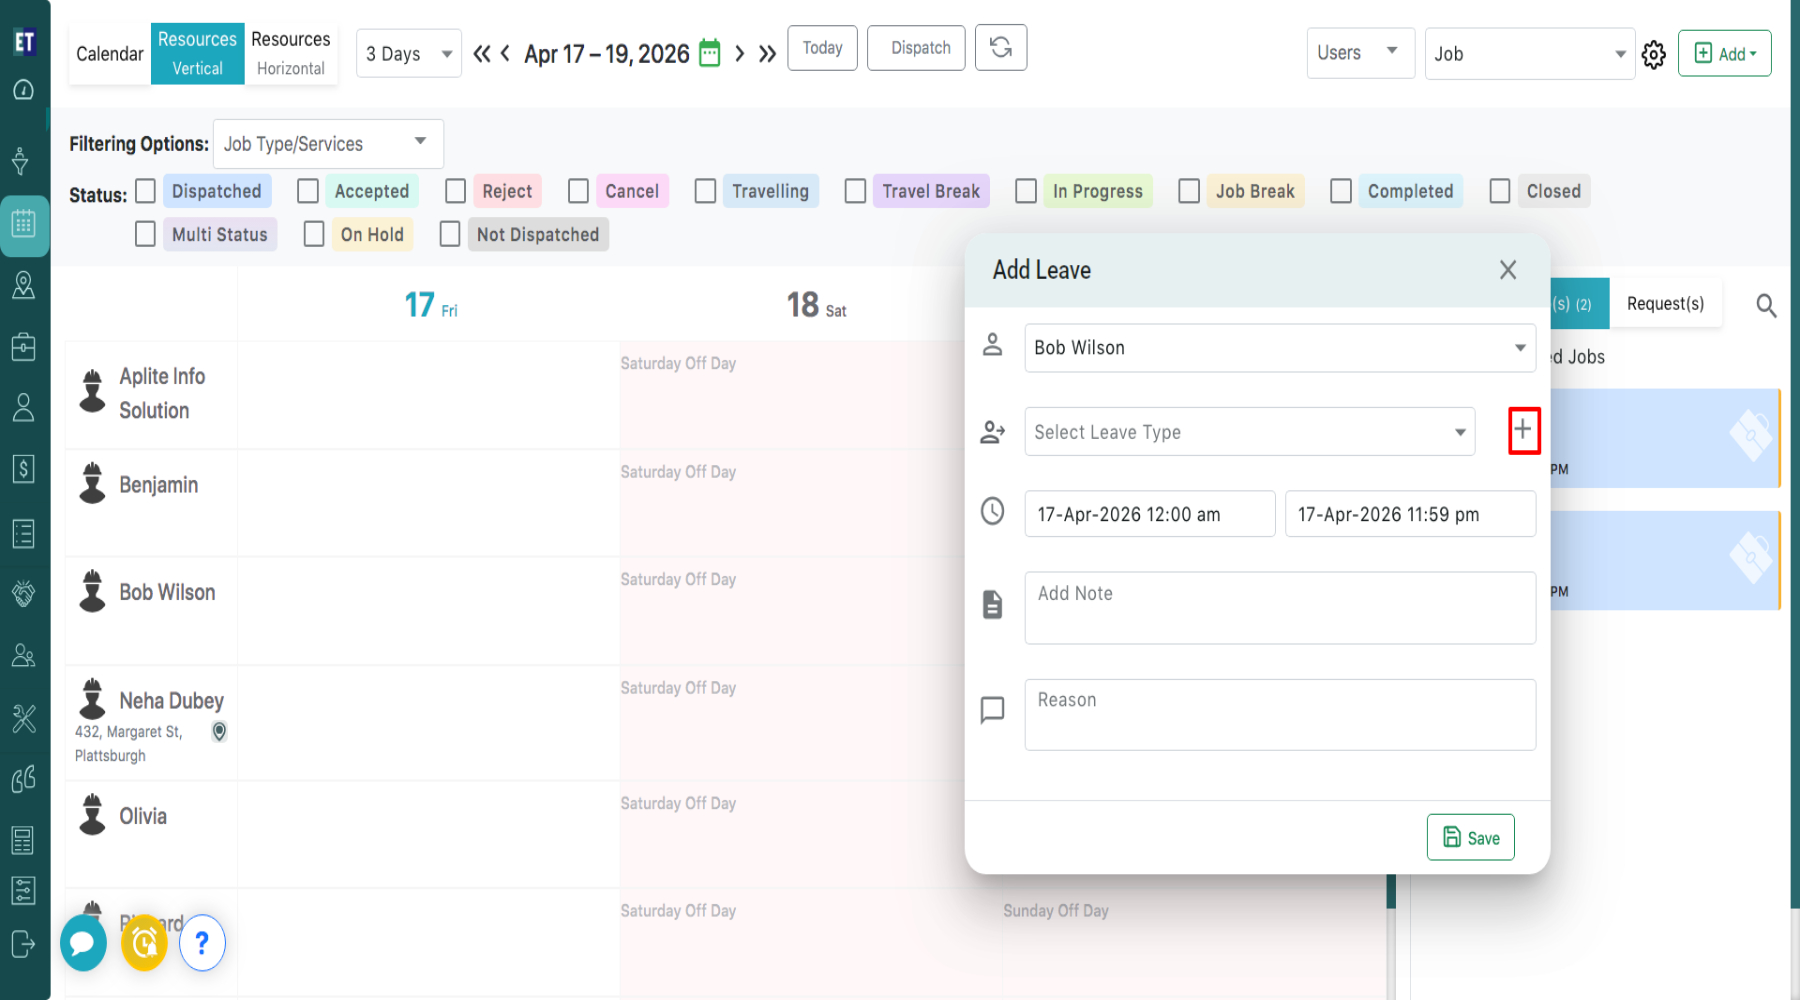
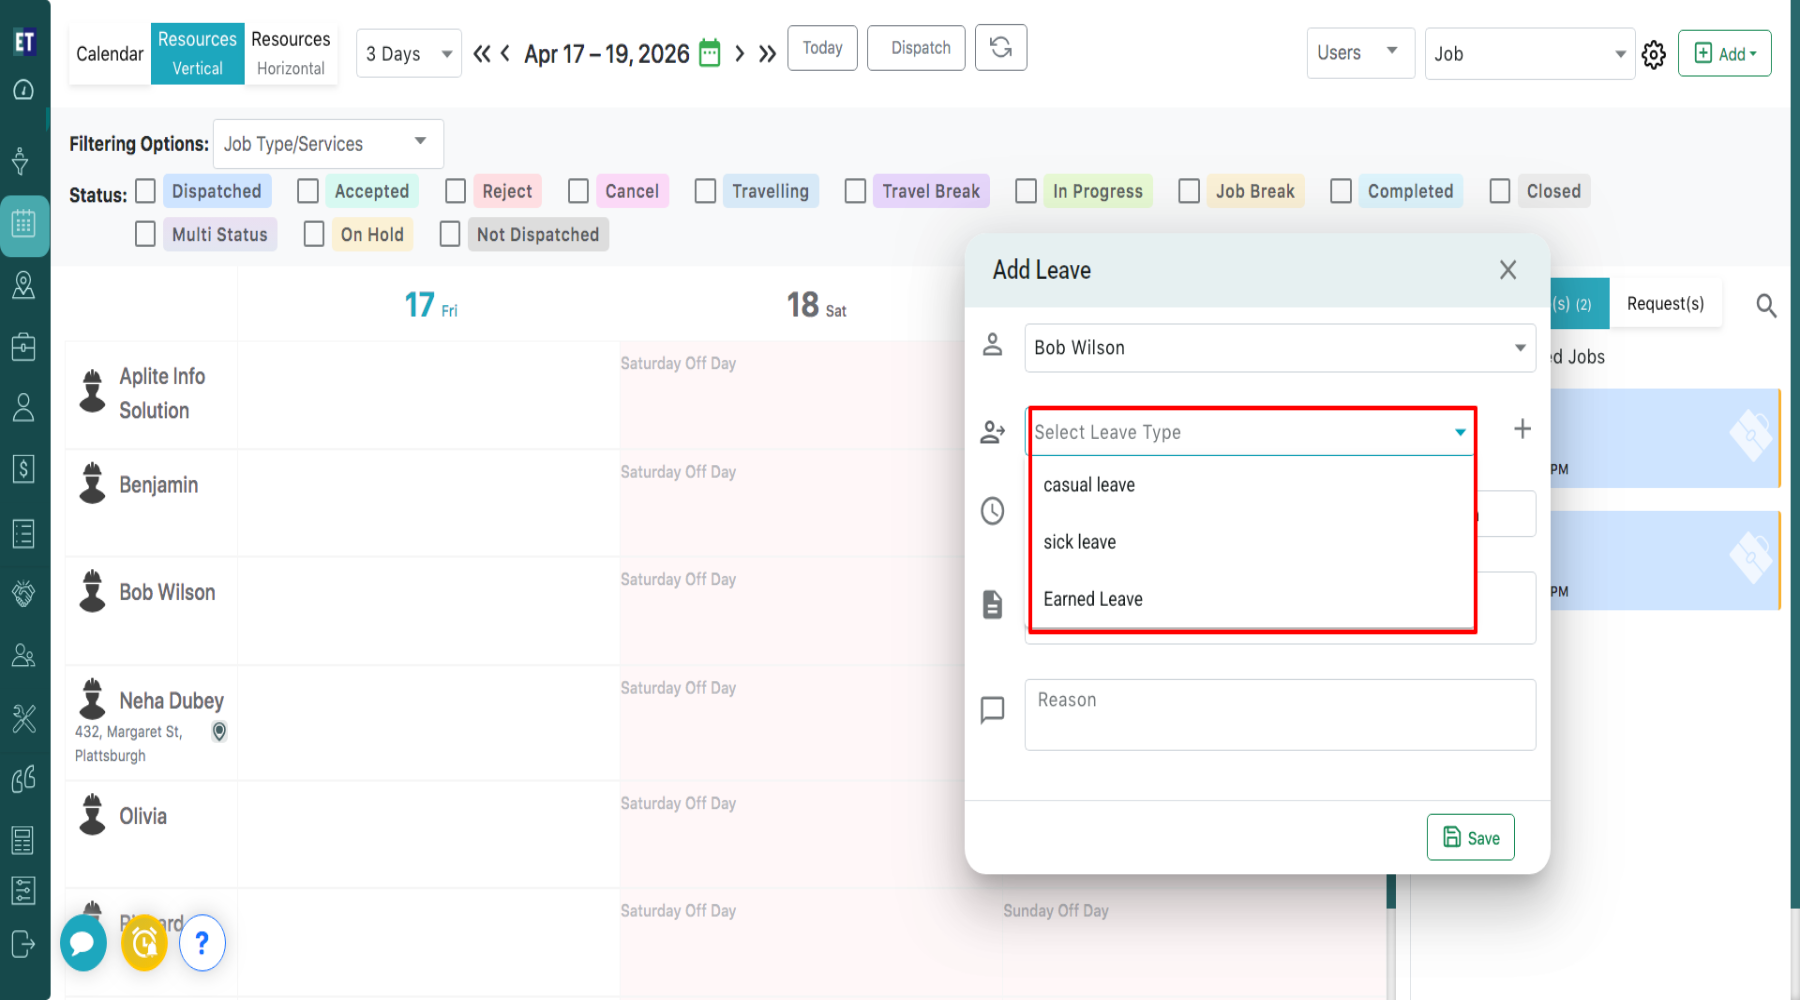
 Click on Select Leave Type. You can also add a new leave type using the “+” icon.
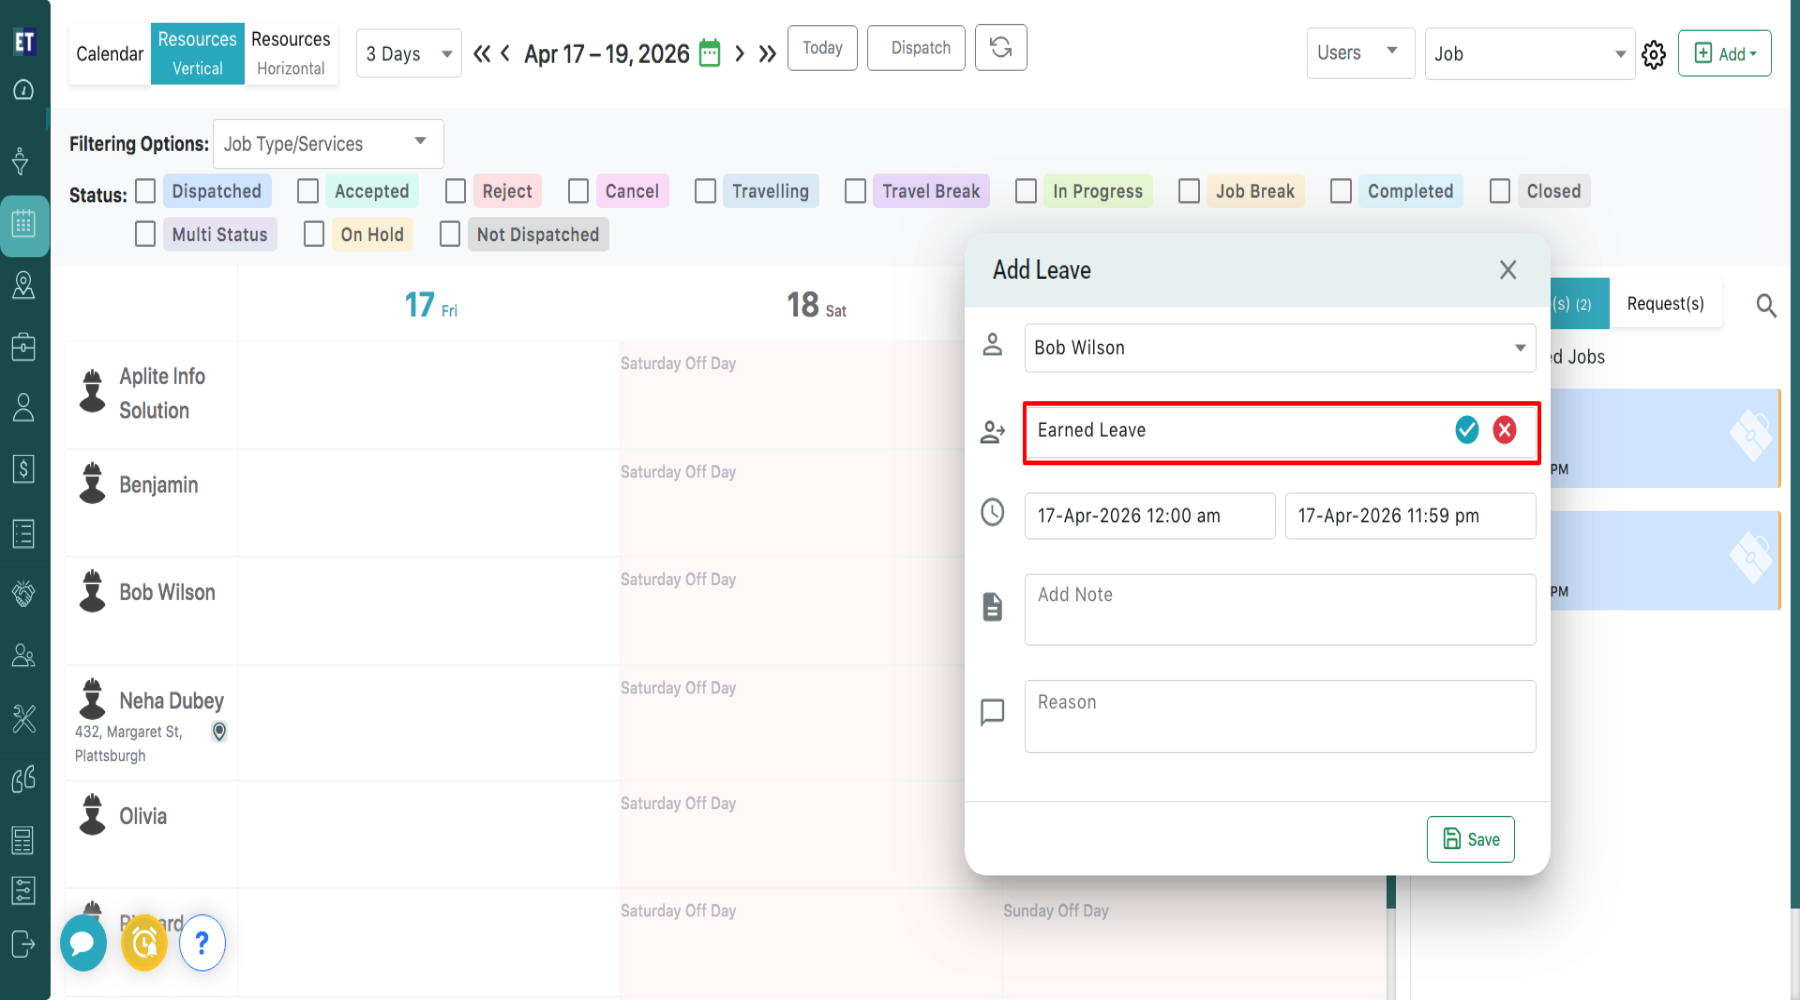
 You can assign a title to the leave type (e.g., Earned Leave), and by clicking on the check icon, the leave type will be saved.
 Select the appropriate leave type.
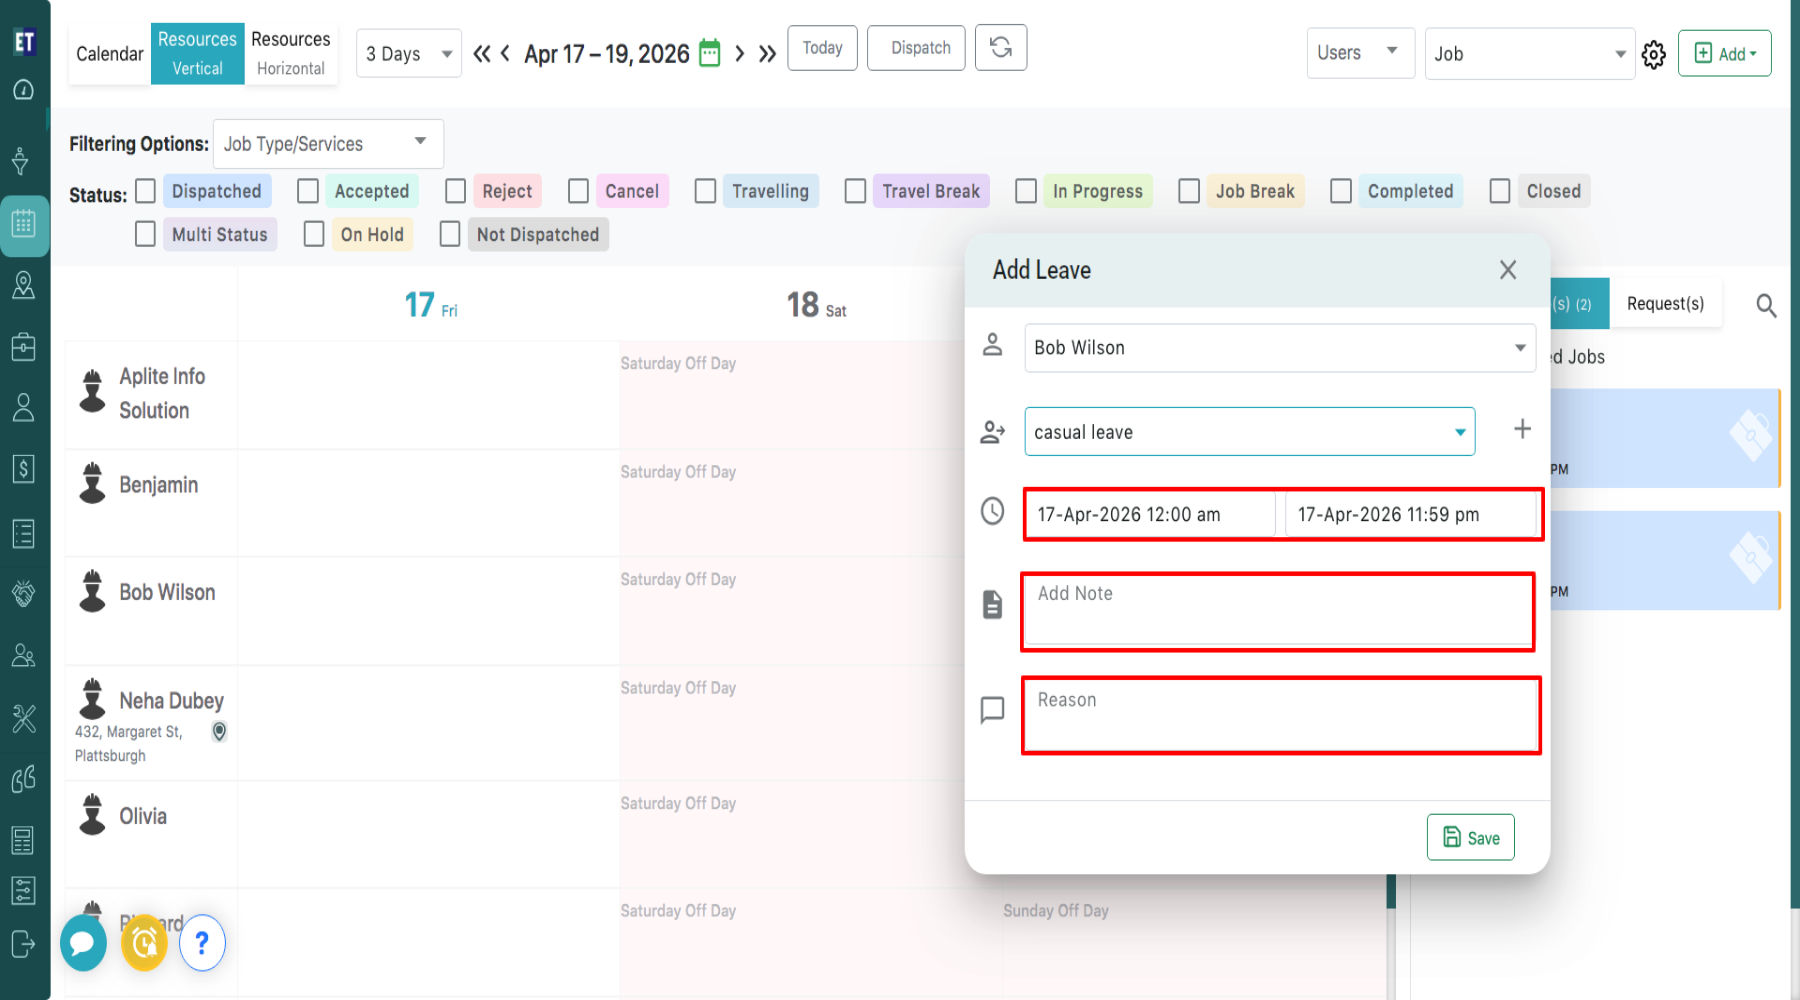
 Select the start date and time and the end date and time for the leave. You can also enter leave-related notes in the “Add Note” field and provide the reason for the leave in the “Reason” field.
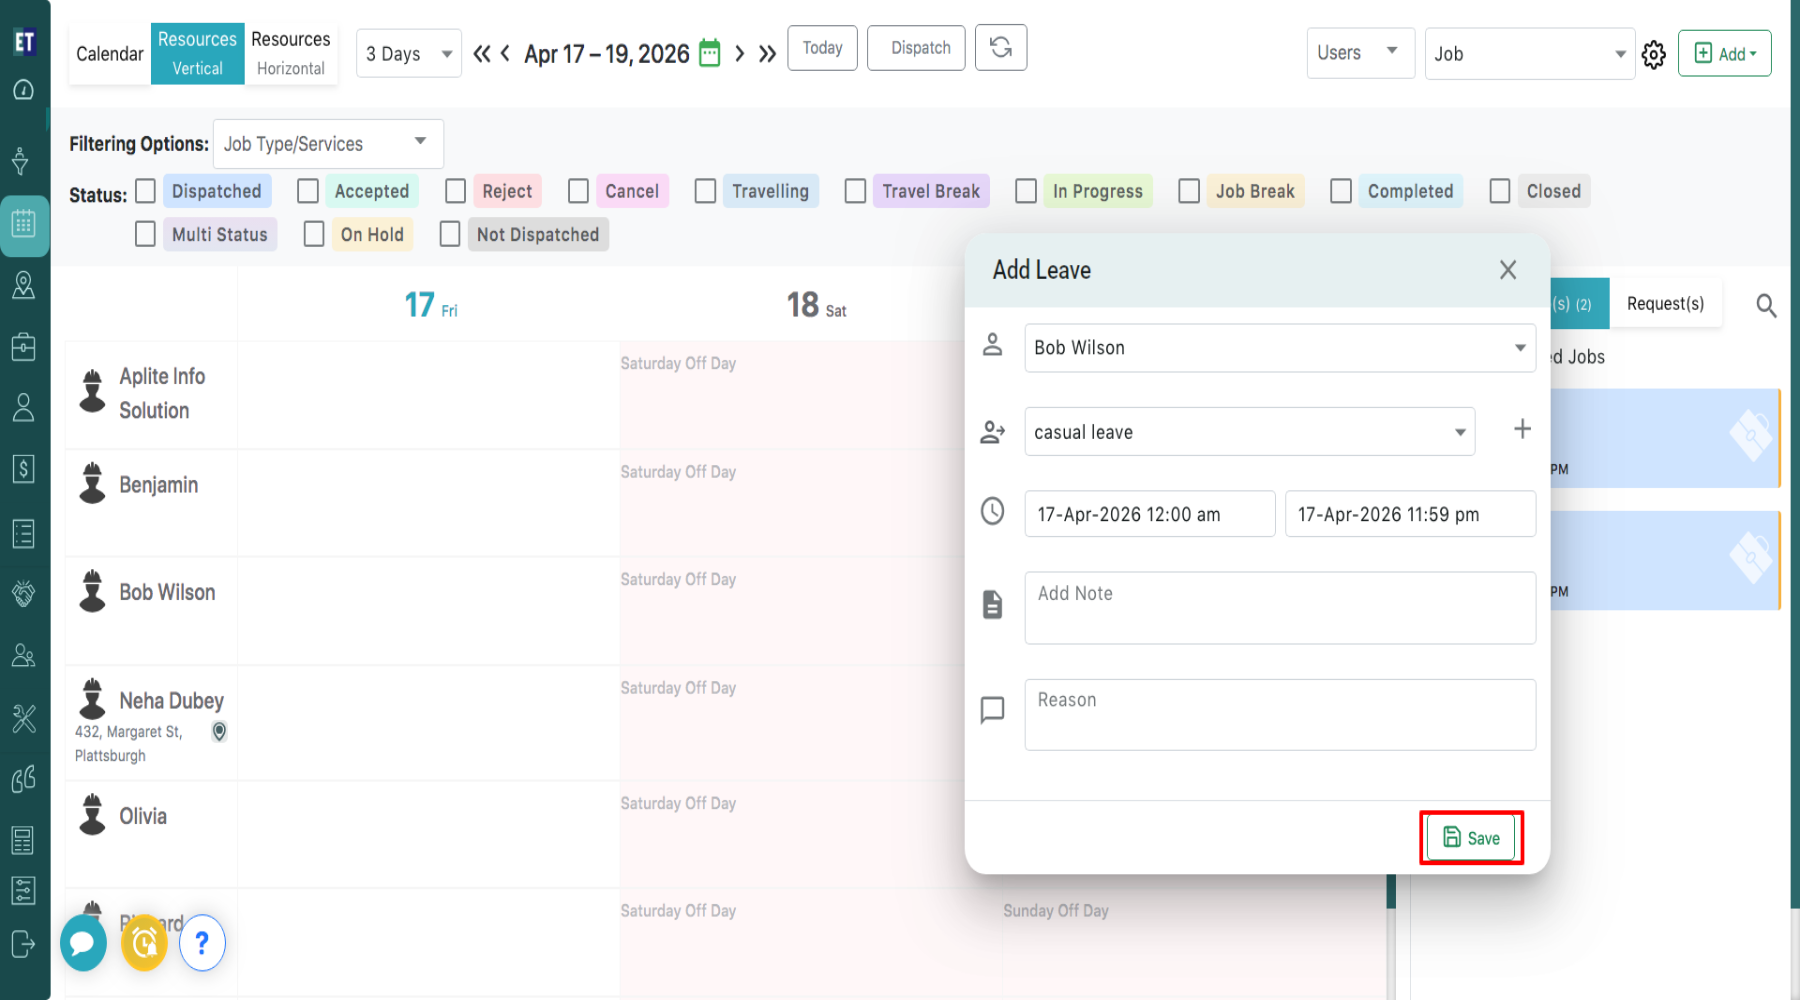
 After filling all the details, Click on the Save button to save the leave.
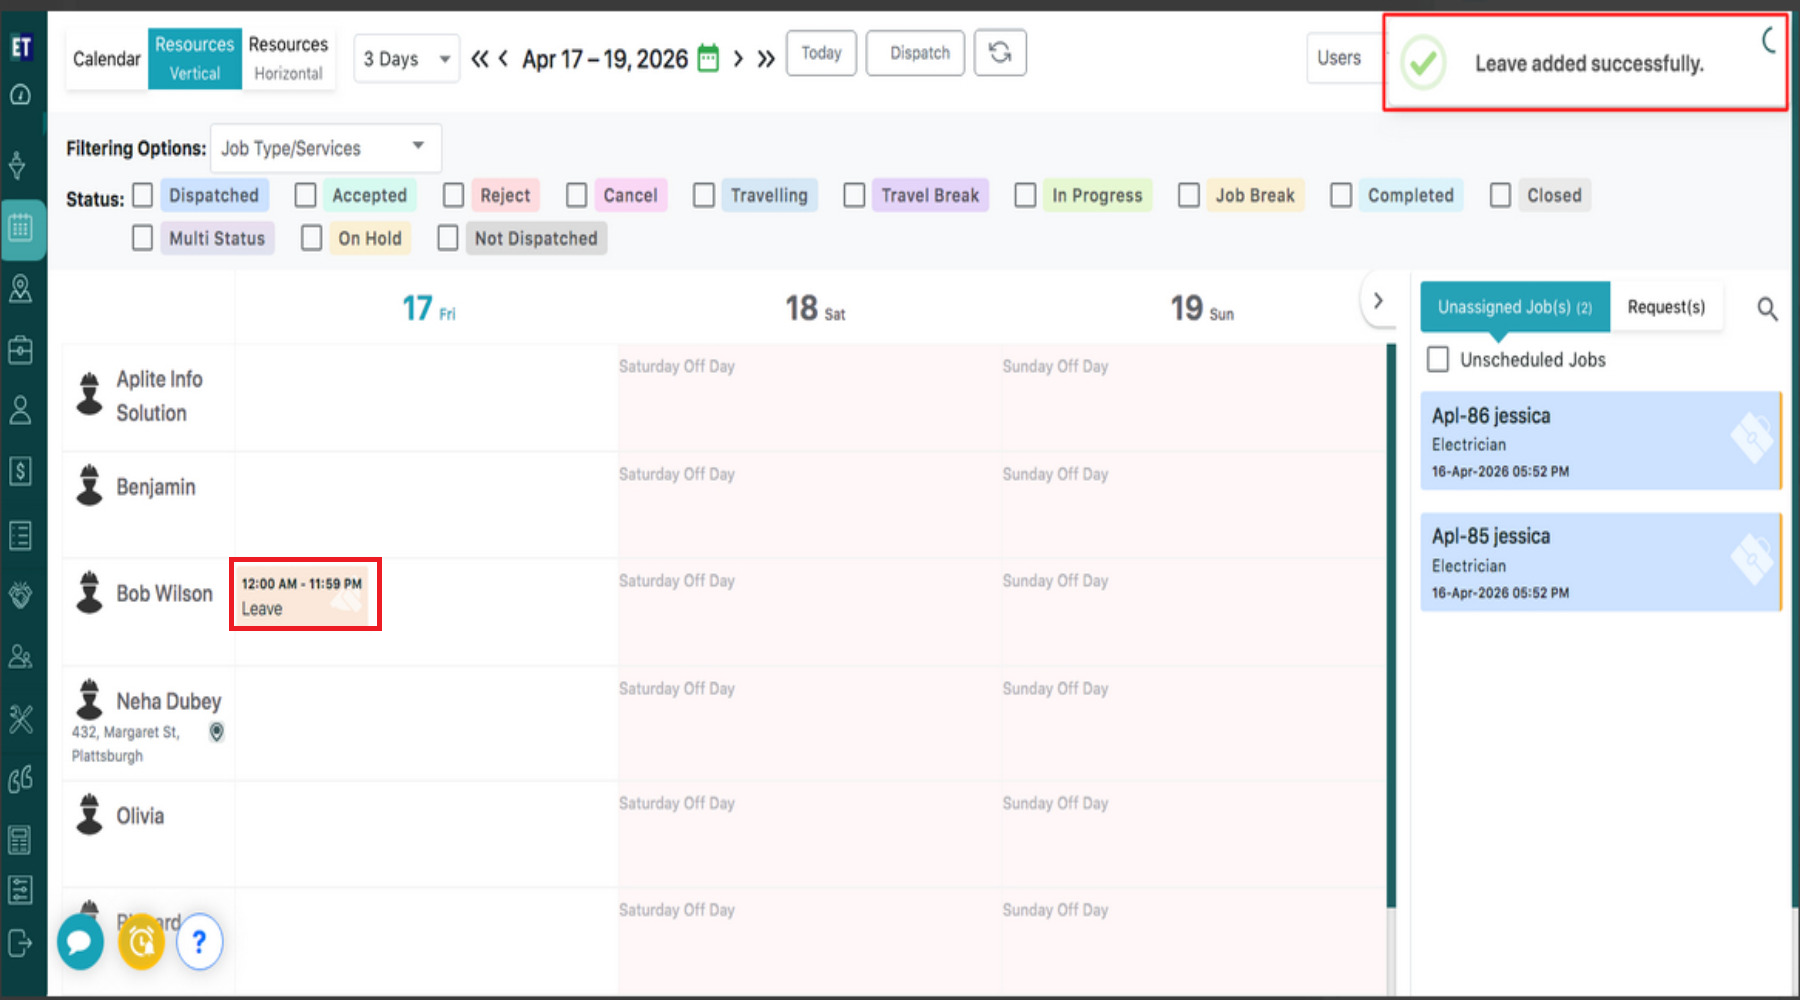
 On saving the leave, a success message “Leave added successfully” will appear at the top right corner.
Click on the “Add” button available at the top right corner. From the dropdown list, select “Add Leave”.
Clicking on “Add Leave” will open an “Add Leave” pop-up window. Then, click on “Select User” and Choose the required user from the list.
Click on Select Leave Type. You can also add a new leave type using the “+” icon.
You can assign a title to the leave type (e.g., Earned Leave), and by clicking on the check icon, the leave type will be saved.
Select the appropriate leave type.
Select the start date and time and the end date and time for the leave. You can also enter leave-related notes in the “Add Note” field and provide the reason for the leave in the “Reason” field.
After filling all the details, Click on the Save button to save the leave.
On saving the leave, a success message “Leave added successfully” will appear at the top right corner.